Try This Moen 6410 Faucet Repair for Fixing Leaks!
An appealing design and most of the features serving all the right purposes, that’s just one side of Moen faucets. And probably any other brand’s fixtures. The other side is all about problems. With continuous usage, there will be issues now and then.
For instance, the most common issue with Moen 6410 model faucets is leakage. Now can Moen faucets be repaired at home? For sure!
Moen faucets can be repaired as long as the issues are not severe enough that’ll need to hire a professional. Most models experiencing leakages will get back to normal once you replace the cartridges.
So today, I’m planning to discuss this basic Moen 6410 faucet repair method for leaks.
Key Takeaways −
Common Moen 6410 Faucet Repair Issues
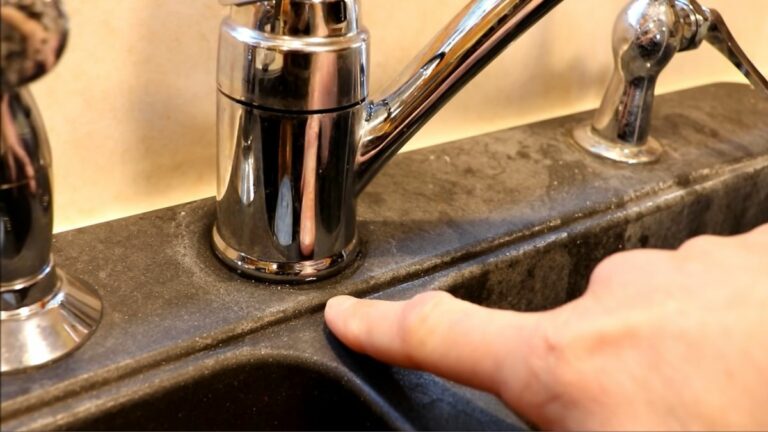
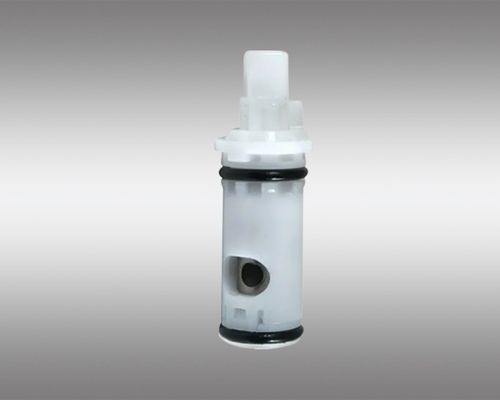
Moen comes with quite a complicated layout for making their faucets. In the case of the Moen 6410 faucet, it is a two-handle faucet that comes with a cartridge, cartridge nut, aerator, and gasket that may require replacement if a problem occurs.
A few functionality issues are easier to repair compared to leaks. The handle getting loose may simply need you to retighten the fasteners.
Dealing with a lower water flow of Moen faucets is a functionality flaw that may need deep checking.
However, the most common issue with Moen 6410 faucet is leaking. Now there are several reasons for a Moen faucet to leak. But most of the time, it happens from a faulty cartridge.
Replace Moen 6410 Faucet Cartridges to Fix Leaking
Finding a Moen 6410 parts diagram can help you get a good idea of its components that may need repair to fix whatever issue you are going through.
If the faucet showcases signs of leaks, then to solve the problem changing the cartridge might be necessary. It is also a recommended step when the handle or knob is stuck.
Before Replacing the Cartridge
As you shop for the Moen 6410 cartridge replacement, try to avoid any aftermarket option, and go for the genuine part. Especially if it’s a new Moen 6410 faucet that you’re dealing with.
Otherwise, you have a chance of voiding the warranty.
It is also extremely important that you work with the right tools meant for this job. These are not rare gears and are mostly available at home if you are a somewhat DIY person.
Tools You’ll Need
- An Allen wrench or hex key
- An adjustable wrench
- A utility knife
- Pliers
- Phillips screwdrivers
- Regular screwdrivers
- Cartridge Retainer Removal Tool
Before starting the replacement, you also want to turn off the water supply at the faucet. Shutting off the main shutoff valve will also be fine.
Don’t forget to release any pressure existing in the line. Simply letting the faucet run for a few seconds will be enough for that.
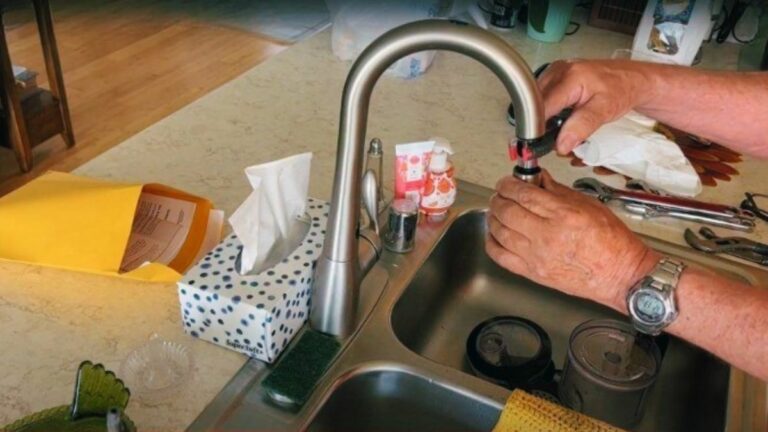
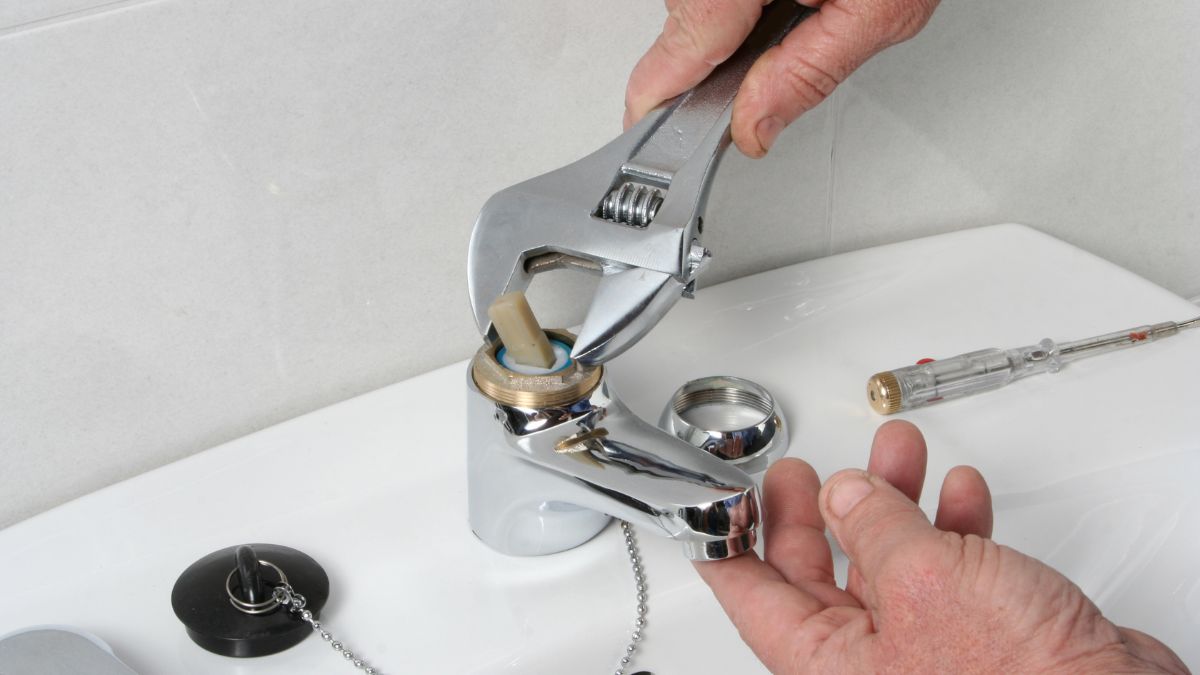
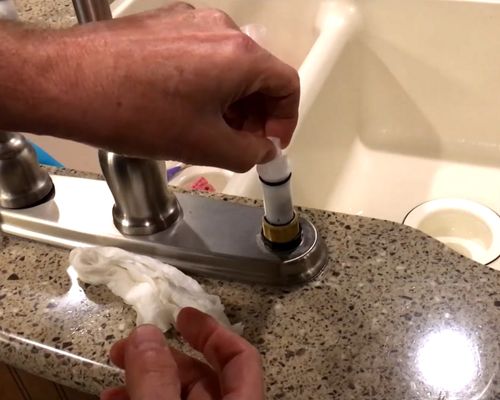
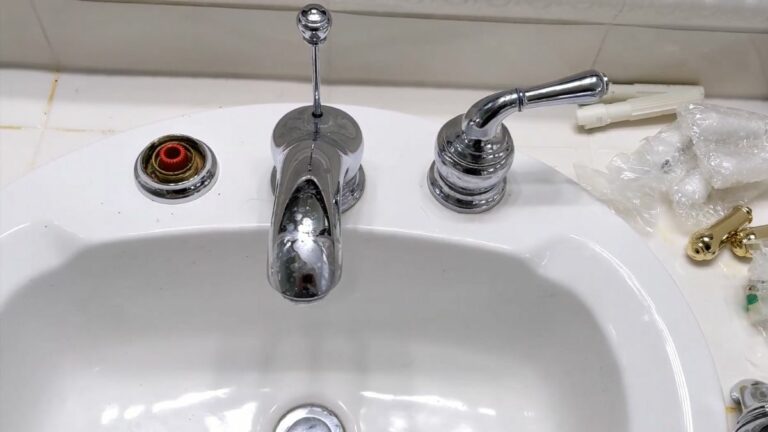
Removing the Old Cartridge
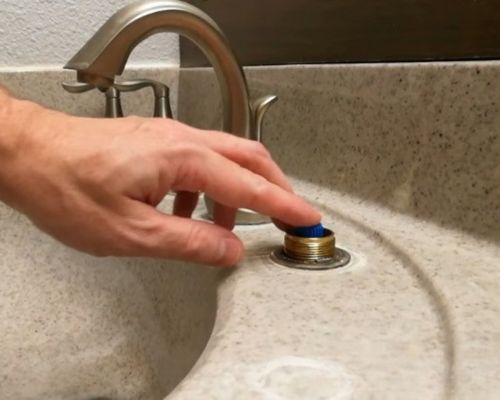
Installing the New Cartridge
And that’s it. However, if you find it difficult to follow, then look for animated demonstrations for the entire cartridge installation process. You will find the instructions available on the main website of Moen.
Also, most of Moen’s single-handle faucets come with a cartridge that needs lubricating with a silicone lubricant.
However, the manufacturer does not consider it as a repair practice for problematic cartridges that come in two-handle faucets, such as Moen 6410 faucets.
“For two-handle faucets, we recommend replacing the cartridge. The part number for a two-handle kitchen cartridge is 1224. You can purchase these parts online by visiting our Replacement Part Store.”
Wrapping Up
And there you have it! This is often the most common Moen 6410 faucet repair to try, changing the cartridge. But keep in mind some critical issues may not be so simple to sort.
And in those cases, you have to talk in detail with an expert. The best would be to contact the service center of Moen and tell them the whole thing to find the most doable solution.
I will see you in my next guide soon! Take Care.
![Why Is My Moen Faucet Blinking and How to Fix? [Solved]](https://faucetfam.com/wp-content/uploads/2023/02/Why-Is-My-Moen-Faucet-Blinking-2-768x432.jpg)