How To Replace Two Handle Shower Valve!
Do not despair if your current double-handle shower valve has a terrible leak. On another note, what if you wanted to change the style too?
Learning how to replace two handle shower valve requires some effort, but you can tackle it with the right knowledge and skills.
Acquire the necessary materials and tools, like pliers, screwdrivers, an adjustable wrench, a new shower valve kit, etc. Then begin by removing the older shower valve to replace it with the new one after examining all the components.
However, more details go into the instructions that follow. You should read this guide thoroughly so you do not miss out on anything!
Determining Your Two-Handle Shower Faucet Model
Do you consider yourself a novice handyman who repairs minor kitchen and bathroom water line issues at home? Then you will love to hear that the two-handled shower valve fixing is also within your capability.
You just need a bit of patience and some directions; that is all. Then do the following:
Also, the best way to determine the model is by looking at its manual guide or purchase documentation. But we tend to throw these away after a few years have passed.
Below are five common double-handled shower valve types that offer unique operating characteristics. See which one fits the best with yours:
Diverter Valve
You will find different types of diverter valves, but the description is the same. It will direct the water flow in the shower and tub combination. Most are found as 3-way or 2-way.
While the former incorporates separate cold and hot controls with a central diverter handle, the latter utilizes one handle to regulate water temperature and the other to navigate water to a tub or shower.
Compression Valve
This traditional valve has rubber washers to control the water flow. When you turn the handle clockwise, it compresses the washers against the valve seat to shut off the water flow.
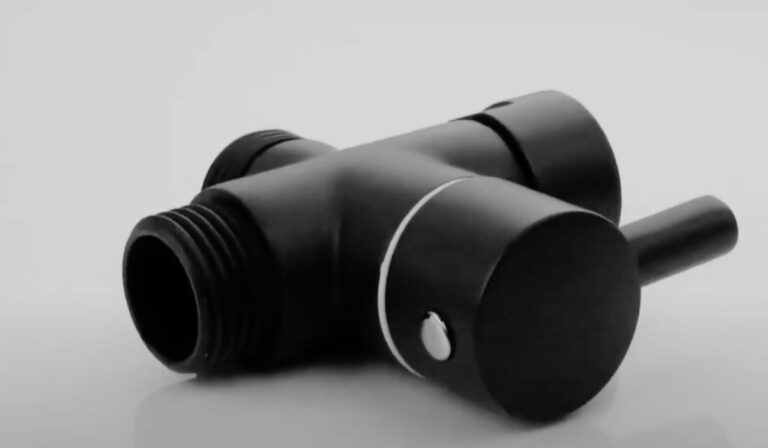
Cartridge Valve
These valves are the most commonly used around the country. A replaceable cartridge component with essential integrated parts determines the flow and temperature of the water.
Thermostatic Valve
Just as the name describes, a thermostat maintains the temperature of the water in a bathroom(s) regardless of any temperature fluctuation.
Pressure-Balancing Valve
You can find these valves pretty much everywhere in most households nowadays. They can maintain a consistent water temperature even with changes in water pressure.
For instance, if someone flushes the toilet while the shower is still on, the shower will not have sudden scalding hot water. The valve will adjust accordingly, so you will not notice any variation.
Replace a Two-Handle Shower Valve
Now it is time to learn how to install a two-handle shower valve that does not force you to tear through walls or cut the tiles around it. I recommend gathering the tools and required kits beforehand.
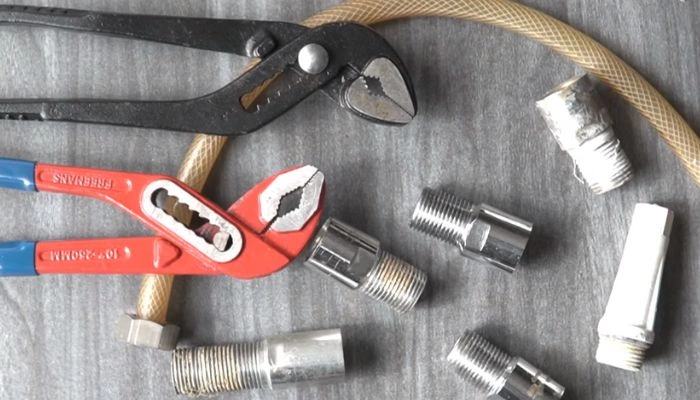
Driving out several times to buy a missing piece now and then amidst a project can be bothersome. So, prepare everything and place it within your reach.
Here is what you will need:
Process of Replacing a Two-handle Shower Valve
If you have never done this before and have no clue about what is about to happen, trust in your skills and continue reading this guide.
So, how do you remove a two-handle shower valve? That is the first thing you have to do before installing a new one. But there are other steps to take first.
Step 1: Turn off the main water supply. If you miss out on this point, there will be a terrible splash, and water burst you may have to answer for with injurious consequences.
Then open the shower faucet and release the saved water pressure in the pipe.
Step 2: Place an old towel or a cloth over the drainage hole. This is to prevent any small components from diving merrily into the other side.
Step 3: Now follow the instructions for both handles. Check for a hidden screw in the handle. It keeps them secured to the trim or decorative plate.
Some handles may have a cap over the screw. Once you find it, unfasten it.
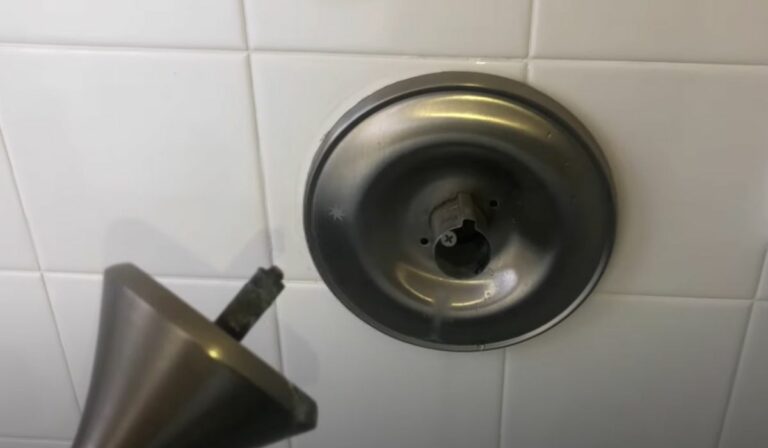
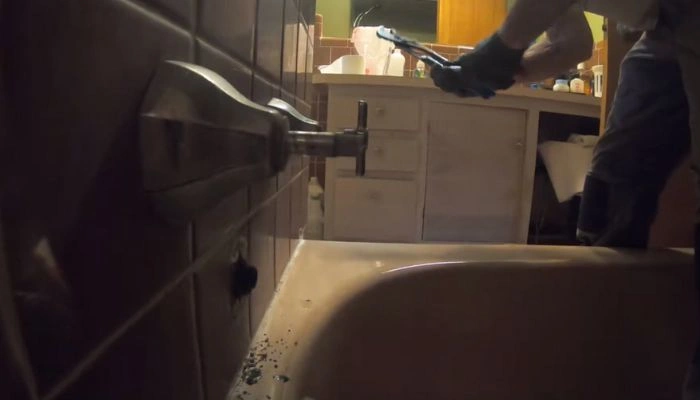
Step 4: Then remove the handles one by one. They are difficult to come off, so wiggle or tap on the sides to loosen the grip before they slowly separate.
Step 5: If you have noticed the tube-like valve by now, you are heading in the right direction. But do not try to pull it off yet. You still have to remove the trim plates from the wall.
Some have screws attached, while others may require prying open. In any case, take out each plate and set it aside.
One small tip: you can soak the handles and the plates in a mild cleaner for a while. This will give a fresh look with all the old grime off!
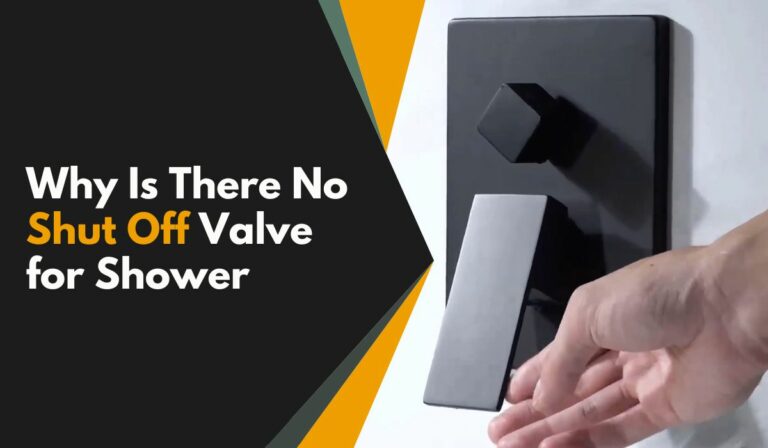
Step 6: Now you can remove that valve from each opening. However, if the water stopper for the shower is still on, locate it and turn it off (only if you have not turned off the main water supply). A clockwise motion is commonly used with or without a screwdriver.
There should be two of these, one for cold and the other for hot water. Shut off both since you have removed both handles.
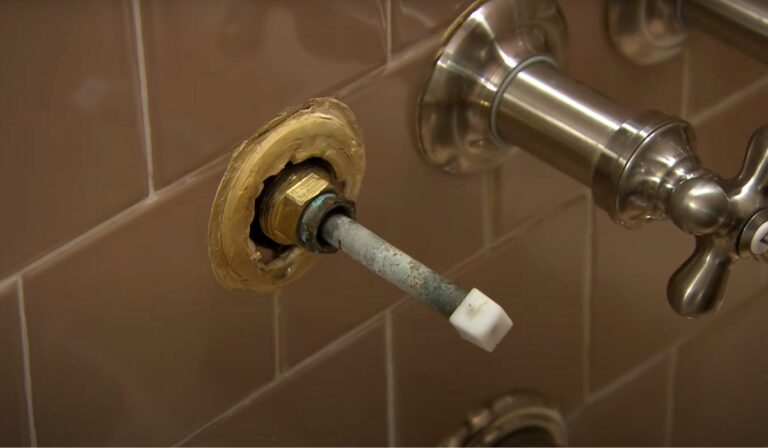
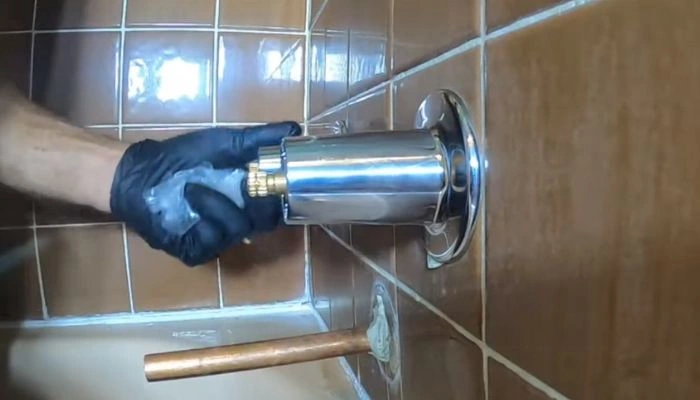
Step 7: The valve typically contains a metal clip in the top section to keep it in place. Lift it to remove the valve.
On the other hand, some have a retainer nut to secure it. Use a wrench to unscrew it as you hold the valve.
Then gently pull the metal end of the valve with pliers to dislodge it from the wall. You may have to wiggle it out at times.
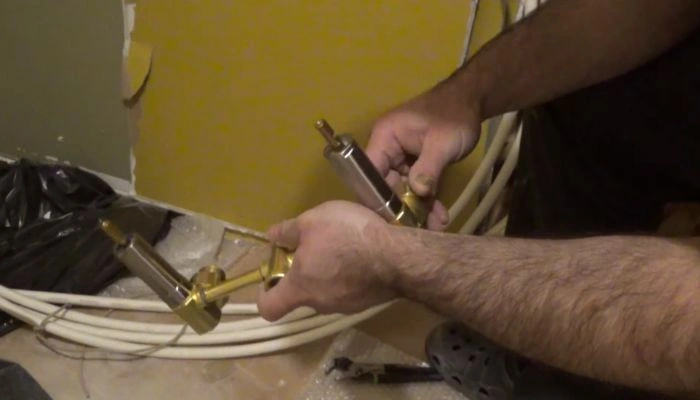
Install the New Shower Valve
You can discard the old valve as it is no longer needed. But what do you do with the new one? How do you install it?
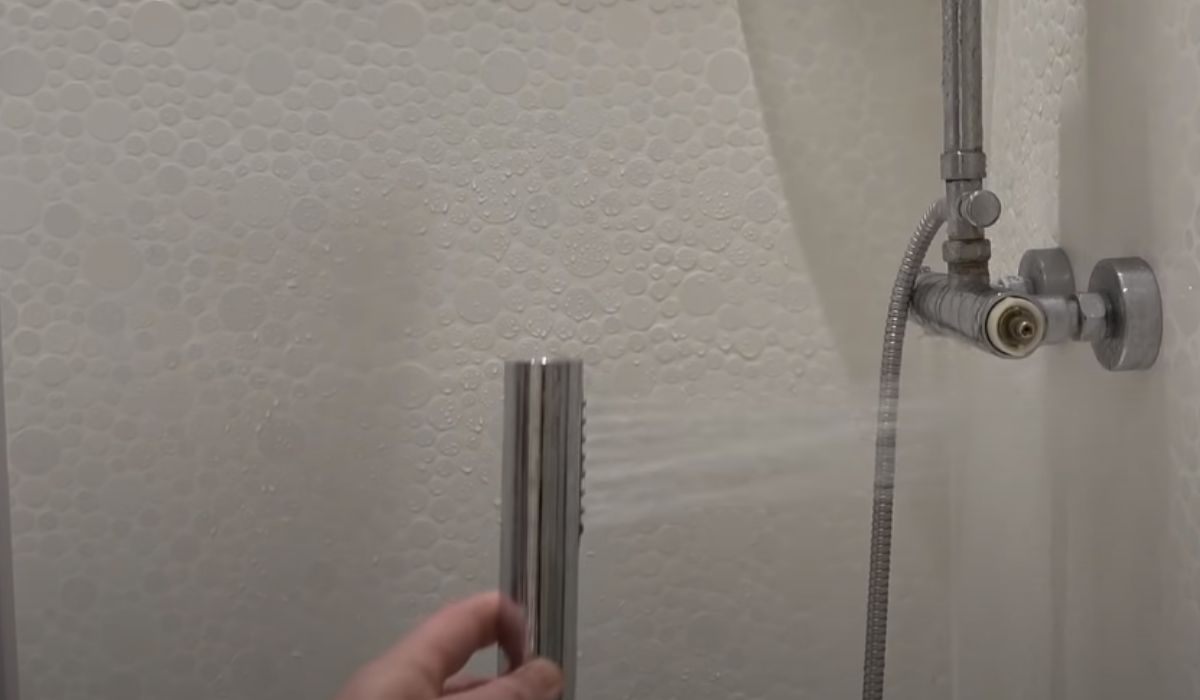
Test the New Two-handle Shower Valve
That is how you replace a shower valve without cutting walls or tiles! But it is not over yet.
You still have to test your work.
Remember the water stoppers that you shut off? Turn it on carefully if the main water supply is still on. This is to prevent a sudden burst of water leaks on account of missing a piece or two during the installation.
However, if you have the main water line turned off already, it is time to open it and see your work.
Hopefully, no leak will form if you tighten everything correctly and place all components properly.
Maintenance Tips for New Two-Handle Shower Valve
Keeping the newly fitted shower valve in good condition does not require any major knowledge at all.
In truth, you simply have to keep the parts clean and functional. For instance,
Conclusion
Knowing how to replace two handle shower valves yourself can save a lot of money. You can even teach it to your buddies or kids who look up to you after your success.
In short, the instructions will come in handy for many individuals who are not ready to rely on professionals yet.
However, you should also learn ways to maintain the shower valve and other fixtures. This will prevent premature malfunctions or drips.
I wish you all the best and a marvelous shower every day!