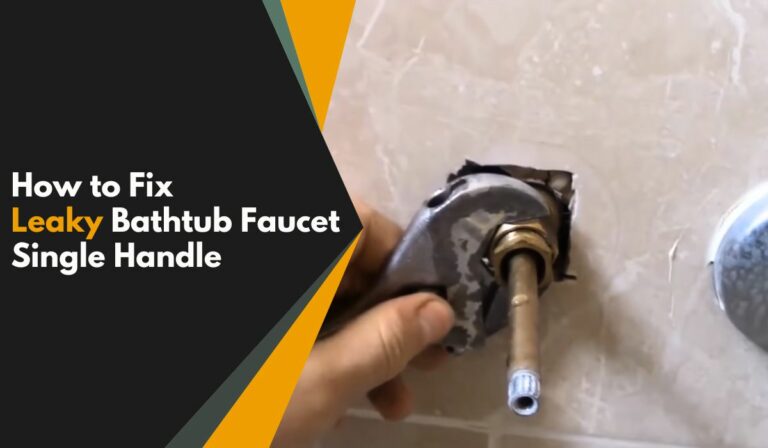
How You Can Temporary Fix a Leaky Bathtub Faucet? [Solved]
Before doing the actual fixes, it requires stopping the water dipping issue in the tub faucet. In that case, a short-term solution for leakage does a great job.
But how to temporarily fix a leaky bathtub faucet? Well, you can do this by installing the handle parts properly, inserting thin rubber in the pipe’s hole, closing gaps with plumbing tape & sealant, removing rust or dust with WD40 lubricant, and adding the red disk seal.
Feeling clueless as the process seems unclear? Continue to read this guide, as I’ll break down each technique in detail. Let’s Go!
Temporary Fix Your Leaky Bathtub Faucet In 5 Ways!
To stop the dipping of the bathtub faucet in the bathroom temporarily, here are some of the effective ways that you can try:
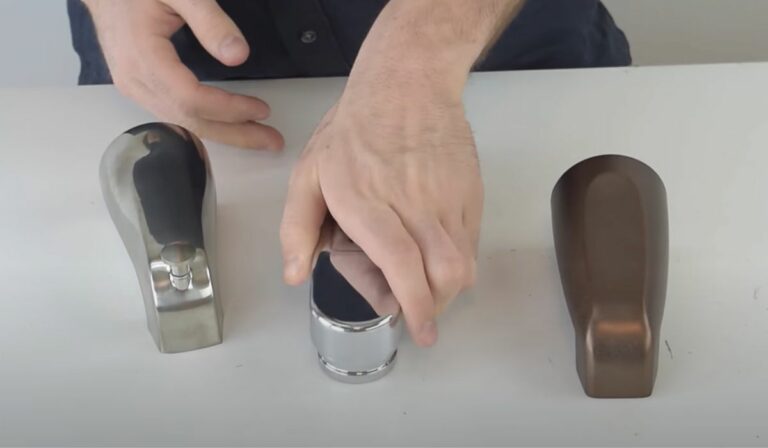
1. Tightening Loose Components
Sometimes the loosen-up components in the single or double-handle tub faucet can cause leakage. You can resolve it by tightening up the components.
- For that, identify whether hot or cold water is leaking if you have a double-handle tub faucet.
- Just touch the dippy water to know whether it’s the hot or cold-line handle.
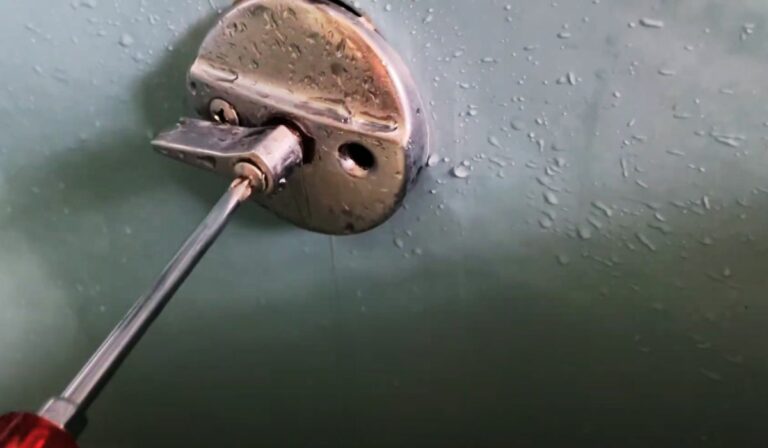
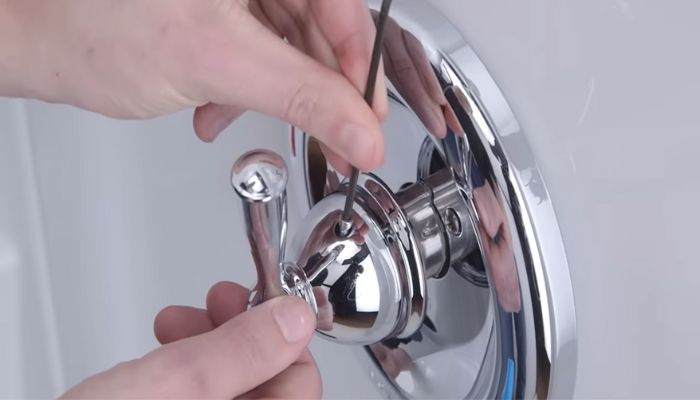
- Based on that, remove the handle by unbolting the screw with an Allen or hex wrench.
In case you have a single-handle tub faucet, just take out the handle. And be sure to check how to fix the single-handle tub faucet leak here.
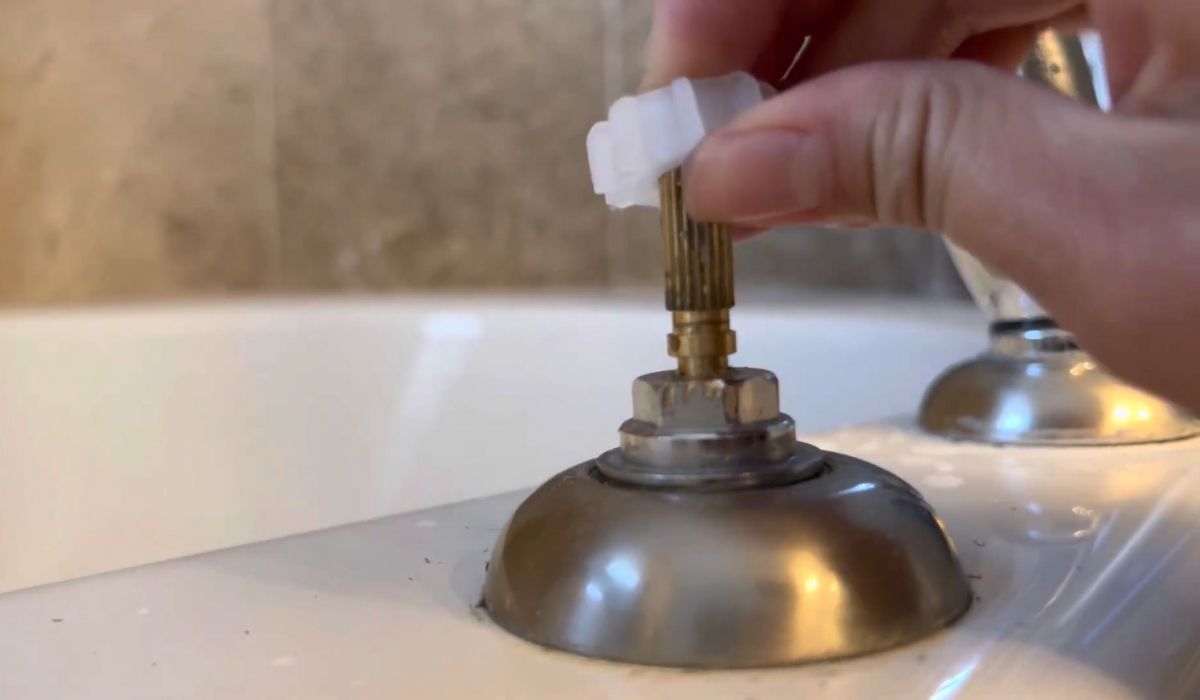
- Then, take out the adapter or washer (if it contains it), temperature limit stop, key stop, and stop valve.
- Next, unseat the retaining clip and twist the cartridge to detach it.
- After that, insert the cartridge properly by twisting it to the right side and placing the retaining clip to lock the fitting.
- Finally, reattach the stop valve, key stop, temperature limit stop, and other parts.
2. Using Thin Rubber
If the leakage occurs due to a faulty cartridge and it takes a week to get a new one, you can insert a thin rubber in the shower valve to block the path.
- To do that, turn off the water supply and drain the water.
- After that, remove the handle, inner mechanisms, and cartridge.
- Then, get a thin rubber from a nearby plumbing store and cut it into a round shape. Just be sure it’s slightly smaller than the pipe’s hole inside.
- Then, insert the round rubber inside the pipe and seal it as much as possible.
- Next, put on all the removed items. After that, turn on the water supply of your home and test it out.
3. Applying Plumbing Tape and Sealant
A lot of times, using plumbing tape and sealant around the pipe and wall helps to temporarily fix the leaky issue. To use it, you’ll need to remove the tub faucet based on the types:
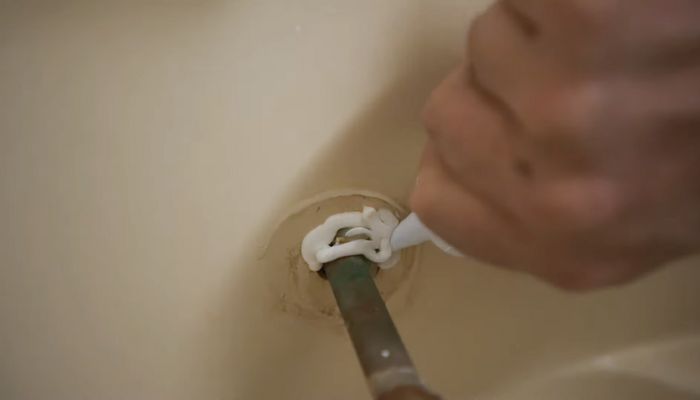
After removing the tub spout, you’ll need to use a sealant like plumbing putty or caulk in the finished wall where the escutcheon goes. Be sure to smear it using a brush or your finger to ensure the sealant is perfectly applied.
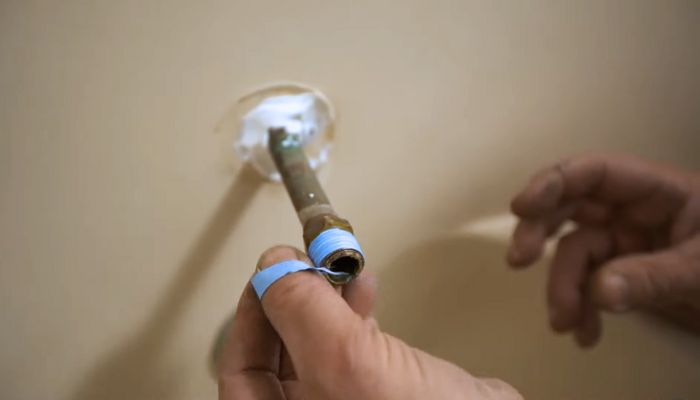
Then, take the plumbing tape and cut it a little. Next, wrap it around the pipe’s thread area to ensure a watertight seal.
Once you’ve done the above work, then put on the tub faucet back in its place. Then, insert the set screw (if it’s slip-on type) with the Allen or hex wrench.
4. Lubricating Tub Faucet with WD40
Putting some lubricant in the diverter of the tub faucet can fix the issue of leakage when turning on the showerhead. This occurs as the diverter and tub faucet interior mechanisms get rusted or dirty.
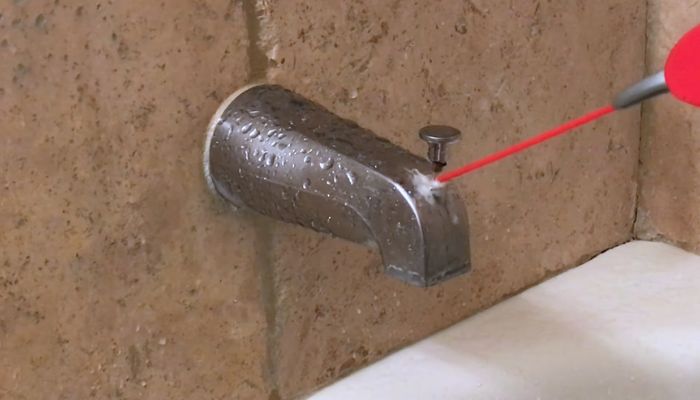
To fix it, you’ll need to use WD40 lube in the diverter and faucet mouth. Be sure to shake the lubricant and try to use one that contains a long straw.
Keep on spraying on the diverter area while pulling it up and down to penetrate the lubricant deeply. Let it be like this for around 10 minutes. After that, turn on the shower valve and let the tub faucet drain some water, and then check if it leaks.
5. Put on Red Disk Seal
Another great way you can fix a leaky bathtub faucet temporarily is by adding the red disk seal around the tub faucet.
It’s pretty simple to do, as you only need to remove the faucet (mentioned above) and apply sealant around the wall. Then, smear it with your finger on the wall.
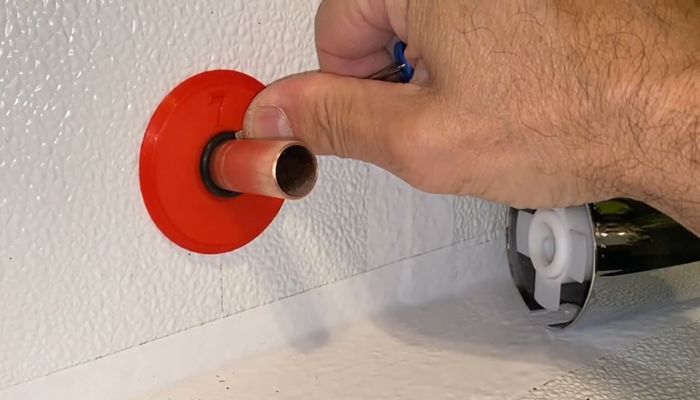
After that, use some sealant behind the red disk seal and insert it inside the pipe. Next, attach the O-ring inside the pipe (close to the red disk seal). Then, put on the faucet and tighten it out with or without the set screw.
After resolving the leak issue temporarily, learn how to completely fix the leaking tub spout here, as it might help in the future.
Frequently Asked Questions
Why is my bathtub faucet leaking?
Leaks can occur due to loose components, faulty cartridges, or rust in the faucet’s interior mechanisms.
How do I identify which handle is leaking in a double-handle faucet?
Touch the water to determine if it’s hot or cold. For a double-handle, remove the handle of the leaking side using an Allen or hex wrench.
Can I use thin rubber to fix a faulty cartridge temporarily?
Yes, you can. Turn off the water and remove the inner mechanisms. Then insert a slightly smaller, round rubber inside the pipe. Seal it well before reassembling.
How do I lubricate the tub faucet using WD40?
Spray WD40 in the diverter and faucet interior. Allow it to sit for 10 minutes. Turn on the shower valve. Let the faucet drain and check for leaks.
Wrap Up
To temporarily fix your leaky bathtub faucet, it does require some handy tools that you’ll find in any plumbing store. All of these don’t cost much and the methods are simple to attempt.
Keep in mind all of the above ways are for temporary fixes. So, don’t rely on these and resolve the main issue that causes leakage for long-term benefit.
Hope the above instruction for short-term fixes helps you to get rid of bathtub faucet leakage for a while. Good Luck!!