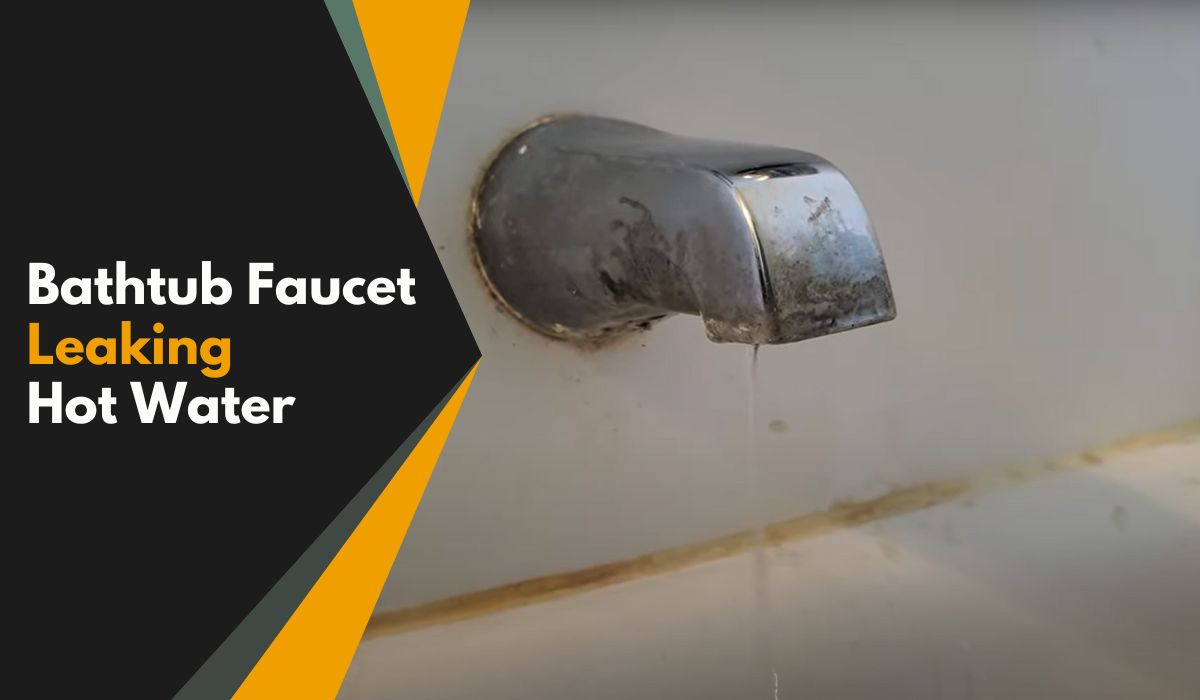
My Bathtub Faucet Leaking Hot Water: Causes and Fixes!
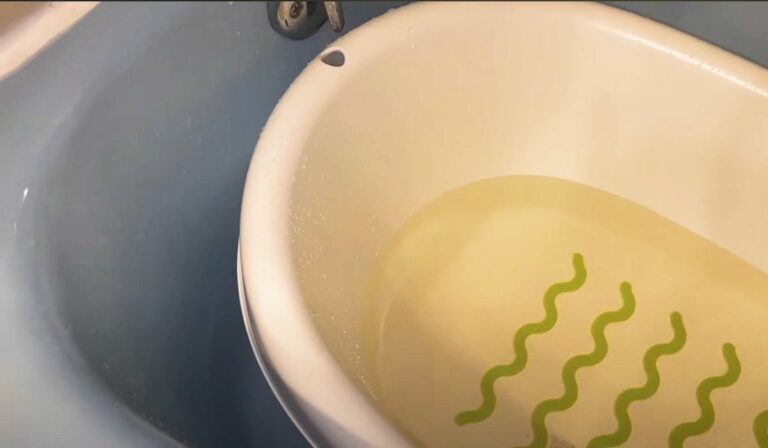
Seeing the hot water leakage from the tub faucet when the handle is turned off is an indication of an inner issue.
Well, due to the faulty cartridge, gasket, or O-ring, the bathtub faucet can leak hot water. Apart from this, if you don’t flush the faucet after installing it, this can cause a dip issue. To fix it, you’ll need to change the cartridge, gasket, or O-ring, or flush the faucet correctly.
To know the process in detail, I’ll share the causes along with solutions for the tub faucet leaking in the hot water issue. Let’s get into it!
Common Causes of Your Bathtub Faucet Is Leaking Hot Water!
There are mainly 3 reasons why the bathtub faucet can leak hot water. Let me share these with you below:
1. Wear-Out Cartridge
The cartridge or steam valve is a crucial part of the shower valve that controls the water flow. When this part gets rusted or broken, it fails to operate and causes the faucet to face a hot water leak. You can easily fix the issue by changing the cartridge.
2. Bad Gasket and O-ring
If you are wondering why my tub faucet is leaking hot water, it may happen due to a chewed-up gasket and an O-ring in the cartridge.
Both components’ role is to ensure a watertight seal around the pipe. As these two get torn apart, the faucet leaks hot water. To troubleshoot it, just change the gasket and O-ring.
3. Improper Flushing After Installation
If you forget to flush after installing it in the bathroom (which is a compulsory step), it can cause the pipe chips, sand, stones, or other solids to stay in the cartridge.
Due to this, the faucet can leak hot water. To fix the leaky tub spout, you’ll need to perform the flush based on the manual guidelines.
Repairing a Leaking Hot Water Bathtub Faucet!
Now that you know the common reasons for leakage in the bathtub faucet, here’s how to fix a leaky hot water bathtub faucet:
1. Replace the Cartridge
You’ll need to close the water supply of the home and drain the water by opening all the faucets in the bathroom.
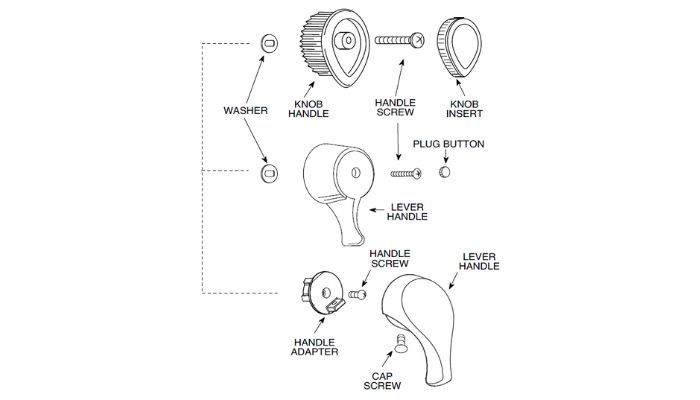
Start by using the putty knife and remove the caulk around the finished wall and shower valve handle. Then, use a flat screwdriver to detach the knob insert or plug button. Based on the handle type, you’ll need to remove it like this:
After removing the handle, take out the temperature limit stop and key stop using slight force. Next, detach the stop tube or valve with your handle or the adjustable wrench.
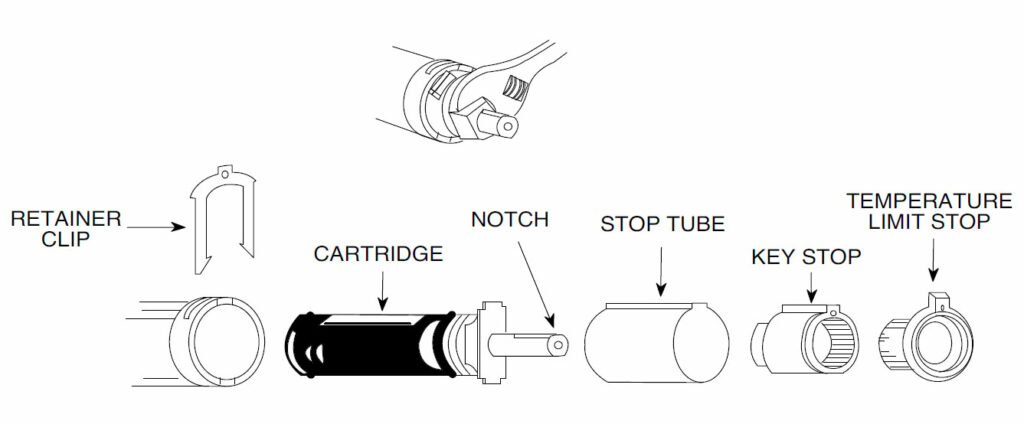
Then, pull out the retaining clip and hold the cartridge with the adjustable wrench. After that, twist it to officially remove it and then insert a new cartridge into the same spot.
Next, use the plumbing grease on the cartridge, pipe, and shower valve. Lastly, reattach all the removed parts by reversing the process.
If the leak still exists in the double-handle tub faucet, learn other fixes for the 2-handle tub faucet leakage here.
For the two-handle tub faucet, ensure to do the above direction on the hot-line water supply handle.
2. Change the Gasket and O-ring
To begin with, take out the handle, temperature limit stop, key stop, stop valve, and cartridge (mentioned above). Then, locate the gasket and O-ring in the cartridge.
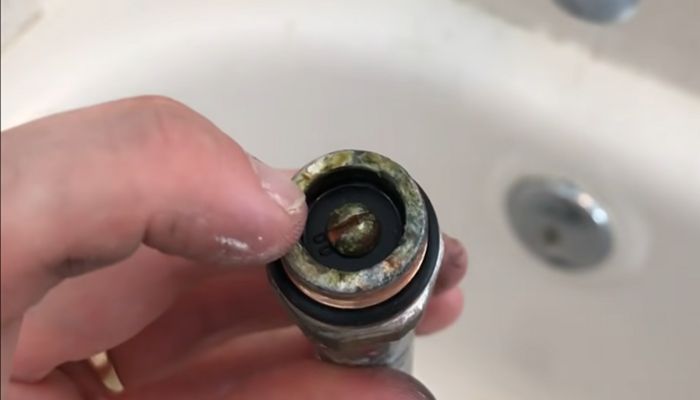
After finding it, unscrew the middle screw using the Philips screwdriver to detach the old gasket. Next, insert a new gasket and tighten out the middle screw.
Then, take out the O-ring from the cartridge and insert a new one. After that, put on the cartridge by twisting it inside the shower valve. Next, reinsert the stop valve, key stop, temperature limit stop, and handle.
Based on the cartridge type, the location of the O-ring and gasket might be different.
3. Flush the Tub Spout
Once you’ve installed and connected your new tub faucet in the bathroom, take out the shower head (if it’s attached) by twisting it in the anticlockwise direction.
Then, turn the cold-line water supply handle or valve on in the full cold position (to the right side). Let it supply the cold water for around 15 seconds.
While the valve is still on, you’ll need to turn on the hot-line water supply handle or valve in the full hot position (to the left side). Wait for 15 seconds before doing anything.
Now, if your shower valve contains another handle for the mixed position, then turn it on and divert water to the shower. Let the water drain for 15 seconds. Then, turn off the water and see if the tub faucet leaks. Lastly, insert the shower head.
Wrapping Up
The bathtub faucet leaking hot water is a big pain that can cause a huge water bill if you don’t fix it. Your task is to find the cause and then do the troubleshooting, which is mentioned above.
Be sure to check the owner’s manual to understand the process better. And, if you get stuck in the project, ensure to consult an expert to get it repaired.
Hope this guide seems beneficial to you to get rid of the leaky hot water from the bathtub faucet. See You Soon!


![How You Can Temporary Fix a Leaky Bathtub Faucet? [Solved]](https://faucetfam.com/wp-content/uploads/2023/07/Temporary-Fix-a-Leaky-Bathtub-Faucet-768x448.jpg)