Fixing a Leaky Bathtub Faucet with Two Handles: Step-by-Step Guide
Leaking tub faucet double handle is a common thing that most folks face. As a small leak can cause huge water bills in the year, it requires fixing the issue.
To fix it, you need to remove calcium buildup in the steam cartridge or replace it. Or else, change the seat and spring assembly to ensure a watertight seal. If these don’t work, then change the tub faucet and one or both handles.
In this guide, I’ll break down exactly how to fix a leaky bathtub faucet with two handles in detail. Let’s get into it!
Fixing a Leaky Bathtub Faucet with Two Handles!
Before you begin, note that you’ll need to gather some tools. To fix the leakage in the double handle tub faucet, find the source of the leak, and its causes, then take action to repair the dipping. Let me break down how to fix a leaky two handle shower faucet:
Step 1: Preparation
Step 2: Identify the Source of the Bathtub Faucet Leak
Start by determining the leaking source in the bathtub faucet. To do that, use a flashlight and inspect deeply to see where the leaking is occurring.
If the water leaking is lukewarm, then know that the issue is in the hot-line water supply handle. Or else, the issue of leakage in the tub faucet occurs due to the cold-line water supply handle. Once you find the source, go to the next step.
Step 3: Find Reasons Why Bathtub Faucet Leaking with 2 Handles
Now, it’s time to identify the causes of the leaking in the bathtub faucet with 2 handles. To shorten your research, here are the most common reasons for this:
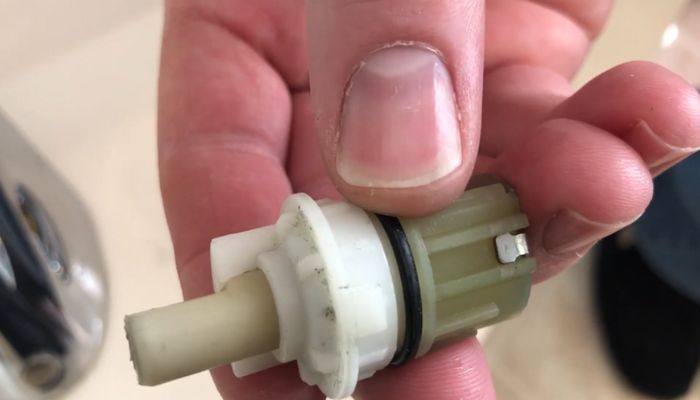
1. Faulty Cartridge
The cartridge in the double-handled tub faucet’s role is to control the flow of water. When it becomes damaged, the faucet in the tub can start to leak.

Well, the part can crack, wear out, or get clogged in mineral deposits (calcium buildup) which causes it to stop working. To fix it, you’ll need to dip the cartridge into calcium remover solutions or replace the part.
2. Worn Out Seat and Spring
Inside the bathtub faucet parts, you’ll find a tiny seat and spring that ensure a waterproof seal. When both of these parts face rust or are torn apart, the tub faucet can leak.
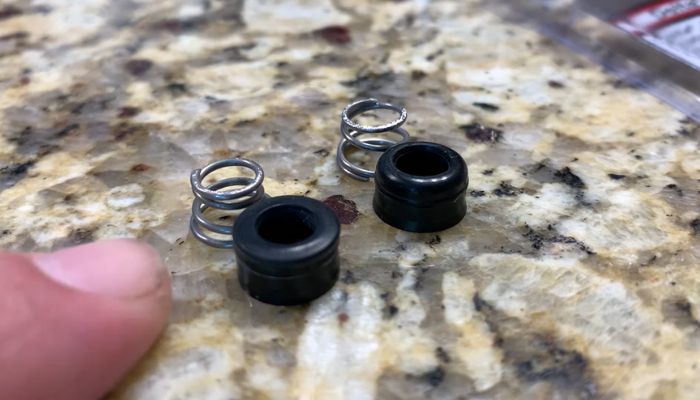
In that case, the water drips through the worn-out components when you turn on the faucet and results in a leak. To get rid of this issue, just change the seat and spring.
3. The Part Itself Is Damaged
Sometimes the double handle that supplies cold and hot line water or the tub faucet can be the culprit that causes water leaks in the faucet. As one or both handles face mineral deposits or corrode, this can cause a leak in the handle’s or faucet’s end.
Step 4: Resolve Two-Handle Bathtub Faucet Leaking
After finding the cause of the tub faucet leakage, attempt the troubleshooting method. Based on the culprit, here’s how to fix the leaky bathtub faucet double handle:
1. Repair or Change the Steam Cartridge
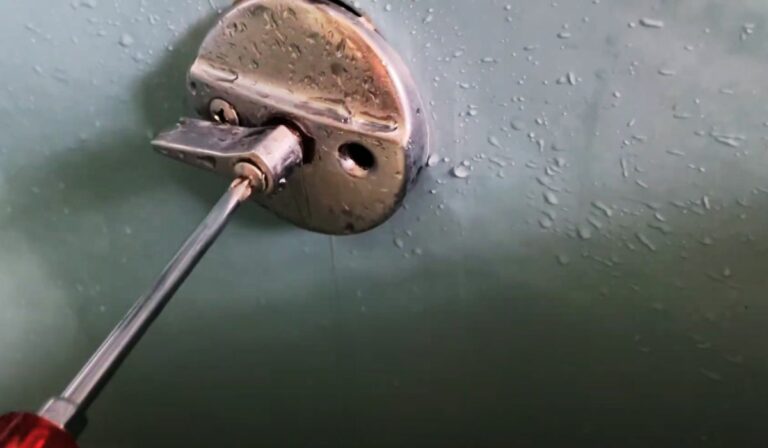
You can repair the seat cartridge that is filled with mineral deposits. To do that, take a flat screwdriver to detach the cap.
Then, use a Phillips screwdriver to take out the screw and detach the escutcheon along with the gasket. Note that you might need to use an Allen wrench to remove the handle if it contains a small hole. If it contains a sleeve, remove that as well using an adjustable wrench.
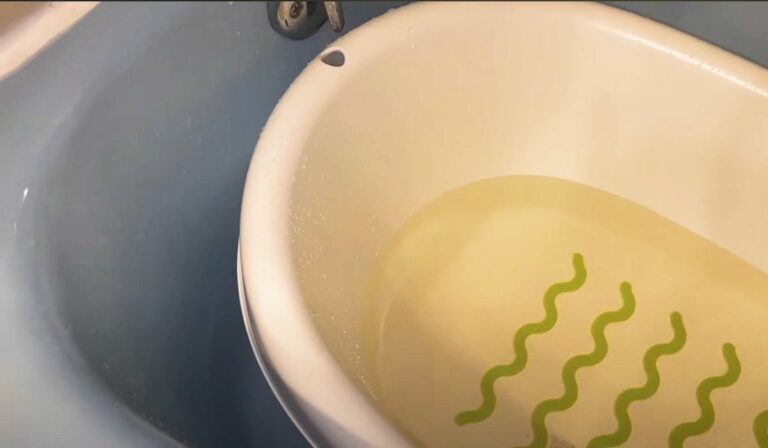
After that, use the adjustable wrench or cartridge remover tool to detach the seat cartridge. Next, take a bowl to fill with calcium liquid remover and dip the steam cartridge for 30 minutes.
Then, wash the steam cartridge and see if the part is okay to attach or not. If not, insert a new steam cartridge matching the brand of the bathtub faucet and handle. Next, reassemble all the parts by doing the reverse.
Sometimes the culprit can be the O-ring or gasket attached to the cartridge. In that case, you should change these components to the right size.
2. Replace the Seat and Spring
Under the cartridge, you’ll see a small seat and spring attached inside the pipe. To change it, you’ll need to remove the cap, handle, sleeve, escutcheon, gasket, and cartridge (mentioned above).

Then, pull out the old seat and spring using the flat screwdriver (or just use an Allen wrench). Next, insert a new seat and spring in the old spot. After that, reattach the cartridge using your hand and other gears.
3. Change the Tub Faucet and Handle
If the issue of leaking seems unstoppable even after changing the cartridge or seat and spring, then it means you’ll need to change the tub faucet and one of the handles.
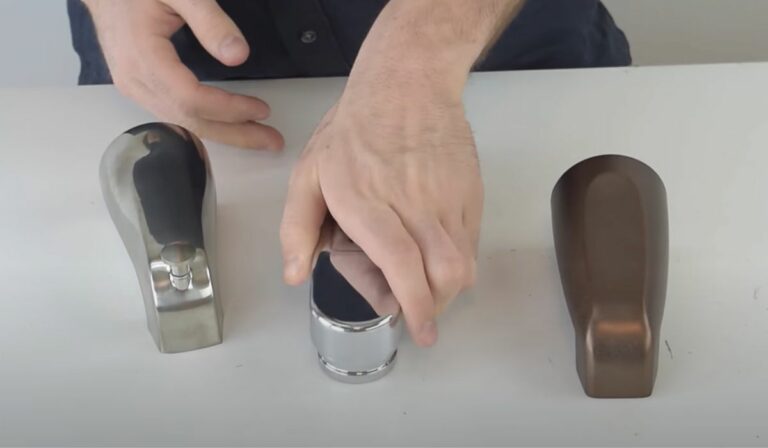
To do that, identify if the tub faucet is slip-on or threaded. If it’s a slip-on type, simply unscrew the set screw on the bottom area with the Philips screwdriver and pull it out of the copper or galvanized pipe.
However, if it’s threaded type, then unseat it using an adjustable wrench or your hand. After that, install the new one by doing the reverse process.
Then, detach the cap from the handle that seems problematic using the flat screwdriver. Next, unscrew the handle via a Phillips screwdriver and remove the sleeve, escutcheon, and gasket.
After that, insert the new gasket escutcheon and sleeve in the same spot. Be sure to use putty or sealant around the wall with a putty knife beforehand. Then, attach the handle and tighten out the screw with the right tool. Lastly, put on the cap to finish the process.
To temporarily fix the dripping bathtub faucet, check this guide to learn instant troubleshooting.
Wrapping Up
It takes no more than 10 – 20 minutes to do the whole project if you know the basics of plumbing work.
Just be sure to turn on the water supply and flush the water for 10 – 15 seconds after installing a new faucet and handle.
Hope this guide helps you to fix a leaky bathtub faucet with two handles with a detailed explanation. If you are having leakage issues on a single-handle tub faucet, then learn how to fix a single-handle leaky bathtub faucet!

![How You Can Temporary Fix a Leaky Bathtub Faucet? [Solved]](https://faucetfam.com/wp-content/uploads/2023/07/Temporary-Fix-a-Leaky-Bathtub-Faucet-768x448.jpg)
![How To Measure Tub Spout Length? [Do-It-Yourself Guide]](https://faucetfam.com/wp-content/uploads/2023/06/How-To-Measure-Tub-Spout-Length-768x448.jpg)