Slip Fit Vs Threaded Tub Spout: Find the Differences
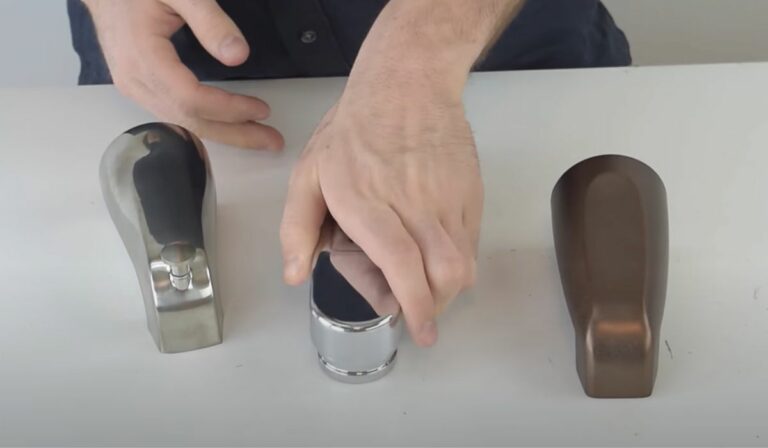
There are 2 types of tub spouts based on the connection which are slip-fit and threaded tub spouts. Picking one between these options can often spark a debate among folks.
Well, the slip-fit spout contains a set screw while the threaded spout doesn’t. And, you’ll find 3 different styles of threaded spout, unlike the slip-fit type. Also, there are tons of contrasting points that you can see between them (which I’ll discuss in detail here).
In this guide, I’ll share a complete comparison of slip fit vs threaded tub spout so you can understand the difference and select one easily. Here I Go!
Comparing the Slip Fit and Threaded Tub Spout!
For busy folks who want to know the exact differential points between the slip fit and threaded tub spouts, here’s the comparison chart:
Features | Slip Fit Tub Spout | Threaded Tub Spout |
Adapter/Connection | CC (Copper Connection) or CTS (Copper Tube Pipe) | IPS (Iron Pipe Size) |
Thread | CWT (Copper Water Tube) with no thread. | NPT (National Pipe Thread) |
Types | - | 3 types (front-end, wall-end, and telescoping) |
Fitting | Suitable for only 1/2" (5/4" OD) slip pipe | Ideal for 1/2" or 3/4" threaded pipe |
Installation | Easy to install (no hard instructions) | Quite tough to install |
Usage | Good for DIYers or newbies | Perfect for expert plumbers |
Price (Est Range) | $15 – $80 | $10 – $50 |
Definition
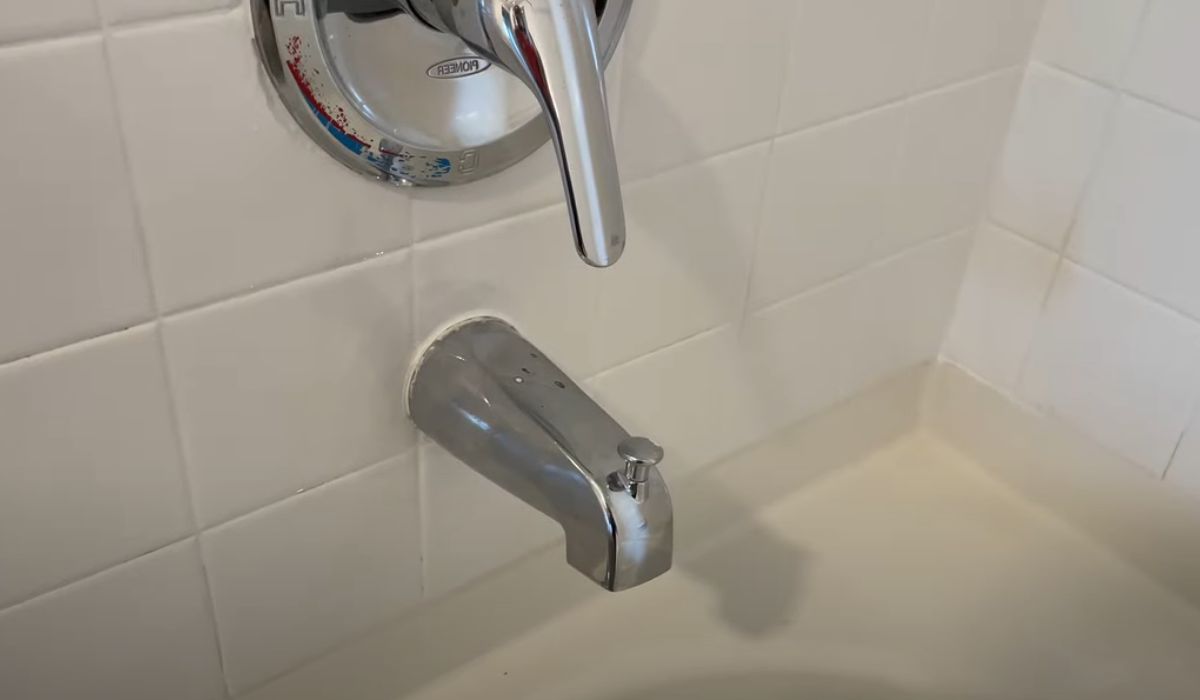
- Slip Fit: If the tub spout contains a small hole under the body and inside that you’ll see a set screw, it is the slip fit or on the type.
- Threaded: The tub spout that has no hole or set screw and directly gets inside the threaded nipple or pipe is the threaded type.
Types of Slip Fit Vs Threaded
When it comes to types, know that the slip-fit tub spout doesn’t have a type due to its specific connection style (set screw).
If you compare the CWT slip fit vs NPT tub spout, it’ll be clear that there’s no thread available on the pipe (which holds the slip-on spout).
On the other hand, you’ll find 3 main types of threaded tub spouts in the market based on the connection area. And, these are front-end, wall-end, and telescoping spout. Let me explain each type below:
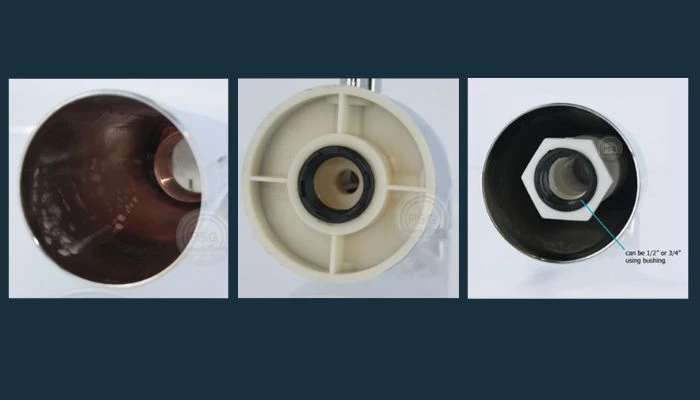
1. Front End Threaded Spout
It has a big hollow inside that can be used on a tub valve with or without a shower diverter made inside the tub valve. In this type of threaded spout, the thread is spotted at the front side of the spout (if you see it inside from the backside).
2. Rear End or Wall End Threaded Spout
Just like its name, this kind of threaded spout is installed directly on the nipple that is near the finished wall. Most of the time, it connects to the 1/2″ or 3/4″ pipe at the wall end with a Celcon bushing. You can clearly see its thread on the rear side.
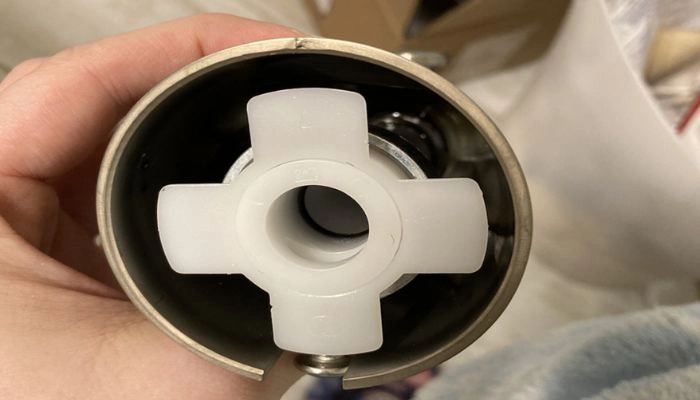
3. Telescoping or Adjustable Threaded Spout
As this type of threaded spout contains a telescope-shaped extension nipple (white part) inside, most folks know it as a telescoping or adjustable spout. It can be used in 1/2″ or 3/4″ threaded pipe with a Celcon bushing.
Installation Process
There’s a huge difference in installation on slip fit and threaded type if you ever use them in real life. Let me explain it so you can catch the point:
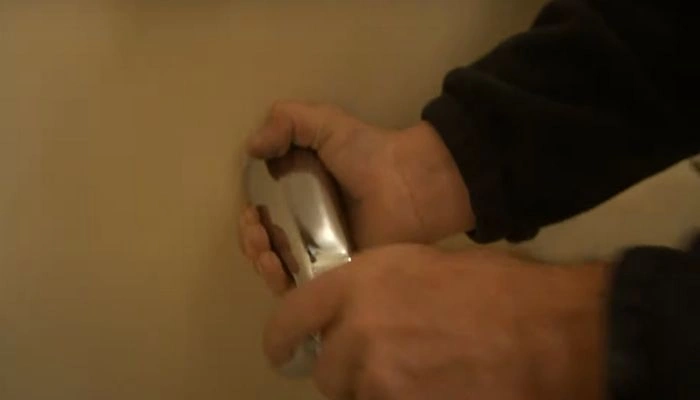
Installing Slip Fit Tub Spout
Step 1: Preparation
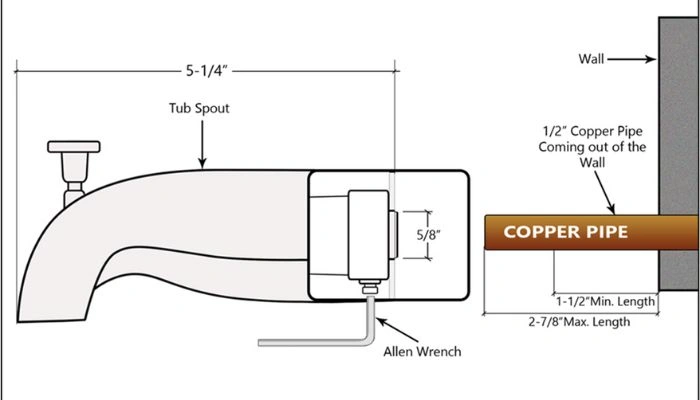
Start by turning off the home’s water supply. Then, confirm the pipe that’s coming from the wall is the right size. For that, check these points before going to the next step:
- The copper pipe should be around 1″ – 2-7/8″ at max long and 1/2″ wide based on the tub spout.
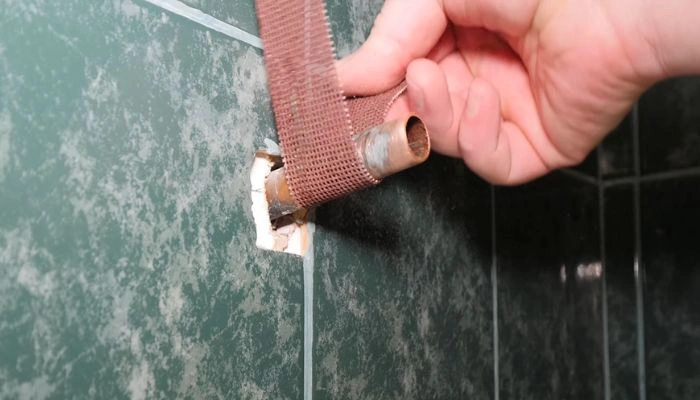
- If the copper pipe is shorter than the minimum length, then insert an adapter to fit the slip-fit tub spout.
- If the copper pipe is longer than the max length, then cut it with a hex saw or plumbing cutter.
- Be sure to sand the pipe’s surface with sandpaper and use grease to keep it rust-free for a long period.
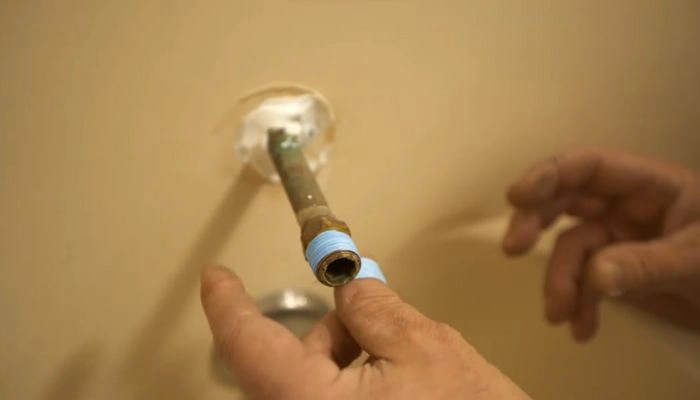
Step 2: Insert the Slip-fit Tub Spout
Then, wipe the pipe with a soft lint-free cloth to remove the dust. Next, slide the new slip-fit tub spout inside the copper pipe and push it to the end of the wall.
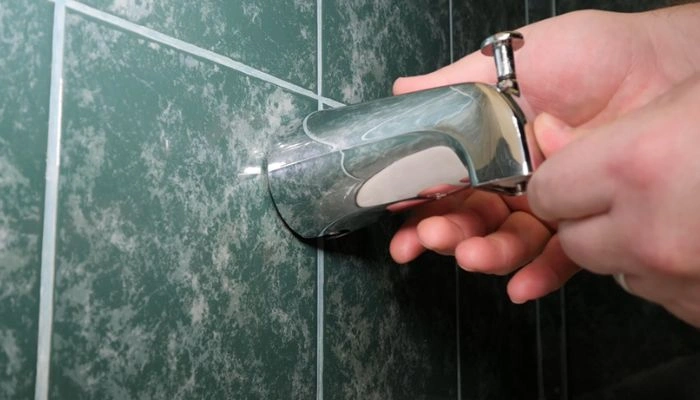
Be sure to use some pressure to slide it to the end.
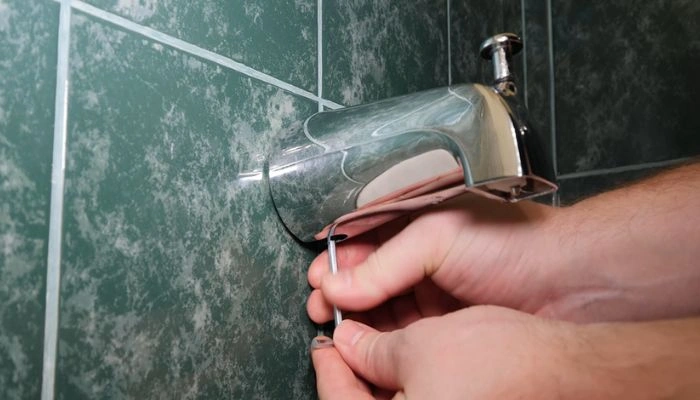
Step 3: Attach and Tighten out the Set Screw
After that, insert the set screw and tighten it out with an Allen or Hex wrench. Just keep on twisting it until the set screw locks into place.
Step 4: Flush the Water
Next, turn on the water supply and flush the water based on the owner’s manual guidelines as each brand offers diverse methods for this.
Installing Threaded Tub Spout
Step 1: Preparation
To begin with, turn off the water supply of your home. Then, check the pipe length which should be the same with the new threaded spout. Here’s the length of each new spout:
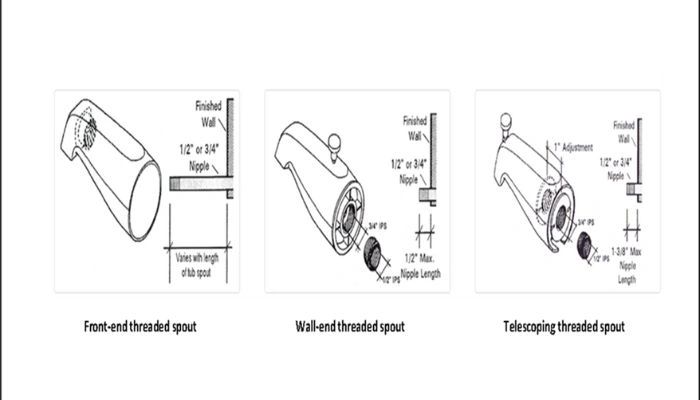
- For the front-end threaded spout, the pipe should be around 4″ – 5-1/4″ long. Then again, if the threaded spout is wall-end type, the nipple should be 1/2″ long. However, if it’s telescoping type, then it should be 1-3/8″ long at max.
- If the copper pipe seems longer than the spout’s length, then cut it with a hex saw. But, if it’s shorter, then add a right-size adapter to use the threaded spout.
Step 2: Add Silicone Sealant and PTFE Tape
Then, use some silicon sealant on the end of the wall where the pipe meets to avoid leakage. Be sure to smear it with your index finger.
Next, insert the thread sealing tape (PTFE or polytetrafluoroethylene) around the threaded part of the nipple or pipe. It’s best to wrap the thread 4 – 6 times to ensure watertight sealing.
Step 3: Install the Threaded Tub Spout
After that, attach the threaded spout to the pipe and push it all the way to the wall. Then, twist it using your hand until the spout gets locked in a vertical state.
Step 4: Flush the Water
Lastly, turn on the water and flush it based on the manual that the manufacturer offers with the product.
Wrapping Up
After knowing the slip fit vs threaded tub spout comparison, it’s clear that both connection types are ideal for specific individuals.
If you prefer easy installation, then the slip-fit tub spout would be an ideal choice. Or else, go for the cost-friendly threaded tub spout.
Hope this guide helps you with the needed details and information. I’ll see you with new content soon. Bye!


![How To Measure Tub Spout Length? [Do-It-Yourself Guide]](https://faucetfam.com/wp-content/uploads/2023/06/How-To-Measure-Tub-Spout-Length-768x448.jpg)
![How You Can Temporary Fix a Leaky Bathtub Faucet? [Solved]](https://faucetfam.com/wp-content/uploads/2023/07/Temporary-Fix-a-Leaky-Bathtub-Faucet-768x448.jpg)