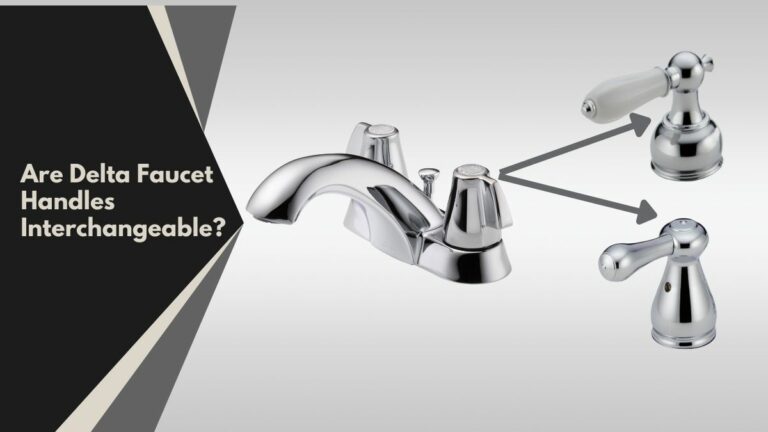
Delta Single Handle Kitchen Faucet Leaking at Base! [Solved]
A leaking kitchen faucet can be a nuisance. Not only will you need to deal with constant drips, but wasted water can also raise your water bill.
And the problem is pretty prevalent. Even the Delta kitchen faucets can leak at the base!
The kitchen faucets can have a leakage at the base for worn-out parts. Generally, the O-rings wear out, which makes them fail to offer the correct sealing. And that eventually causes the water to seep out from the base.
So, what should you do when you find that the Delta single-handle kitchen faucet leaking at base?
You will soon learn about the troubleshooting steps if you keep reading.
How Do I Stop My Delta Kitchen Faucet from Leaking at the Base
You can fix the Delta kitchen faucet leaking at base issue by simply replacing the O-rings of the faucet. And to do so, you need to follow these steps −
1. Shut the Flow of Water
Before you do anything to the tap, you must ensure that the water flow is off. And you can close the flow of water by shutting off the valve under the cabinet.
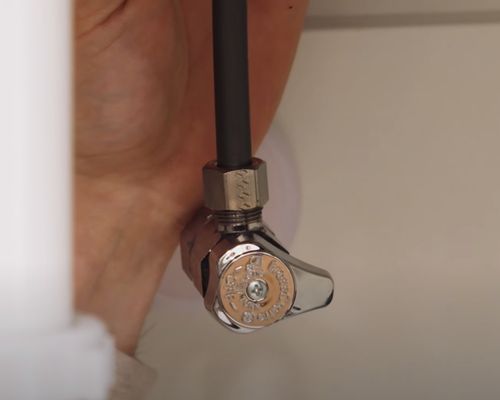
However, if there is no valve under the sink, you should turn the main water line off.
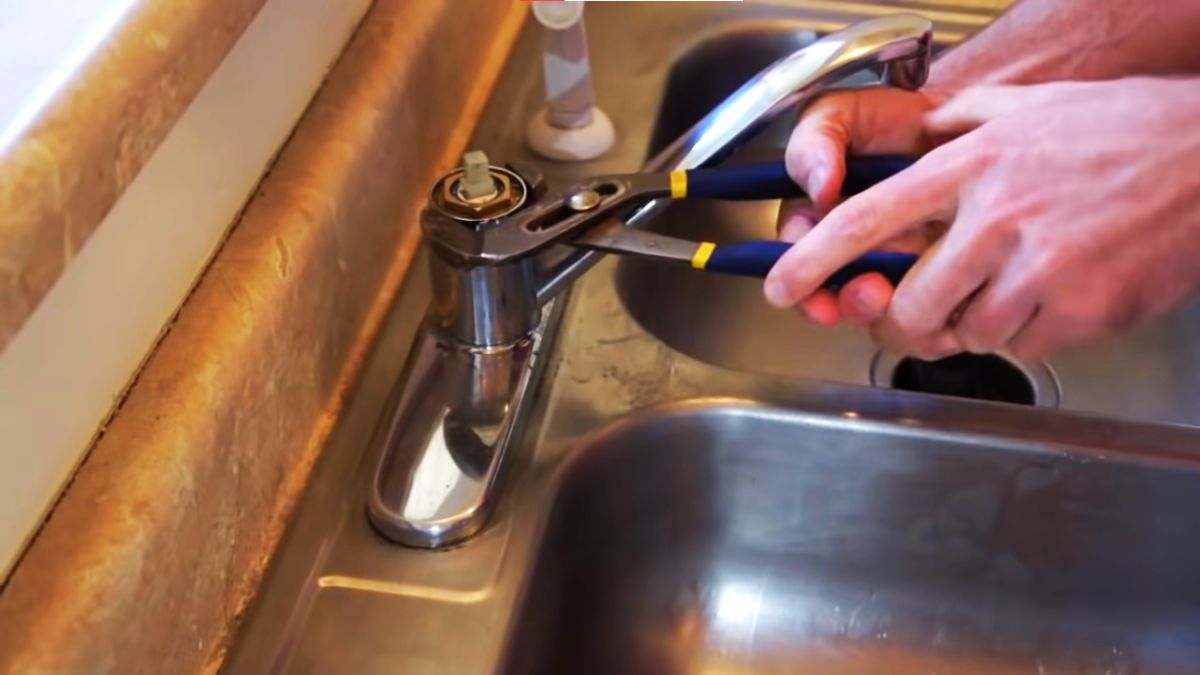
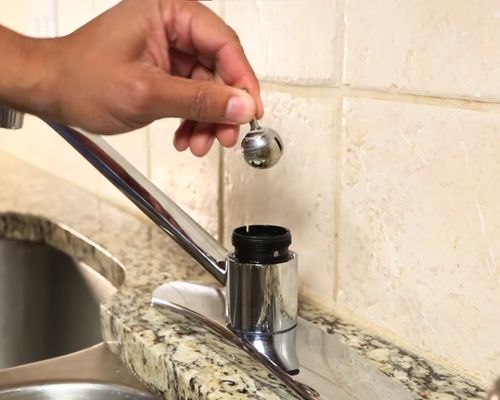
2. Take the Hex Nut out
Get an Allen wrench and remove the hex nut on the handle. You will need a 1/8-inch Allen wrench to take the nut out.

Wondering where this nut is? You will find it rind under the handle.
In some of the single-handle faucets of Delta, there can be a plug over it.
If you find one, just use a flat-head screwdriver to pry off the protective plug. After taking this nut out, the handle should come right off. Just gently pull on it.
On that note, if you find it hard to locate the hex nut, refer to the Delta faucet repair diagram.
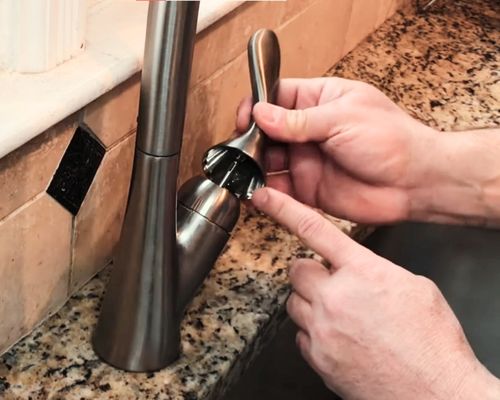
3. Remove the Trim Collar
Grab the collar that is on the top of the faucet body. Rotate it counterclockwise to take it out.
If you are failing to get a good grip on it, you should wear a pair of rubber gloves. Putting a little downward pressure on it should allow you to remove it easily.
No matter what, do not use any tools such as a wrench. The tool will only put marks on the part, which will not look good on the faucet.
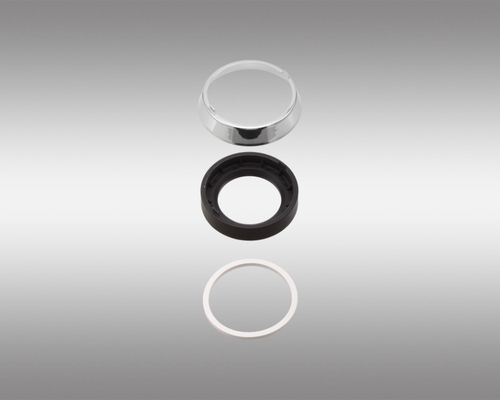
4. Take the Ball and O-Rings out
Once the trim collar is out, you can see the ball of the Delta single-handle faucet. You will need to remove it.
Afterward, you will be able to see the gaskets or the O-rings. These are your primary concern, which you have to take out.
5. Clean the Ball and Other Parts of the Faucet
Now that you have easy access to the inside parts of the faucet, you should clean any of the deposit. And if you did not clean the inside for a while, there would be a lot of gunk.
If there are too mineral deposit is too much, you should leave the ball in a vinegar-filled cup overnight.
The vinegar will loosen up the sediments and allow you to easily wipe it clean with a brush. You can take the springs out to do a little bit of deep cleaning.
For that, you will require a flat-head screwdriver. Use it to pry the springs. Clean the springs too.
6. Inspect the Parts and Make Necessary Replacements
Once you are done cleaning the parts, it’s time for you to check them. The first order of business would be the gaskets.
Look for any signs of wear, tear, and cracks. If you find any, install new O-rings.
The second concern is the springs. Worn-out springs can also cause the base of the Delta faucet to leak.
See whether there is any visible damage on them. Replace them if required.
On that note, to install new springs, you can use the screwdriver.
Fit the springs around it and then push them in place. Hold the springs with your finger, and then slowly remove the screwdriver.
7. Reassemble the Parts
Done with putting the new parts in place? It’s time to put things back!
Put the ball back if you have already placed the new springs and gaskets. Wear rubber gloves and tighten the top collar.
If you want to tighten the trim collar, wrap them up with the gloves and use a pair of adjustable pliers.
Place the handle and then put the retaining nut back in place. Tighten it properly with the Allen wrench.
Finally, turn the water line on. There should not be any leaks.
Frequently Asked Questions
1. Why is Delta single-handled faucet leaking from the spray head?
There can be debris accumulation in the diverter assembly. You will need to clean it to mitigate the leak. However, you should replace the spray and hose assembly if the leak is still there.
2. Why is Delta single handled faucet leaking under the handle?
The ball assembly needs to be replaced when there is a leak under the handle. You should also check whether the cam and packing of the faucet are in good condition. Replace them if required.
3. Why is Delta single handled faucet leaking from the aerator?
Worn-out seats and springs can initiate leaks from the aerator. You should replace them after disassembling the faucet. If the leak persists, you must change the ball assembly.
Final Words
Are you asking yourself the question− why is my Delta kitchen faucet leaking at the base?
Well, it is due to damaged O-rings. And as you can see, the troubleshooting steps for the Delta single-handle kitchen faucet leaking at base issue are pretty easy to fix.
So, before you replace your delta faucet handle, go through those steps and see whether the issue is still there.