Why Delta Shower Faucet Leaks When Turned Off? (Fix It!)
Leaks are tiny little holes that bring huge frustration and can proceed to make things terrible if not taken care of early. Discovering your Delta shower faucet leaks when turned off must be annoying, but you need to sort things out before it gets worse.
To fix the delta shower faucet that leaks when turned off, you need to identify the exact cause of the leak. The most common solution is cartridge replacement. You may need to change the valve or its parts. Some models require replacing the cam and packing as well as tightening the adjusting ring.
In this guide, I will try to break down the common causes and suggest a few solutions you should give a try.
Exactly What Causes a Delta Shower Faucet to Leak?
Can a leaking shower be repaired without professional help? Actually, it depends on the root cause.
A leaking shower can be repaired if the cause behind the leak is fixable. In terms of some minor issues, such as a damaged shower head, worn-out seals, or loose connections, the leak will be easy to fix. However, severe plumbing damage to the shower system causing the leak might be difficult to repair.
And that brings us to discuss a bit about the most common causes of a Delta shower faucet leaking.
1. Internal Seats and Springs Have Deteriorated
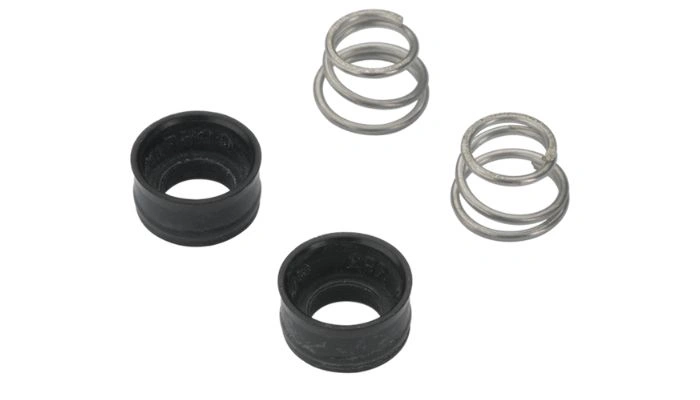
This is one of the main reasons behind shower faucet leaks. The internal seats and springs are prone to deterioration over time.
So once those wear out, the seats and springs will cause the spout to drip water. The seats fail to provide the right seal, while the spring can’t give ample pressure, leading to water dripping.
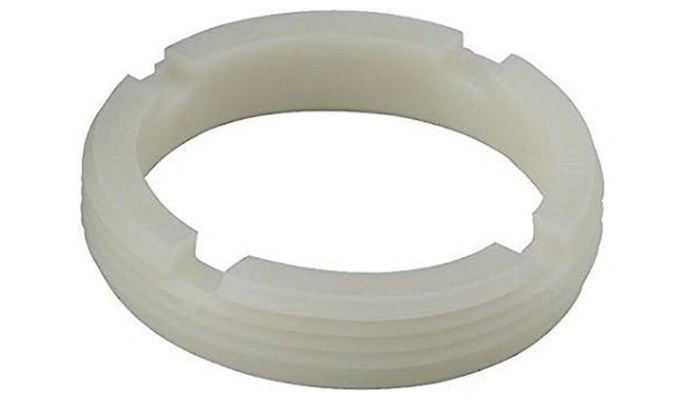
2. Loose Nuts or Adjusting Rings
If you find leaks near the base of the handle or in the nut area, this is most probably the cause. The adjustable ring that stays right underneath the handle can also be loose. In some cases, the ring becomes worn out and requires a replacement.
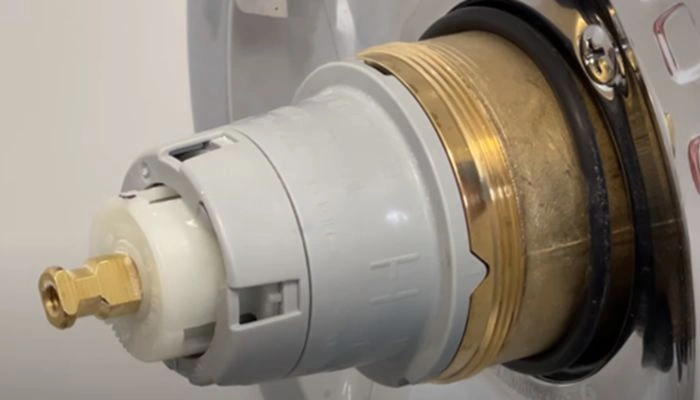
3. Damaged Valve or Cartridge
Having a broken seal due to a faulty cartridge or shower valve can likely be the case as well. Damage to these components can cause gaps and cracks.
And it leads to water escaping the faucet causing leaks. You will need to replace the cartridge or valve to fix the problem.
If the cartridge and valve are intact, the alignment of these components could be improper. This can also cause leaks.
4. Damaged Faucet Body
You want to carefully check the body of your Delta shower faucet. Sometimes the root cause of leaks is cracks and damage to the body of the faucet. This can lead to water dripping even when the valve is shut off.
5. Improper Installation or Maintenance
And finally, if you are dealing with leaks in a new Delta shower faucet, make sure the installation was done correctly.
This is the most common reason behind a new Delta shower faucet leaking even when turned off. Also, you must be persistent with your maintenance routine.
Poor upkeep habits can cause mineral deposit accumulation, corrosion, and other damage to the faucet, compromising its performance and even leaks.
Keep in mind that some cleaning products can be too abrasive on the faucet. And the finish or internal components might get damaged.
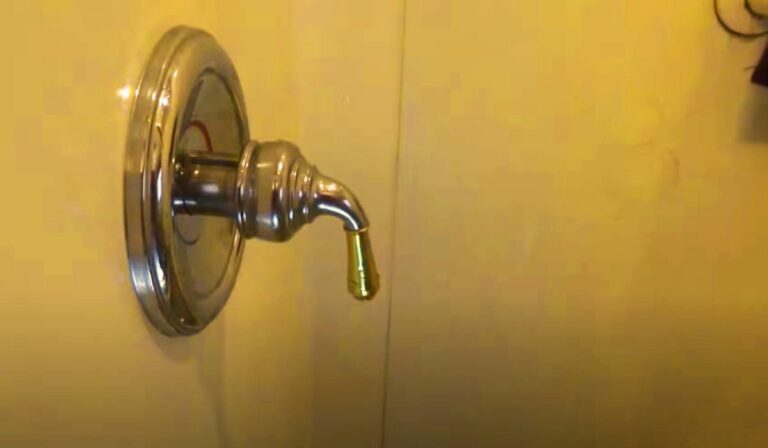
The location of the leak is also an important determiner of what fix you’ll need. If you are wondering why your Delta shower head is leaking when off, this could be due to two parts mainly.
Your Delta shower head leaks when off if the O-rings are worn out. It can also happen from damaged washers. You will notice water dripping from around the connection as the seal is no tighter.
If the washer is not damaged, then there might be other issues with it. Poor installation, wrong size, and low-quality washers can also result in the same problem. The Delta shower won’t stop running from the leaking spot until you fix the washer issue.
Troubleshooting a Delta Shower Faucet that Leaks When Turned Off
To troubleshoot a leaking Delta shower faucet, the most common step is replacing the cartridge or the shower valve. So, to replace the cartridge, you need the original Delta shower cartridge part for the model you have.
The instructions for the replacement can be different based on which model of Delta shower faucet you have. Find the most specific method in the installation manual.
Now if the cartridge is not the culprit here, you can try the following troubleshooting.
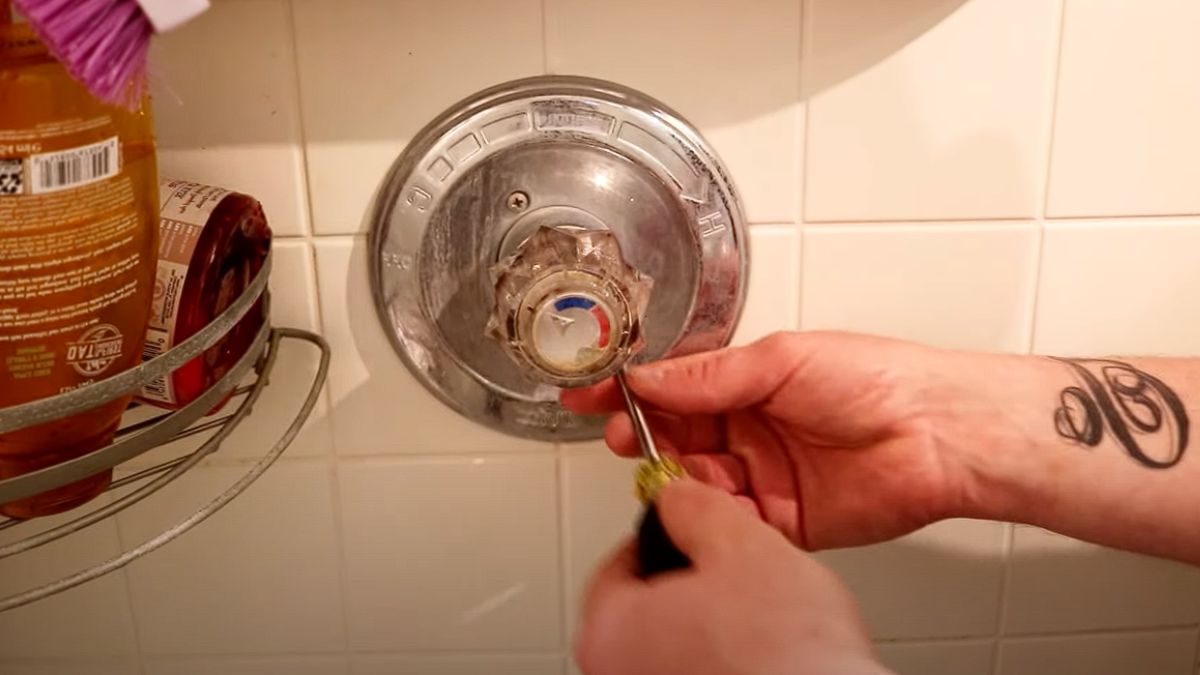
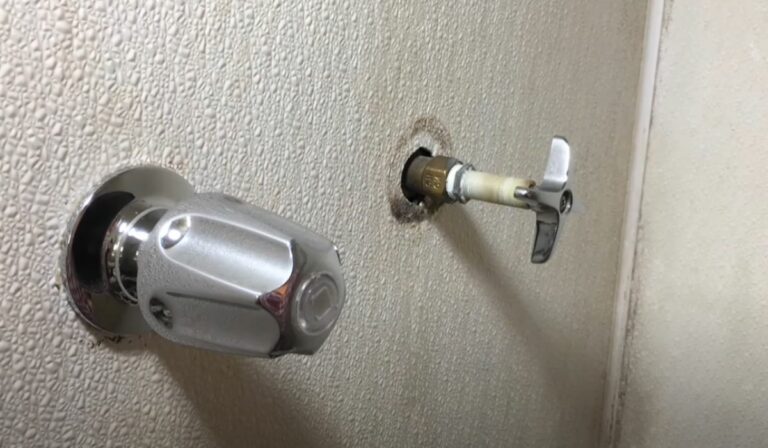
Fixing a Delta Single Lever Shower Faucet Leaking Under the Handle
If you are dealing with a single lever delta shower faucet leaking from the handle and it is a non-pressure variant, then there are two solutions to try.
- Tightening the adjusting ring.
- Replacing the cam and packing.
To fix the leaking delta shower faucet, you may only need to tighten the adjusting ring. Keep tightening until you find the stem is leaking no water, no matter which mode the faucet is in. The pressure must also be extended down on the handle.
Keep in mind the looseness or tightness of this adjusting ring will also determine how easily or hardly one will be able to use the handle. Too much tight adjusting ring can cause premature damage to the seal surfaces.
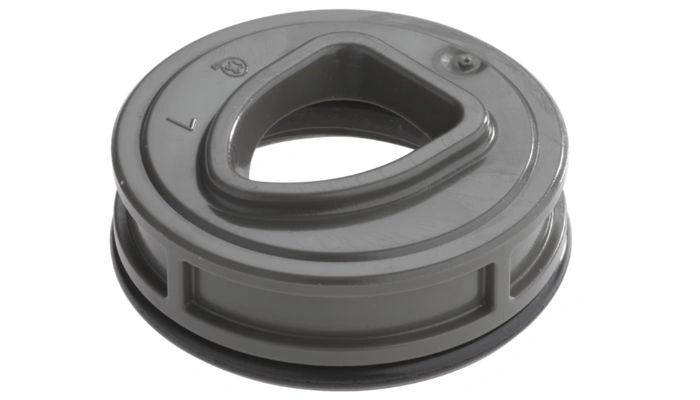
Now in some cases, just tightening the adjusting ring won’t be enough. You will need to get genuine Delta parts for the cam and packing for replacing these. Plus, you can also try finding a Delta single-handle shower faucet repair kit that includes these parts.
Here’s how to fix the leaking Delta shower faucet by replacing the cam and packing and then tightening the adjusting ring:
Fixing a Delta Two-Handle or Three-Handle Shower Faucet Dripping from Spout
In this case, you need to determine whether the hot or cold valve is behind the leak. Fixing a hot water leak in the shower faucet may require replacing the corresponding valve.
If you have changed the cartridge and the new delta cartridge is leaking, chances are the shower valve is faulty. Also, hearing a kettle-like sound in the shower is a huge indicator that there’s something wrong with the valve.
Here’s How to Fix Delta Shower Faucet by Replacing Seats, Springs, Stem Assembly, or Valve (Hot or Cold):
The problem still exists means that probably the valve is faulty. If the valve is more than 12 years old, this is likely the case.
Replace the old valve and this should solve the problem. In my guide to fixing a hard-to-turn shower handle, I’ve already discussed the shower valve replacement process that you can check.
How to Identify Delta Shower Faucet Model?
No matter the cause of the leak in your Delta shower faucet, you will require some information based on what model it is.
If you are not sure which model you have, it will be hard to identify genuine Delta replacement parts as well. So exactly How do you know what model Delta shower faucet you have?
To know what model Delta shower faucet you have:
How Do I Stop My Delta Shower from Leaking?
If you want to stop your Delta shower from leaking and causing this unwanted repair hassle, there are some maintenance tips you must consider following.
Wrapping Up
And there you have the idea of why a Delta shower faucet leaks when turned off and how you can fix the situation.
Keep in mind that plumping systems are quite complicated. And so if your shower system is facing some serious issue, it may not be easy to identify yourself.
This is why it’s important to call a professional plumber when you sense the problem is hard to handle on your own. That’s all for today! I will be back with a similar guide soon, take care till then!
![Delta Single Handle Kitchen Faucet Leaking at Base! [Solved]](https://faucetfam.com/wp-content/uploads/2023/03/Delta-Single-Handle-Kitchen-Faucet-Leaking-at-Base--768x432.jpg)
![Shower Diverter Is Not Fully Diverting [Solved]](https://faucetfam.com/wp-content/uploads/2023/08/Shower-Diverter-768x448.jpg)
![Shower Turned Off But Water Still Running? [Solved]](https://faucetfam.com/wp-content/uploads/2023/06/Shower-Turned-Off-But-Water-Still-Running-768x448.jpg)