Delta Faucet 467 DST Troubleshooting: Complete Guide
Delta faucets are one of the best in quality and durability. But you can not forget that they still have moving parts inside.
For example, look at the Delta 467-SS-DST parts in the manual. There are numerous moving components. And these can malfunction at one point or the other, which makes the faucet output issues.
Among all, the most common problems are the Delta 467-DST leaking, the handle making a squeaky sound, and water pressure loss.
The good news about all these problems is that they are not challenging to fix. You just need to follow the correct Delta faucet 467-DST troubleshooting steps.
And if you want to learn more about these steps, you should keep reading.
Delta 467-DST Leaking from the handle
Is your Delta faucet 467-DST not working as it should?
Are you tired of it leaking water? Fret not; these troubleshooting steps will let you get the faucet up and running normally in no time at all:
1. Turn the Water Line off
Before anything else, you should shut the flow of water. For that, rotate the water line valve that is under the sink.
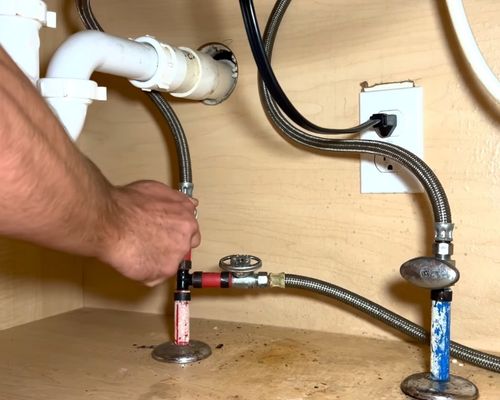
Don’t see a shut-off valve? In that case, you must turn the main water line off.
2. Remove the Handle
Use an Allen-head screwdriver and unthread the fastener that is on the handle. Afterward, gently pull the hand and take it off.
3. Unthread the Trim Cap
There should be a trip cap right underneath the handle. Rotate it counterclockwise and remove it. Wear gloves if you are failing to get a proper grip on the trim cap.
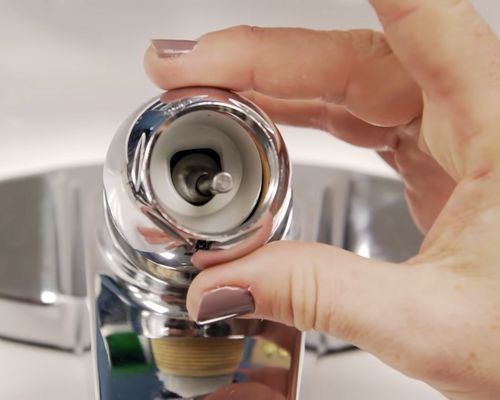
4. Tighten the Bonnet Nut
Taking the trim cap should expose the bonnet nut. And when this nut loosens up, there will be leakage on the handle. Get yourself a wrench and tighten it up.
After you have tightened the bonnet nut, put the trim cap back in place and secure the handle. There should not be any leakage afterward.
Delta Faucet 467-DST Leaking After Tightening the Bonnet Nut
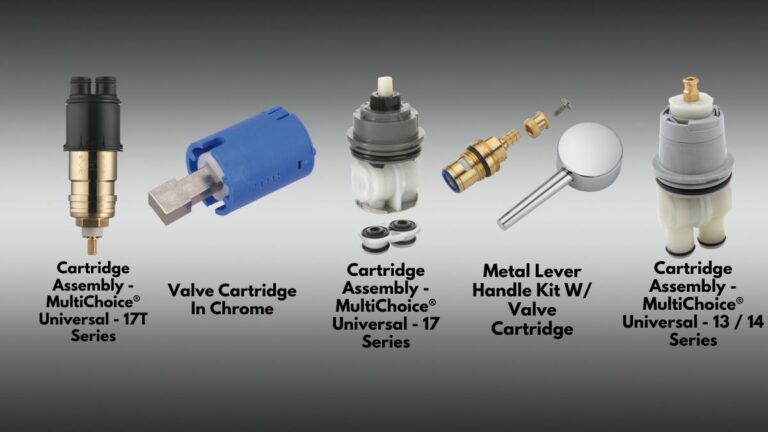
Is the faucet still leaking? In that case, you will need to replace the valve cartridge.
Claiming Delta faucet free parts will make this a cost-free fix. Nonetheless, to replace the valve cartridge, these are the steps you need to follow.
1. Turn the Water Line off and Take the Handle out
Shut the water flow by turning off the shut-off valve or the main line. Then, use an Alle-head screwdriver to take the Allen screw out of the handle. Once unscrewed, remove the handle.
2. Remove the Trim Cap and Take the Bonnet Nut out With a Wrench
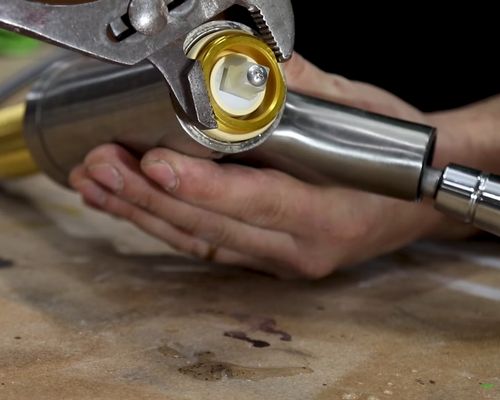
Once the handle is out, you should unscrew the trim crap. Grab and rotate it counterclockwise. Then, get yourself a wrench and unscrew the bonnet nut.
3. Install the New Cartridge
You will see the faucet cartridge once the bonnet nut is out.
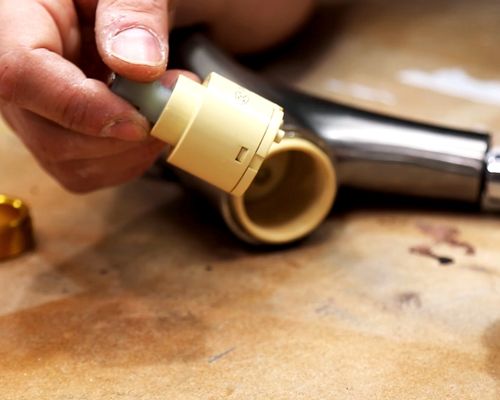
Test whether the leak is still there.
Delta 467-DST Faucet Handle Squeaking
A squeaking handle is not a major issue, but it can indeed be annoying. And even if it does not hinder you from using the faucet, the fix is pretty straightforward.
So, why use a squeaky faucet when the steps below can make the handle work like it’s brand-new again?
1. Shut the Water Line and Remove the Handle
First, turn the water flow off. You can do that by activating the shut-off valve or turning the main line off.
Then, use an Allen-head screwdriver to unscrew the fastener on the handle. You should be able to get the handle out.
2. Clean the Threads and Check Them
Debris and sediments can accumulate on the threads of the handle. These will make it make a squeaking sound when you are trying to activate the faucet.
Clear them out and inspect the threads. Do they appear to be worn out?
In that case, you should move to the next step. If they seem to be fine, reassemble all the parts.
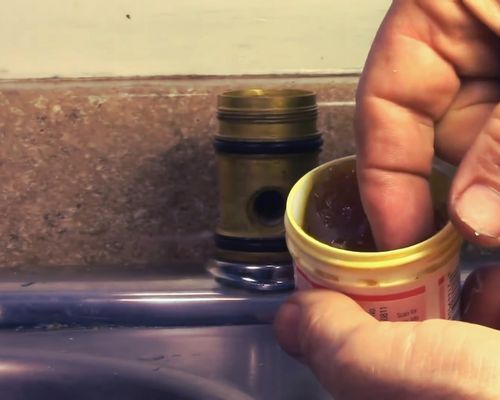
3. Coat the Threads With Plumbers’ Grease
The simple fix for worn-out threads would be applying plumbers’ grease. Apply a generous amount of it on the ones that appear to be damaged. And then reinstall all the parts.
Delta 467-DST Faucet Low Water Pressure
The water pressure of Delta 467-DST should always be stable. So, when it suddenly drops down, it means that there is something wrong with the faucet.
Go through these steps to troubleshoot it −
1. Disassemble the Faucet
You need to look inside to figure out what is wrong with the faucet. For this, you should first take the handle out, then the trim cap, and finally, the bonnet nut.
Refer to the user manual if you need help with disassembly. Also, take the aerator out.
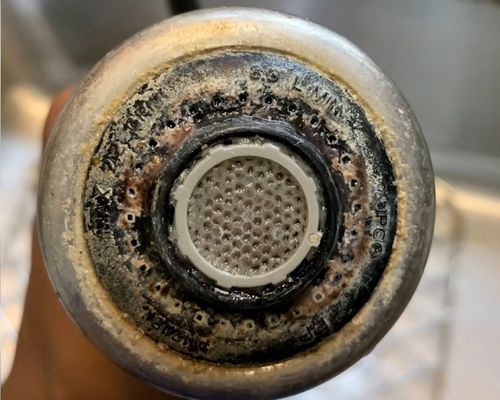
2. Inspect for Limescale and Mineral Buildups
Do a visual inspection of the inside parts. You should see mineral buildups, as it is the primary reason the water pressure drops.
But if everything looks good, the pressure drop might be due to a misadjustment on the water line. Put everything back in place and check the main water pipe.
3. Clean the Buildups If Found
Use vinegar and a soft-bristle brush to get rid of the limescale buildups. And for the aerator, you need to leave it inside a warm water and vinegar solution overnight.
Rinse all the parts with clean water and reinstall them. Remember to tighten the nuts and screws appropriately. Otherwise, there will be leaks.
Final Words
See? The Delta faucet 467-DST troubleshooting methods are not that hard to follow. However, when there are issues after going through the steps, it would be better to call a plumber.
And if you are looking to troubleshoot the Delta Touch faucet, replacing Delta faucet battery will work like a charm!

![Delta Touch 2 O® Troubleshooting Guide [Solved]](https://faucetfam.com/wp-content/uploads/2023/03/Delta-Touch-2-O®-Troubleshooting-768x432.jpg)