Easy Guide to Moen Faucet Spray Hose Replacement: Tips and Tricks
As soon as you figure out there’s a need for a Moen faucet spray hose replacement, your next step should be about understanding the right procedure regarding it. And today, I am here to help you with that.
So exactly how do you replace a Moen faucet sprayer hose?
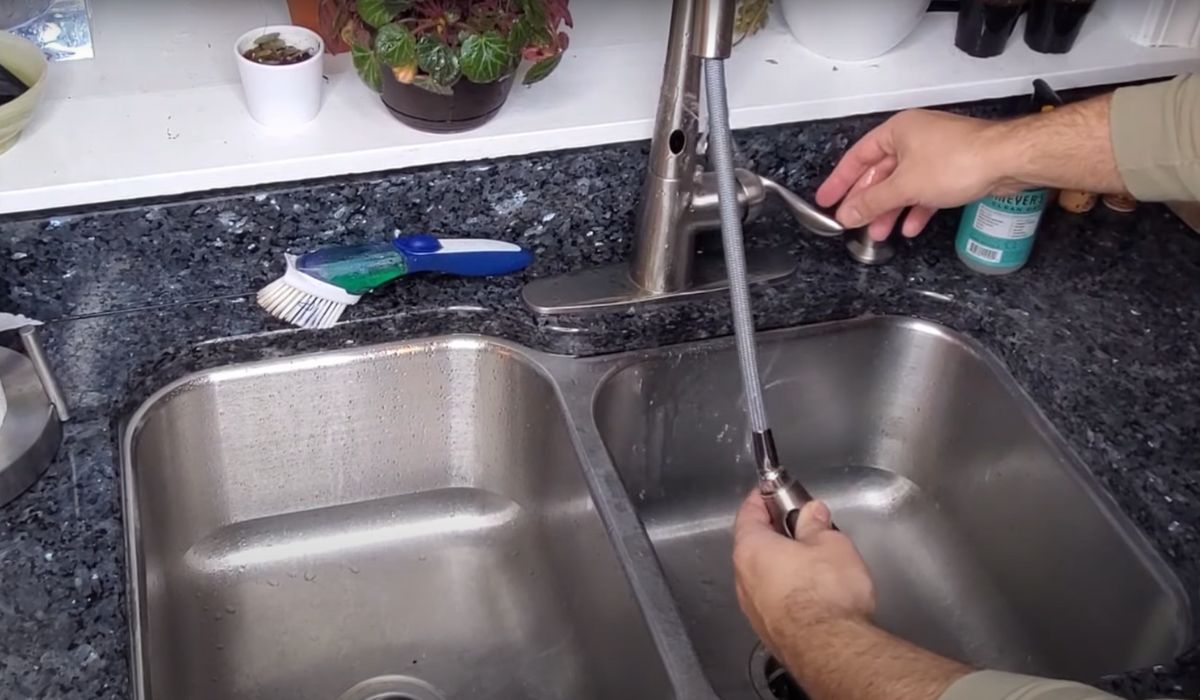
To replace a Moen faucet sprayer hose, you need to remove the hose weight and then the previous hose from the faucet (this can be different based on the Moen hose type). Now in its place, you need to install and feed the new hose (with the sprayer attached) to the faucet end.
Let’s dig a little deeper to understand this process better.
Key Takeaways
Signs that It’s Time for a Moen Faucet Spray Hose Replacement
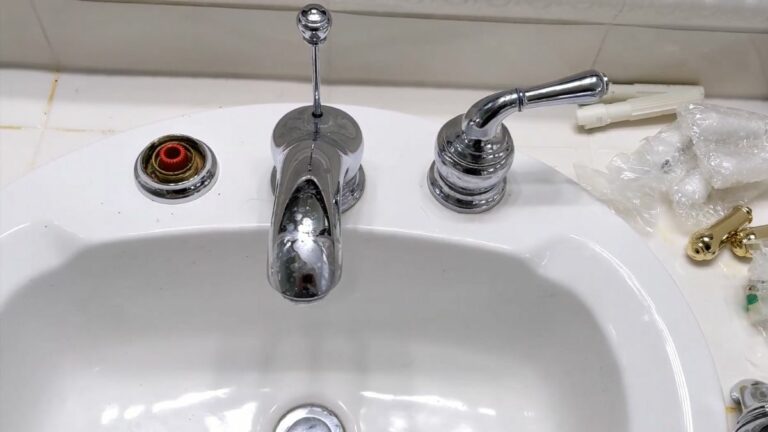
Often the need for replacement arrives from Moen kitchen faucet hose leaking. Now not all types of leaks require a replacement of the spray hose. And that’s what you need to make sure of first.
After Turning on Sprayer If You Find a Leak, Determine the Exact Location for Specifying the Required Action Like This
Let’s discuss how do you fix a Moen kitchen faucet hose that needs replacement.
The Moen Faucet Spray Hose Replacement Process Based on Hose Type
Before you start using a general replacement process, there is one question to clarify. Are all faucet hoses universal? Not really!
Faucet hoses may not be universal as the connecting valve of the faucet is available in various configurations and lengths. Also, different types of hoses can make it hard to interchange.
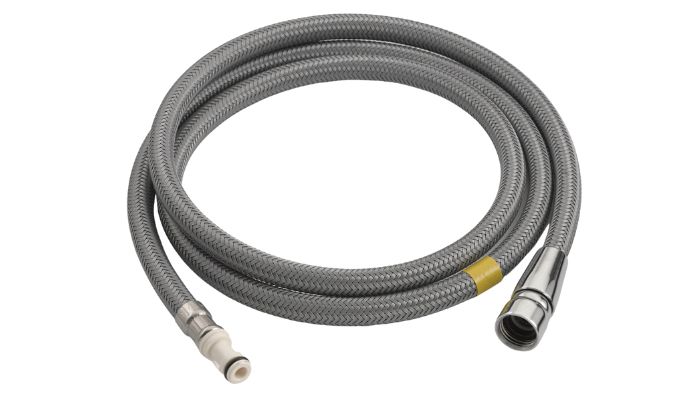
Here are some notes on the 150259, 159560, and 131381 Moen hoses that you need for replacement:
- 150259 Moen hose suits a pulldown style faucet that connects under the deck with the faucet hose end and is usually non-metallic or brass. The spray wand hose connects above the deck and it is a non-metallic or chrome fixture.
- 159560 Moen hose suits a pullout style faucet that also uses under-deck available faucet hose ends to connect. This is usually non-metallic or brass. The spray wand hose is also a non-metallic or chrome fixture and connects above the deck.
- 131381 Moen hose works for both a pulldown and pullout style faucet that also connects the underdeck with the faucet hose end. This one is also similar material as the previous ones.
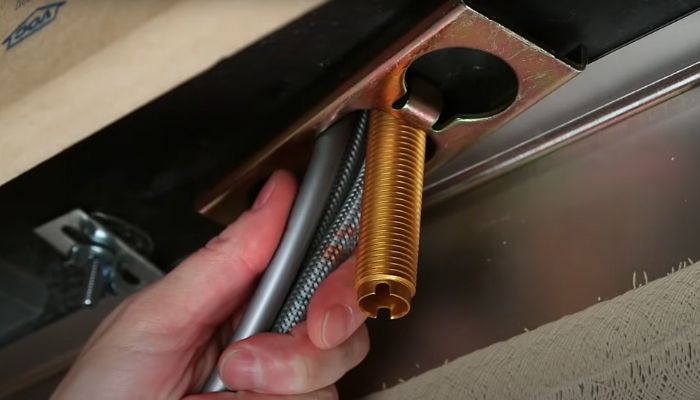
Moen Faucet Threaded Hose Type Replacement
This faucet hose includes one female or male threaded end for connecting with the metal faucet body.
Moen Faucet Single Quick Connect Hose Type Replacement
This type comes with a female threaded end on the hose for threading onto a plastic-made quick connect, which later snaps into the metal-made faucet body.
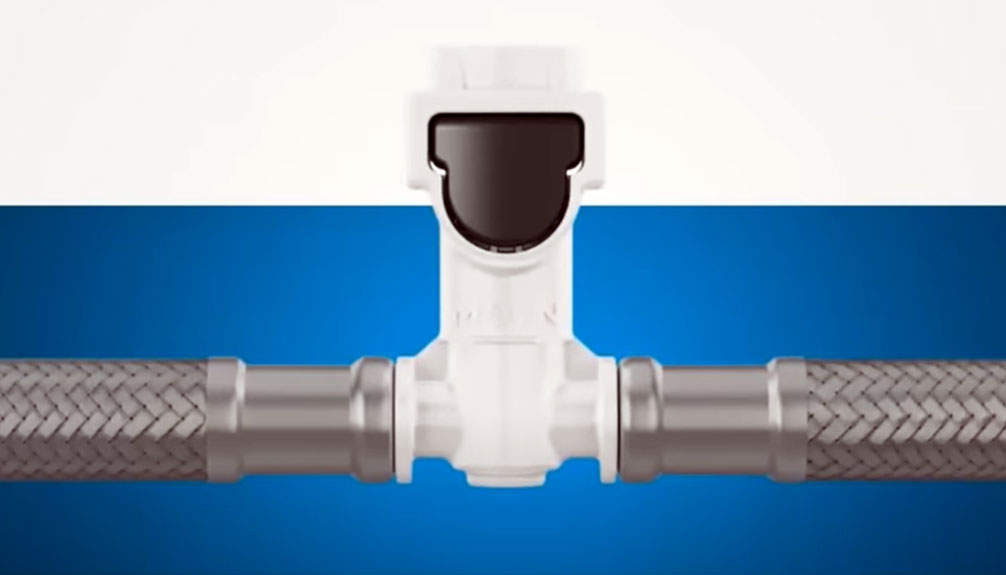
Moen Faucet Double Quick Connect Hose Type Replacement
This type comes with two white or black release tabs. One side connects with the faucet body and the other goes to the faucet hose for making a connection.
Moen Faucet Built-In Single Quick Connect Hose Type Replacement
This type comes with an integrated plastic connector that connects to the faucet body extended tube permanently. There is just a black or white release tab.
Using Moen Replacement Hose Kit – The Easy Way
If you don’t want to go through the hassle of getting the hose and needed fixture separately, it may be a good idea to buy a model-specific Moen replacement hose kit.
These are great as all the needed items are pre-assembled. You just need to take things out and start repairing them.
This can also be a cost-effective solution, as kits are affordable usually. If you are a person who handles a lot of home repairs on your own, this route will be super simple for you as there are guided instructions provided that should be no big deal for you to understand.
Also, you can easily access the kits that will be compatible with the faucet. Let me help you a little.
- 150259 Hose For Moen Pulldown Faucets – Try This Moen Replacement Hose Kit
- 159560 Hose For Moen Pullout Faucets – Try This Moen Replacement Hose Kit
- 131381 Hose For Moen Pullout Faucets – Try This Moen Replacement Hose Kit
- 131382 Hose For Moen Pullout Faucets – Try This Moen Replacement Hose Kit
Wrapping Up
There you have all the needed information for a smooth Moen faucet spray hose replacement.
I hope this guide helps you to fix the hose situation without any extra hassle. Make sure to check for all the other parts while dissembling, to replace anything worn out.
I will see you in my next guide soon. Bye!


![Moen Touchless Kitchen Faucet Not Working [Causes and Fixes]](https://faucetfam.com/wp-content/uploads/2023/02/Moen-Touchless-Kitchen-Faucet-Not-Working-768x432.jpg)