Outdoor Faucet Leaks When Turned On and Off [Solved]
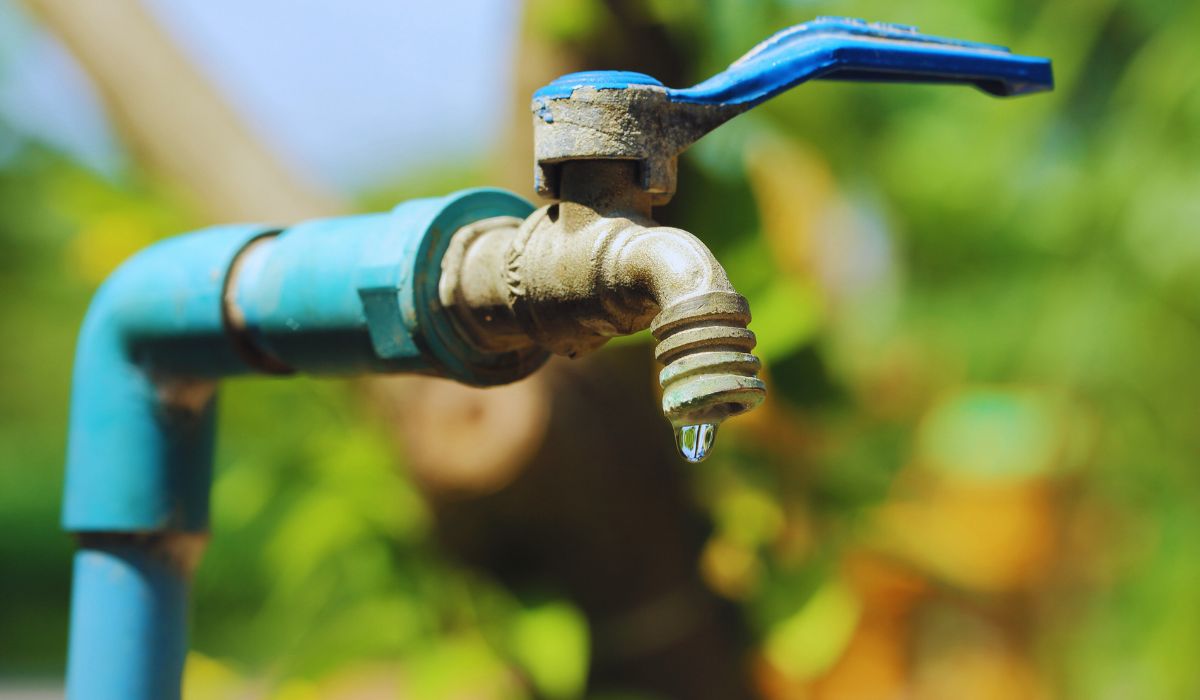
Water dipping from the outdoor faucet can cost a lot by raising the water bills. But you can fix it by identifying the causes and following the right solutions.
If your outdoor faucet leaks when it’s turned On or Off, it’s occurring due to damaged or loosened-up internal parts. Sometimes it happens when the part itself needs replacement.
Whatever the issue is, here I’ll break down the two kinds of leaking cases and show the causes along with fixes so you know it all. Let’s begin!
How to Fix Outdoor Faucet Leaking?
The leak in the outdoor faucet can happen in 2 conditions when it’s turned on or off. Based on the condition, I’ll explain the solutions to leakage for the most common outdoor faucet. Here’s the detail:
1. Outdoor Faucet Leaks When Turned ON
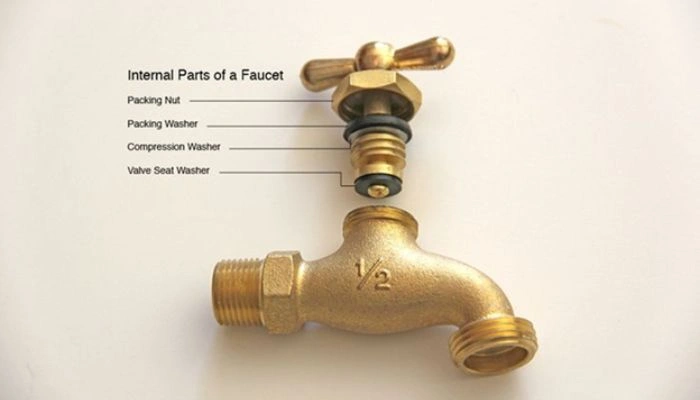
If your outdoor faucet leaks while it’s turned on, this occurs due to a loosen-up hex packing nut, broken gasket, or faulty faucet. To fix it, you’ll need to tighten out the hex packing nut, change the gasket, or replace the faucet. Here’s how to do it based on faucet type:
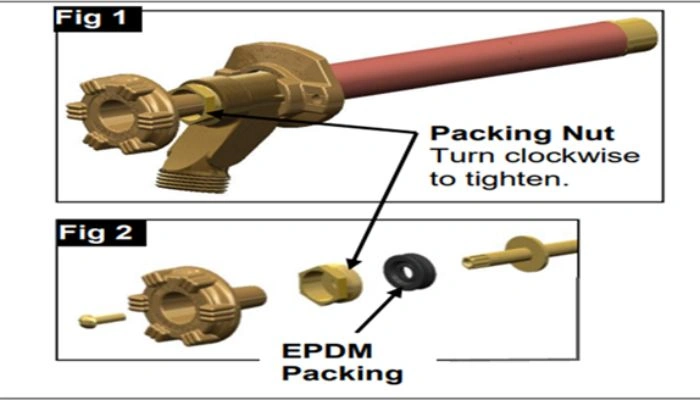
Step 1: Tighten Out the Hex Packing Nut
Start by tightening out the hex packing nut using an adjustable wrench. You’ll need to change the gasket to fix the anti-siphon, tap-style, or hose bib frost-free faucet leaks when turned on.
Step 2: Replace the Gasket in Hex Packing Nut
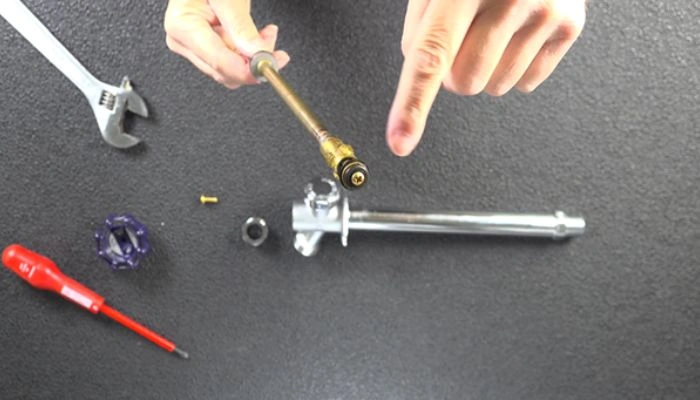
After that, unscrew the bolt with a Phillips screwdriver and then loosen up the hex packing nut by twisting it in an anticlockwise direction. Be sure to use WD40 spray to loosen up an outdoor spigot.
Next, remove the parts from the valve stem (long rod). Then, detach the gasket from the packing nut. After that, change the gasket and reinstall all the parts back to the place.
Step 3: Change the Outdoor Faucet
If this also doesn’t resolve the leaking issue inside, then you’ll need to change the faucet. For that, use a driller and drill some holes around the outdoor faucet.
Then, hold it with the adjustable wrench and keep on twisting it until the faucet comes out.
Next, bring the new faucet kit and attach some Teflon tape to the thread before you attach it inside the same spot. Twist it until the faucet sits tightly in place.
Then, use a cement and water mixture to cover up the drilled holes.
If your touchless faucet has no control box then the battery pack and solenoid of the faucet are inside the spout. At this point, you need to remove the body of the spout to access the battery pack and solenoid.
2. Outdoor Faucet Leaks When Turned OFF
In case your outdoor faucet seems to dip water when it’s turned off, this means the inner valve seat rubber is damaged or loosened up retainer screw. To troubleshoot it, change the inner valve seat or tighten out the retainer screw. Here are the instructions below:
Fixing Anti-Siphon Faucet Leaks
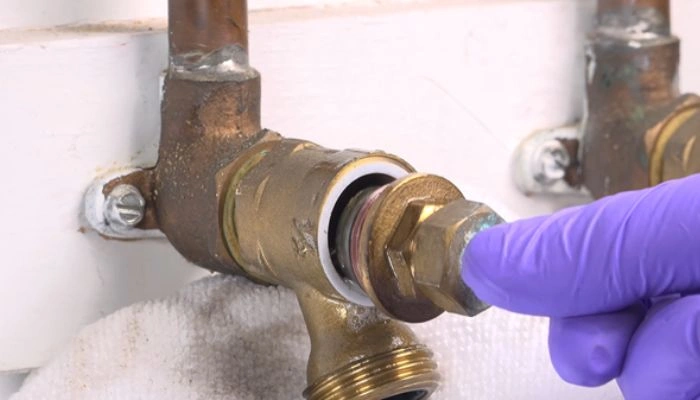
To fix the leakage in the anti-siphon faucet, you’ll need to unscrew the bolt from the spigot and twist the packing nut with the adjustable wrench. After that, remove the valve stem that is attached to the spigot and packing nut.
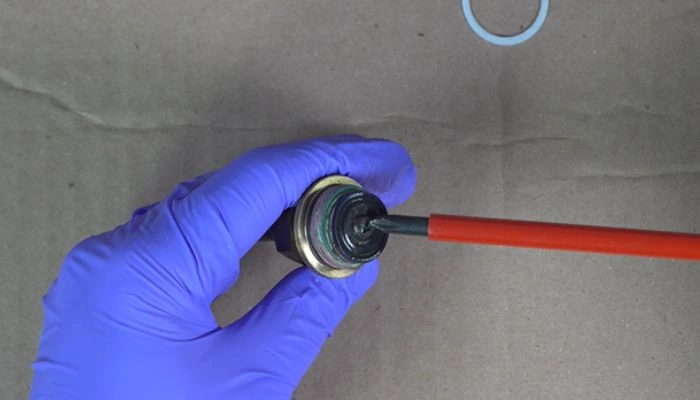
Next, check the end of the valve stem to uncover the valve seat rubber. Just detach the screw in the middle with the screwdriver and then remove the valve seat rubber.
After that, insert new valve seat rubber that is right in size and tighten it out with the same screw. And then reverse the process to put it back into place.
If your outdoor faucet contains a vacuum breaker assembly, then detach the cap to replace the vacuum breaker part as this can also cause leakage.
Fixing Hose Bib Faucet Leaks
To begin with, hold the outdoor faucet pipe with the adjustable wrench while twisting the packing nut using a wrench. If it doesn’t come out, use WD40 spray and wait for 10 minutes before removing the packing nut with the same tool.
Then, take out the packing nut which holds the valve seat rubber. Be sure to remove the white washer as well. After that, look at the bottom of the valve stem area and detach the middle screw using a screwdriver.
Next, take out the valve seat rubber and insert a new one with the right size. Then, tighten it out with the same screw and put it back in the spot after attaching the white washer. After that, reattach all the parts.
Fixing Tap-Style Faucet Leaks
As it’s quite different from the previous 2 types of outdoor faucets, the tap-style faucet leak mostly occurs at the handle area. To find the valve stem part, you’ll need to unscrew the packing nut with a wrench.
Next, twist the handle area and flip it upside down to find the inner valve seat washer or rubber. Then, unbolt the little screw with the screwdriver and change the valve seat rubber with a new one.
After that, tighten it out by using the same screw and tool. Lastly, put it inside the outdoor faucet body and tighten it out with the wrench.
Wrap Up
An outdoor faucet leak is a common thing that happens once a year if the inner parts get damaged. With the above instruction, you can easily save up to $1,000 for plumbing repair, which can be done in 10 minutes.
All you need is the tools and strength to open the packing nut (or use the WD40 lubricant to loosen it up). Hope this guide helps you to resolve the leaking issue in the outdoor faucet. Catch you in the next guide.

![How to Repair a Leaking Anti Siphon Valve? [Solved]](https://faucetfam.com/wp-content/uploads/2023/07/anti-siphon-valve-leaking-768x448.jpg)
