How to Remove a Shower Head? (Stuck, Glued or Old)!
The removal process of a showerhead is quite straightforward. It requires tools that you probably already have in your house.
To remove a shower head, you simply need to turn it with a firm grip using your hand or a tool such as a wrench or pliers. After rotating it for a while, the shower head will come off loose.
However, this becomes complicated when the shower head is badly corroded or dunked in mineral buildups. Or perhaps it’s an old fixture that has expanded over time, is pretty tightly attached, and is now clearly hard to remove.
In these cases, finding exactly how to remove a shower head requires exploring many methods. Something you will do today in this guide!
How to Remove a Shower Head – The General Method
For starters, I’ll go with what is the easiest way to remove a shower head. This is when you are not facing any issues with the shower head and simply need a removal guide.
You should find the removal process inside the manual. But let’s say you have lost it or something similar has made you look for it here.
Here Is the Easiest Way to Remove a Shower Head:
1. Turn off the Water Supply
This could be done by simply turning off the shut-off valve for the shower system. In case there’s no individual valve for that, use the main shut-off valve to discontinue the water supply temporarily.
2. Use a Pipe Wrench to Loosen the Head
Now to remove the shower head you will need a pipe wrench and some plumber’s tape. Later after removal, you will need a clean towel too.
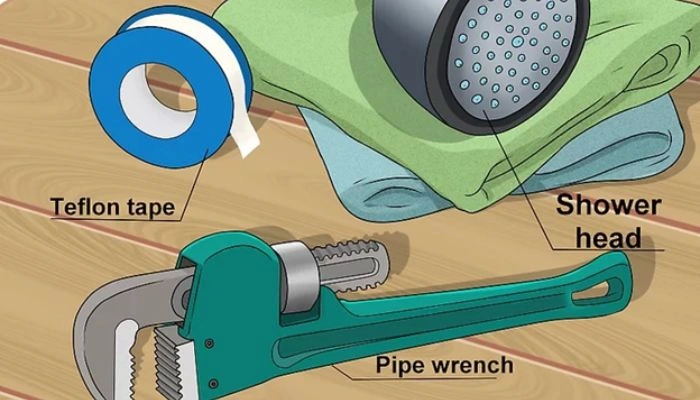
Put some plumber’s tape over the teeth of the pipe wrench. Now carefully place the wrench on the connection nut of the shower head.
Have your hands on the wall side of the shower to firmly turn the nut with the wrench. You want to go in a counterclockwise direction with the nut and it will come off easily.
If the nuts are not coming off, you can apply a few drops of penetrating lubricant on its threads.
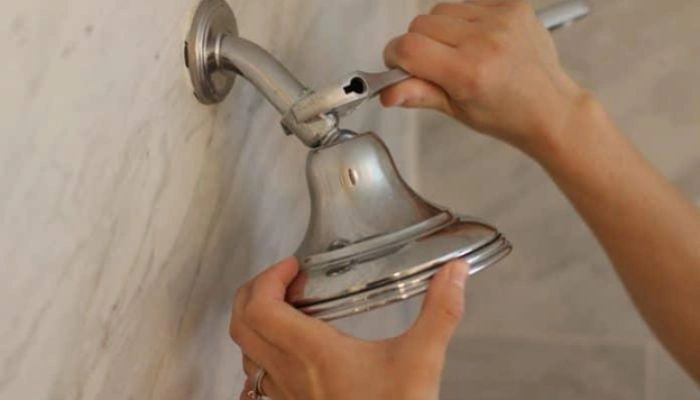
3. Carefully Pull Down the Shower Arm to Remove the Head
At this point, you want to carefully pull down the arm. So that the showerhead is easy to come off from the socket.
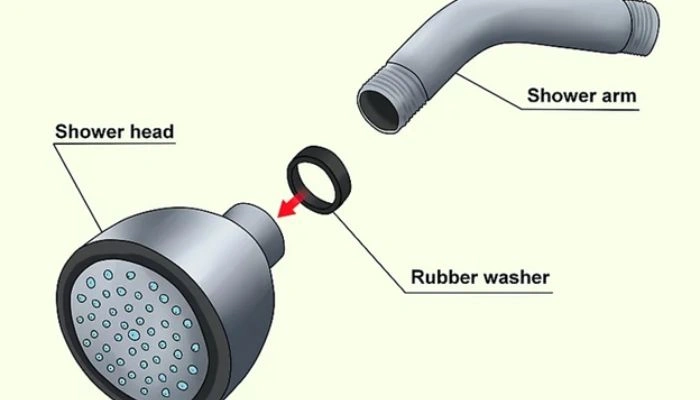
A few pieces will also come off with the shower head (washers and O-rings). Keep them aside carefully as these would be needed during reassembly.
4. Proceed with the Removed Shower Head
Finally, you want to clean the area where the shower head connects to the arm if there’s a buildup of grime or corrosion. The showerhead is out and ready for whatever purpose you removed it for.
Removing a Stuck Shower Head
I have tried the regular way, but exactly why is my shower head so hard to remove? If that’s where you are at, this is the technique to try. So how do you remove a shower head that won’t budge?
Well to remove a shower head that won’t budge, you need to try a product that can dissolve the substance that is causing it to stay stuck. This is often a minor or major mineral build-up. Or it can also be heavy rust.
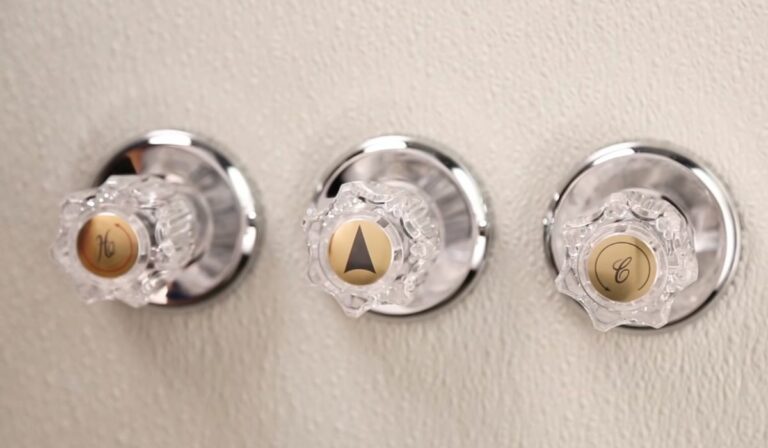
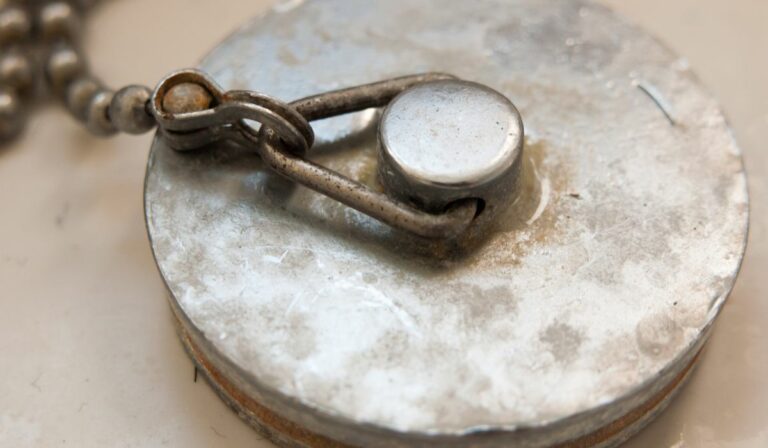
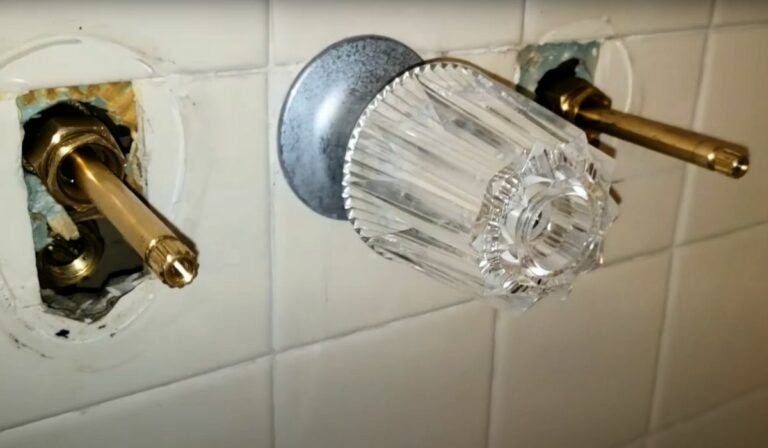
Actually, you can look at the shower head and evaluate what type of build-up is making it not budge at all.
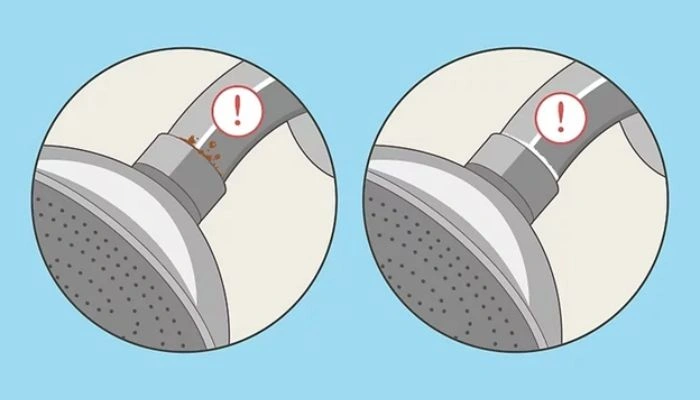
Just like the left side of the image, if you can see an orange or copper-colored build-up, then you’re dealing with rust.
While white ring around the joint area means it is mineral build-up creating the problem, displayed on the right side of the image.
Now if you see no rust or mineral buildup, chances are the shower head is simply attached tightly. And that’s why the shower head won’t unscrew.
Prepare for Removal
You must have the water supply turned off. It may be tricky to turn off water for a broken shower though. Simply discontinue the main water supply line temporarily.
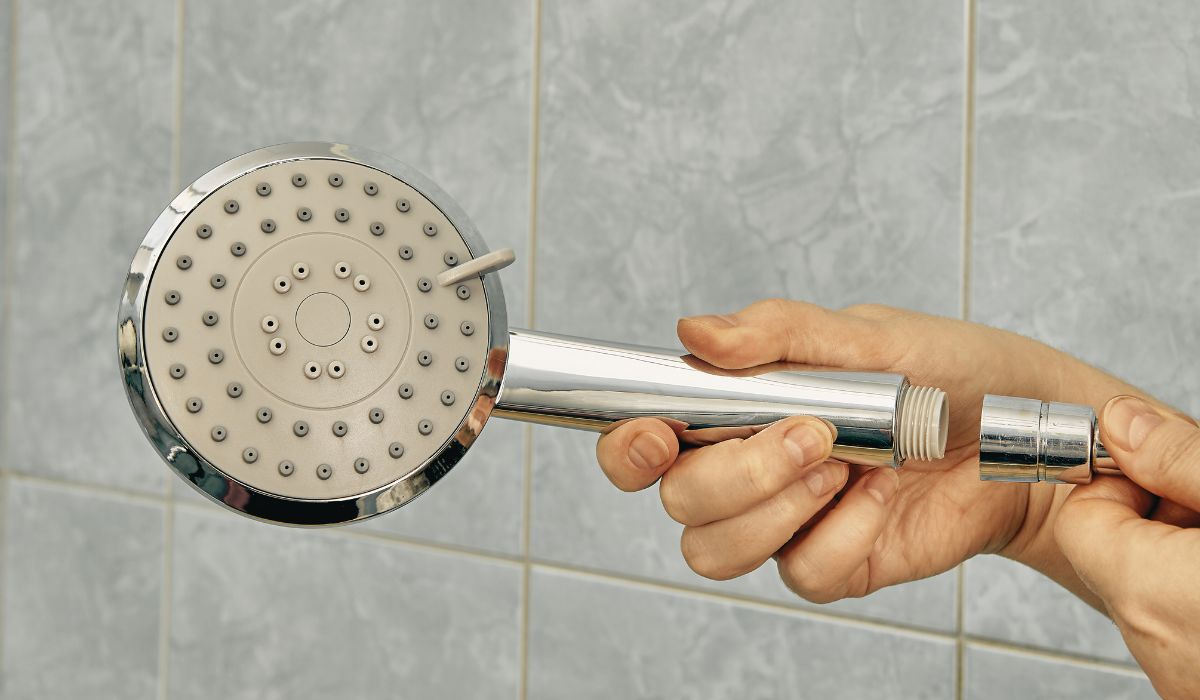
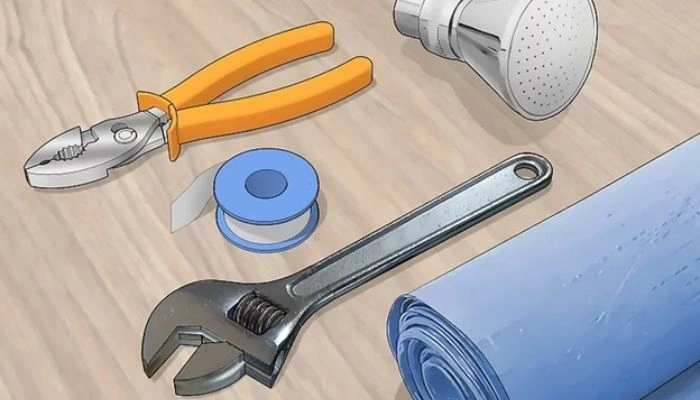
You will also require a few supplies for this process. Gather everything you can see in the above image. The tools in the image are:
- Adjustable wrench
- Pliers
- Teflon tape
And you will also need products to dissolve the buildup and a good penetrating lubricant of your choice.
Make sure to cover the shower area with an old blanket. This will ensure you don’t accidentally lose parts down the drain.
Use Rust, Calcium, and Lime Remover
Now, I’m assuming you have already tried to remove the shower head with a wrench or pair of pliers. But the method just did not work.
However, consider applying a bit extra force when turning the wrench or pliers. This is because you are attempting to break heavy rust or build-up in this case.
But then again, don’t go overboard as it may damage the components. This is a risk you may want to take for a damaged showerhead that will need a replacement anyways.
Let’s say it does not work. You will need to use a rust, calcium, and lime removal agent. The chemicals are strong enough to react with the connector or nut of your shower head and break the stubborn accumulation.
You definitely want to check the instructions and warnings given along with the removal agent. Let the product sit for the allotted time (Addressed on the label).
Scrub With Wire Brush

Finally that the buildup is loose enough thanks to the removal agent, you need to gently scrub the gunk out. A wire brush works best in such a situation. Take your time to clean off the shower head and arm but be gentle. And finally, wipe the parts clean.
Go in next with a coat of penetrating lubricant over the connector or nut. I would choose WD-40 simply because this is easy to access. Let it sit for a couple of hours.
After that, you can cover the connector or nut with any cloth. Use the same wrench or pliers and attempt rotating it. The shower head should be easy to twist and come off.
Removing an Old Shower Head
Your old apartment shower head won’t come off easily without using some sort of shower head removal tool. Or you can try a few DIYs that may help in getting the old fixture out.
The process itself is quite similar to the general guideline. However, since this is a pretty old showerhead, you may require additional leverage. One tiny trick here would be holding the shower pipe with your hand when removing the shower head.
The problem with removing an old shower head is that here it’s about years of build-up that may need cleaning. Something that is not just gross but also quite difficult.
Also, it is possible that the shower head has expanded and so it is tightly attached to the arm. Making the removal hard for you. Applying heat can help here but not guaranteed.
Using the Plastic Bag Method
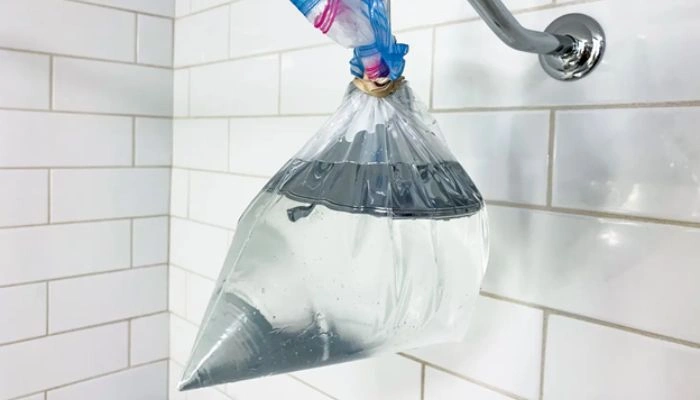
One easy and quite popular solution to clean gross build-up on old shower heads requires white vinegar and a plastic bag. You simply want to pour the vinegar into the plastic bag and wrap it around the fitting. A large rubber band or duct tape will keep the bag fitted in place.
Now leave it this way for at least several hours if not the entire night. The next morning, remove the bag and wipe any remaining. Try to remove the old shower head with a wrench or pliers (follow the regular guidelines given at the beginning) and it should come off.
This Works Wonders for Removing Glued Shower Heads Too
By the way, you can apply the same technique for shower heads that are glued. Just add some hot water and lemon juice with the vinegar solution into the plastic bag before wrapping it.
The heat of hot water works better at breaking the sound of glue. You don’t need to keep it overnight for this, however. 30 minutes will be enough.
Removed the Shower Head – Should I Clean It or Replace It?
I am optimistic that you have managed to remove the shower head. Now perhaps I’m guessing this wrong. But there’s a good chance you are trying to find out how to remove the shower head to clean it.
However, will cleaning be enough? Also, can you remove your shower head to clean it?
You can remove your shower head to clean it, as that way, the process gets easier. However, make sure the model you have allows detaching the shower head when needed. Then again, most showers are fine with removing and reattaching the shower head.
Of course, you must be aware of how to install shower heads in wall-mounted shower arms to reattach them. But cleaning a shower head might not solve the problem you’re trying to fix.
Cleaning a Shower Head Is Enough of a Solution If:
However, if your intentions are not these minor problems, perhaps it’s time to replace the shower head. This may come clear when you know what is the life of a shower head generally.
The life of a showerhead actually depends on the type of shower head that you own. However, it can range quite drastically from 6 months to even 18 years. It all comes down to the type you are using.
So How Often Should You Replace Your Shower Head? Well, Here’s A Rough Estimation:
Keep in mind, if you live in hard water areas, the shower heads can wear out even faster.
Furthermore, I have listed down some of the major signs that you should consider changing the shower head instead of cleaning and reattaching it:
Wrapping Up
And there you now know how to remove a shower head. No matter what your purpose for removing the shower head is, make sure you don’t rush through the process.
Unless it’s a damaged shower head you are trying to replace. But if you will reinstall the shower head, make sure you clean its internals well.
I will see you soon in my next guide, take care.