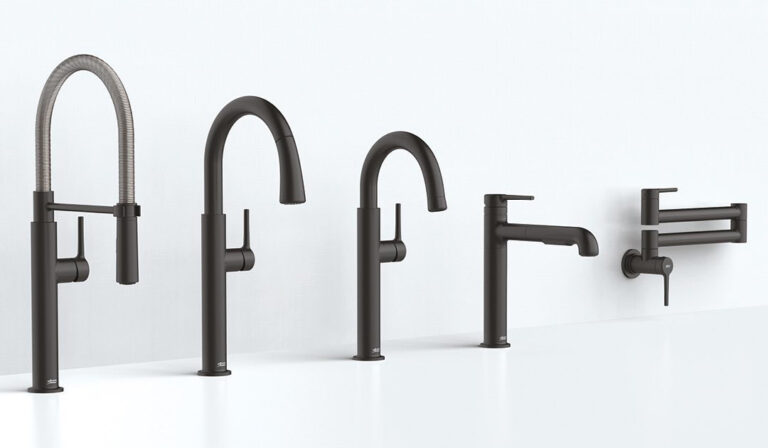
How To Tighten Kitchen Faucet
A loose kitchen faucet can be more than just a minor annoyance, it might lead to leaks, water waste, and even damage to your sink area over time. Luckily, tightening your kitchen faucet is a straightforward task you can handle yourself with the right tools and clear guidance. Whether your faucet wiggles when you turn it on or feels unstable, this guide will walk you through the most common causes, the tools you’ll need, and step-by-step instructions to secure your faucet firmly in place. Let’s get your kitchen faucet fixed and stable, preventing further issues down the road.
Common Reasons For A Loose Kitchen Faucet
Over time, kitchen faucets can loosen due to a number of factors. One of the most frequent causes is that the mounting nuts holding the faucet base to the sink or countertop have become loose, often due to everyday use and vibrations. Another common reason is worn-out or corroded washers, O-rings, or seals that no longer provide a snug fit. Also, improper installation or using the wrong size mounting hardware initially can lead to instability. Sometimes, if your sink is made of thin material or has a damaged countertop, it may not provide a solid anchor for the faucet, causing it to shift or wobble. Recognizing these typical causes helps you focus your tightening efforts effectively.
Tools And Materials Needed For Tightening A Faucet
Before you start tightening your kitchen faucet, gather these essential tools and materials to make the process smooth and efficient:
- Adjustable wrench or basin wrench: For accessing and tightening mounting nuts beneath the sink.
- Screwdrivers (flathead and Phillips): To remove any decorative caps or handle screws.
- Flashlight: To clearly see the tight and often dimly-lit space under your sink.
- Penetrating oil (optional): Useful if mounting nuts are corroded or stuck.
- Clean cloth or towel: To protect surfaces and catch any drips.
Having these tools on hand means you won’t have to pause mid-project, keeping your workflow steady and frustration low.
Step-By-Step Guide To Tighten Your Kitchen Faucet
Preparing The Area And Shutting Off Water Supply
Start by clearing out the cabinet under your sink to give yourself enough room to work comfortably. It’s wise to place a bucket or towels beneath to catch any accidental drips. Next, shut off the water supply valves located under the sink. Turn both the hot and cold valves clockwise until they stop to avoid any water flow during the process.
Removing Decorative Caps And Handles
Many faucet handles have decorative caps concealing screws. Use a flathead screwdriver or your fingernail to gently pry these off. Once exposed, unscrew them using the appropriate screwdriver, then carefully lift off the handles. This step is crucial because access to mounting hardware might depend on removing these parts.
Tightening The Faucet Mounting Nuts
Now, with your flashlight illuminating the area, locate the mounting nuts securing the faucet to the sink or countertop. Using your basin wrench or adjustable wrench, turn the nuts clockwise to tighten. Be cautious not to overtighten, as this can damage the sink or faucet components. If you find the nuts are corroded or difficult to turn, apply a little penetrating oil and let it sit for a few minutes before trying again.
Reassembling The Faucet Components
After the mounting nuts are snug and the faucet feels stable when you gently wiggle it, replace the faucet handles and secure them with their screws. Snap the decorative caps back into place. Clean any smudges or fingerprints from the faucet to finish your job neatly.
Testing The Faucet For Stability And Leaks
Once you’ve reassembled everything, turn the water supply back on by opening the valves counterclockwise. Slowly run both hot and cold water to check for any leaks around the base, underneath the sink, and near the handles. While water flows, gently shake the faucet to test stability: it should feel firmly in place without any movement. If you detect leaks or wobbling, double-check the tightness of nuts and re-inspect seals or washers. Addressing these issues immediately helps prevent water damage and prolongs the faucet’s lifespan.
Tips To Prevent Faucet Loosening In The Future
Keeping your kitchen faucet tight for the long term requires a few preventive steps. Regularly inspect the faucet base for wiggle or slight movement, catching looseness early avoids bigger problems. When cleaning, avoid using harsh chemicals that can degrade seals or mounting hardware. Consider applying plumber’s tape during installation or tightening: it provides added grip for threaded fittings. If you notice corrosion or rust on mounting nuts, replace them promptly to maintain a solid hold. Finally, avoid excessive force or rough handling when turning handles or adjusting spray nozzles, as this can loosen components over time.
When To Call A Professional Plumber
While tightening a faucet is often a manageable DIY task, certain situations warrant calling in professional help. If your faucet has extensive corrosion, damage to sink or countertop materials, or if the mounting hardware is inaccessible or severely stuck, a plumber can safely address these complexities. Also, if leaks persist even though tightening or you observe water damage under the sink, professional diagnosis can prevent costly repairs later. Remember: attempting repairs beyond your skill level might cause more harm than good, so trusting a plumber when necessary ensures your kitchen faucet stays fully functional and secure.
Conclusion
Tightening your kitchen faucet is a practical skill that keeps your sink area stable and leak-free. By understanding common causes, using the right tools, and following this detailed, stepwise approach, you can confidently secure your faucet and avoid potential water damage. Regular maintenance and preventive care complement your efforts, extending the life of your fixture. And if you hit any snags beyond a simple tighten, don’t hesitate to call a professional. With your kitchen faucet properly tightened, you’ll enjoy smoother operation and greater peace of mind every time you turn the tap.