How to Open a Shower Head
To open a shower head, first turn off the water supply and gather tools like an adjustable wrench, pliers, and a cloth to protect the finish. Remove the shower head by twisting it counterclockwise, using gentle pressure or tools if it’s stuck. Carefully disassemble parts such as the faceplate and gasket, soaking them in vinegar to clean deposits. Check for worn washers and replace if needed. Keep these steps in mind as you explore how to maintain your shower head thoroughly.
Tools Needed for Opening a Shower Head
Before you start opening your shower head, gather a few essential tools to make the process smooth and efficient. You’ll need an adjustable wrench to loosen the shower head without damaging it. A pair of pliers can help grip stubborn parts. Wrap some plumber’s tape around the threads when reassembling to prevent leaks. Keep a cloth handy to protect the finish on your fixtures from scratches.
A small screwdriver may be necessary if your shower head has screws securing its parts. Additionally, having a bucket or bowl nearby will catch any drips or debris. With these tools ready, you’ll be set to open and service your shower head quickly and safely, avoiding unnecessary damage or frustration.
Preparing the Shower Area
Once you’ve gathered your tools, clear the shower area to make your work easier and safer. Remove any shower curtains, mats, or personal items nearby to avoid water damage or accidental spills.
Lay down a towel or cloth under the showerhead to catch drips or small parts that might fall.
Ensure the bathroom is well-lit so you can see what you’re doing clearly.
If possible, open a window or turn on the exhaust fan to improve ventilation, especially if you plan to use any cleaning solutions later.
Finally, turn off the water supply to the shower to prevent unexpected leaks or sprays.
Taking these steps will set you up for a smooth process when you start working on the shower head.
Removing the Shower Head From the Pipe
Although it might seem tricky at first, removing the shower head from the pipe is straightforward when you have the right approach. Start by turning off the water supply to prevent leaks.
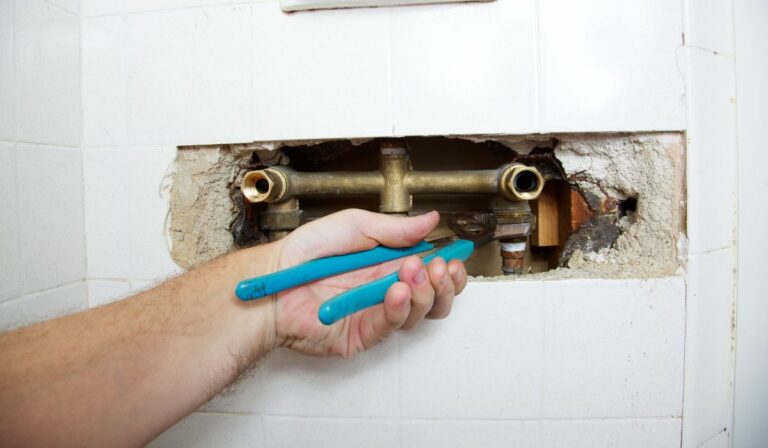
Use a cloth or rag to protect the finish of the shower head and pipe. Grip the shower head firmly and twist it counterclockwise. If it feels stuck, use an adjustable wrench or pliers, applying gentle pressure to avoid damaging the fixture.
Once loosened, you can unscrew the shower head by hand. Be careful not to force it, as excessive force can strip the threads or cause damage.
After removal, inspect the pipe threads for any debris or old plumber’s tape before proceeding. Now you’re ready for the next steps.
Disassembling the Shower Head Components
To disassemble the shower head components, start by examining how they fit together, as different models may vary in design. Most shower heads have a faceplate or cover that screws or snaps off. Use your fingers or a flathead screwdriver to gently pry or unscrew this part.
Inside, you’ll find the spray plate, rubber gasket, and sometimes a filter screen. Carefully remove these pieces one by one, noting their order and orientation for reassembly. If parts are stuck, apply a bit of penetrating oil or tap lightly with a tool to loosen them.
Avoid forcing components apart to prevent damage. Keep small parts in a container to avoid losing them. Once disassembled, you’ll be ready to clean or inspect each part thoroughly.
Cleaning and Inspecting the Shower Head Parts
Before reassembling the shower head, you’ll want to clean and inspect each part carefully to ensure optimal water flow and prevent buildup.
Start by soaking the nozzle and faceplate in a vinegar solution for 30 minutes to dissolve mineral deposits. Use a soft brush or old toothbrush to scrub away any remaining residue, especially around small holes.
Check the rubber washers and O-rings for cracks or wear, replacing them if necessary to avoid leaks.
Examine the internal filter screen, if your model has one, and clear it of debris.
Make sure all parts are dry and free of grime before putting them back.
Taking these steps not only improves water pressure but also extends your shower head’s lifespan.
Reassembling and Reattaching the Shower Head
Once you’ve thoroughly cleaned and inspected each part, you’re ready to reassemble the shower head. Start by aligning the internal components exactly as they were before disassembly. Insert the rubber washers and any filters carefully to ensure a watertight seal.
Screw the front casing or faceplate back onto the main body, tightening it by hand to avoid cross-threading. Next, reattach the shower head to the shower arm by screwing it clockwise. Use plumber’s tape on the threads if needed to prevent leaks.
Finally, tighten the connection with a wrench, but don’t overtighten—it can crack the fittings. Turn on the water to check for leaks and make sure the spray pattern is restored. If everything looks good, you’re done!
Frequently Asked Questions
How Often Should I Clean My Shower Head?
You should clean your shower head every 1 to 3 months to prevent mineral buildup and maintain water flow. If you notice reduced pressure or uneven spray, clean it more often to keep it working well.
Can I Use Vinegar to Remove Mineral Deposits?
Yes, you can use vinegar to remove mineral deposits. Soak the shower head in vinegar for a few hours or overnight, then scrub gently to dissolve buildup. It’s an easy, natural way to keep your shower clean.
What Causes Low Water Pressure in a Shower?
Low water pressure in your shower usually happens because of clogged showerheads, mineral buildup, old pipes, or a faulty pressure regulator. Checking these areas helps you identify and fix the problem quickly to restore strong water flow.
Are There Eco-Friendly Shower Heads Available?
Yes, you’ll find plenty of eco-friendly shower heads that save water without sacrificing pressure. They use advanced technology to reduce flow rate, helping you conserve water and energy while enjoying a comfortable shower experience.
How Do I Prevent Mold Growth in the Shower?
You can prevent mold growth by keeping your shower dry, using a squeegee after each use, ensuring proper ventilation, cleaning regularly with mold-killing solutions, and fixing leaks promptly. These steps will keep mold at bay effectively.
Conclusion
Now that you know how to open your shower head, you can easily clean and maintain it to ensure a steady water flow. Just gather your tools, prepare the area, and follow each step carefully—from removing the shower head to reassembling it. Regular maintenance will keep your shower working efficiently and extend its lifespan. Don’t forget to inspect parts for damage and replace them if needed. You’ve got this!