How to Move a Shower Drain
To move a shower drain, start by turning off your water supply and draining the pipes. Remove the existing drain carefully, then plan your new drain location, ensuring proper slope for drainage. Next, modify plumbing by extending or rerouting pipes to match the new spot, and install a new drain assembly securely. Finally, test for leaks and smooth water flow. If you want to know how to tackle each step confidently, there’s more detailed guidance ahead.
Assessing Your Current Shower Drain Setup
Before you begin moving your shower drain, you need to thoroughly assess your current setup. Start by locating the existing drain position and note how it connects to the plumbing beneath.
Check the type of drain and pipe materials used, as this affects compatibility with new parts.
Inspect the subfloor and shower base for damage or moisture issues that might complicate relocation.
Measure the distance between the drain and the nearest plumbing stub-out to ensure feasibility.
Also, consider the slope of the floor; proper drainage depends on maintaining the right angle.
Finally, examine the surrounding walls and tiles to determine if moving the drain will require removing or adjusting them.
This assessment helps you plan the move efficiently and avoid surprises during installation.
Gathering Necessary Tools and Materials
Since moving a shower drain involves plumbing and structural work, you’ll need to gather the right tools and materials to make the process smooth and safe. Start with basic plumbing tools like a pipe wrench, adjustable pliers, and a hacksaw for cutting pipes. You’ll also need PVC pipes, fittings, and primer with cement to ensure leak-proof connections.
Don’t forget a measuring tape and a level to keep everything aligned. A screwdriver set and a pry bar will help you remove existing fixtures and flooring. Additionally, wear safety gear such as gloves and goggles to protect yourself. Having a bucket and rags handy will manage any water spills.
Preparing everything in advance helps you avoid interruptions and ensures a more efficient drain relocation.
Planning the New Drain Location
When you plan the new drain location, you’ll need to consider the shower’s slope to ensure proper water flow. The drain should sit at the lowest point of the shower floor so water naturally moves toward it. Measure the current drain’s position relative to walls and fixtures, then mark your desired new spot accordingly.
Check beneath the floor to confirm there’s enough clearance for the new drain pipe without interfering with joists or other plumbing. Also, think about how relocating the drain affects existing plumbing lines—minimizing sharp pipe bends helps prevent clogs and leaks.
Turning Off Water Supply and Draining Pipes
After choosing the new drain location and ensuring proper slope and clearance, you’ll need to shut off the water supply to prevent any leaks or water damage during the move. Locate the main water shutoff valve in your home and turn it off.
This stops water flow to your shower and nearby fixtures. Next, open the shower faucet and any other taps in the bathroom to drain residual water from the pipes. This step relieves pressure and empties the lines, making it safer and easier to work on the drain plumbing.
If your home has a water heater, consider turning it off temporarily to avoid damage from running the taps dry. Once the water is off and pipes are drained, you’re ready to proceed with relocating the shower drain confidently.
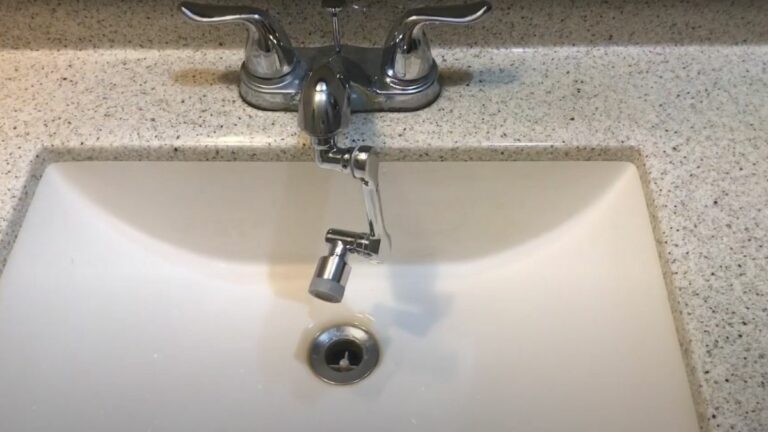
Removing the Existing Shower Drain
Before you start removing the existing shower drain, make sure the water supply is completely shut off and the pipes are drained.
Begin by removing the drain cover or grate with a screwdriver or wrench.
Next, loosen the drain flange by unscrewing it counterclockwise.
If it’s glued or sealed, carefully cut around the flange with a utility knife to break the seal.
Use pliers or a drain removal tool to pull the drain body out of the shower base.
Be gentle to avoid damaging the surrounding floor or plumbing.
Once removed, clear away any old plumber’s putty or sealant residue around the drain opening.
This prepares the area for the new drain installation without affecting the plumbing modifications you’ll tackle next.
Modifying Plumbing for the New Drain Position
Since moving a shower drain involves altering the existing plumbing layout, you’ll need to carefully plan how the pipes will be rerouted to the new location. Start by shutting off the water supply and draining any remaining water in the pipes.
Then cut out the section of the pipe leading to the old drain using a PVC cutter or saw. Dry-fit new PVC pipes and fittings to create a direct path to the new drain spot, ensuring proper slope for drainage—typically 1/4 inch per foot.
Use primer and PVC cement to securely join the pipes. Don’t forget to install new trap assemblies and cleanouts if necessary.
Finally, double-check all connections for leaks before moving on. Proper plumbing modifications ensure your new drain will function efficiently and meet code requirements.
Installing the New Shower Drain
With the plumbing modifications complete and all connections secure, you can now focus on installing the new shower drain. Start by positioning the drain assembly into the drain hole at the new location. Make sure the rubber gasket sits flat against the shower base to prevent water leaks.
Next, apply plumber’s putty or silicone sealant around the underside of the drain flange for added waterproofing. Screw the drain body tightly from underneath the shower pan, ensuring a snug fit without over-tightening.
Attach the drain pipe to the trap, confirming all connections are tight and aligned properly. Finally, reinstall the shower base or floor covering if removed. This ensures your new drain is firmly installed and ready for final testing.
Testing for Leaks and Ensuring Proper Drainage
After installing the new shower drain, you’ll want to check for leaks and make sure water flows smoothly. First, seal all connections and let the sealant cure if you used any.
Then, run water into the drain using a bucket or the showerhead. Watch under the shower for any signs of dripping or moisture. If you see leaks, tighten connections or reapply sealant as needed.
Next, test the drainage speed by filling the shower pan with water and letting it drain completely. If it drains slowly or pools, check for clogs or improper pipe slope.
Adjust the pipe angle to ensure a steady, downward flow. Proper testing prevents future water damage and keeps your shower functional and safe.
Frequently Asked Questions
Can I Move a Shower Drain Without Breaking the Tile Floor?
You usually can’t move a shower drain without breaking tile because the drain connects to plumbing beneath. However, if you carefully cut and patch the tile or use flexible piping, you might minimize damage.
How Much Does It Cost to Hire a Professional for This Job?
You can expect to pay between $500 and $1,500 to hire a professional for moving a shower drain, depending on complexity, labor rates, and whether tile or plumbing repairs are needed. Get multiple quotes to compare.
Are There Any Building Codes for Shower Drain Placement?
Yes, you’ll need to follow local building codes for shower drain placement, which usually specify proper slope, venting, and distance from walls. Check your city’s plumbing code to ensure your drain meets all requirements before installation or moving it.
Can I Use a Shower Pan Liner When Relocating the Drain?
Yes, you can use a shower pan liner when relocating the drain. Just make sure to properly seal around the new drain location to prevent leaks and follow local building codes for waterproofing and drainage requirements.
How Long Does It Typically Take to Move a Shower Drain?
It typically takes you one to two days to move a shower drain, depending on your experience and plumbing complexity. You’ll spend time cutting, repositioning pipes, ensuring proper slope, and sealing everything to avoid leaks.
Conclusion
Moving a shower drain might seem tricky, but with careful planning and the right tools, you can do it yourself. Remember to assess your current setup, turn off the water, and work methodically to avoid leaks. Take your time modifying the plumbing and installing the new drain, then test thoroughly. By following these steps, you’ll ensure your shower drains properly in its new spot, saving you time and money on repairs. Good luck!