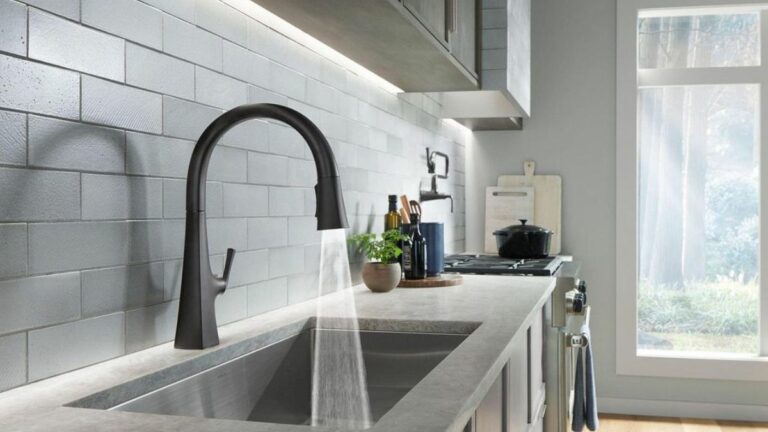
How To Install A Kitchen Sink Sprayer
Installing a kitchen sink sprayer can seem like a challenging job, but with the right guidance, you can handle it yourself quickly and efficiently. Whether you’re upgrading your old sprayer or adding a new feature to your sink, this step-by-step guide will walk you through everything you need to know. I’ll cover tools, installation steps, testing, and maintenance tips to ensure your sprayer works flawlessly for years to come.
Gather Necessary Tools And Materials
Before you start installing your kitchen sink sprayer, it’s essential to have all the required tools and materials on hand. This preparation saves time and prevents interruptions during the installation.
Tools You’ll Need
- Adjustable wrench or basin wrench
- Phillips and flathead screwdrivers
- Plumber’s tape (Teflon tape)
- Bucket or bowl (to catch any residual water)
- Towels or rags
Materials Required
- New kitchen sink sprayer kit (including the sprayer head, hose, and mounting hardware)
- Replacement washers (often included in the kit)
Having these organized upfront will make the entire process smoother and help you avoid unnecessary trips to the hardware store.
Turn Off The Water Supply
Safety and preventing water damage are critical, so the very first practical step is to shut off your water supply.
Locate the shutoff valves under your sink, usually two, one for hot water and one for cold. Turn both clockwise to close them. If your shutoff valves are old or stuck, you might need to shut off the main water supply temporarily.
After turning off the valves, open your faucet to drain any remaining water from the lines. This reduces the risk of leaks or water spurting during installation. Don’t skip this step: it’s a key part of a clean, hassle-free installation.
Remove The Existing Sink Sprayer (If Applicable)
If you’re replacing an old sprayer, it’s necessary to remove it first.
Start by disconnecting the sprayer hose. Underneath the sink, use your adjustable wrench to unscrew the hose from the diverter valve or faucet connection. Keep a bucket or towel handy, there might be some water left in the hose.
Next, loosen any mounting hardware securing the sprayer head or hose to the sink deck. Carefully pull the sprayer and hose from the sink hole.
Inspect the mounting area and clear any debris, grime, or old plumber’s putty to ensure a neat fit for the new sprayer.
Install The New Kitchen Sink Sprayer
Installing your new sprayer involves connecting its hose properly and securing the sprayer head. Take your time to follow these steps carefully.
Connect The Sprayer Hose To The Faucet And Water Supply
- Thread plumber’s tape around the threads of the diverter valve or faucet connection to ensure a leak-proof seal.
- Attach the sprayer hose to the diverter valve by hand, then tighten gently with a wrench, avoid overtightening, which can damage threads.
- Feed the hose through the designated hole in your sink or countertop.
Attach The Sprayer Head And Secure It
- Attach the sprayer head to the hose twist-socket until it clicks or feels snug.
- Install the sprayer mounting hardware onto the sink if your new sprayer requires a specific bracket or holder.
- Position the sprayer head in its holder on the sink deck, making sure it sits securely without wobbling.
At this point, double-check all connections to make sure everything fits snugly but isn’t over-tightened.
Test The Sprayer For Leaks And Proper Function
With everything installed, it’s time to test.
- Turn the water supply back on slowly by opening the shutoff valves.
- Check under the sink for any signs of leaking around the hose connections or diverter valve.
- Operate the sprayer by pressing or pulling its handle: water should flow freely and shut off promptly when released.
- Watch the faucet flow, some water should divert to the sprayer when in use, and return to the faucet when not.
If you detect leaks, turn off the water and tighten connections or apply additional plumber’s tape as needed. Testing thoroughly before wrapping up prevents future water damage and frustration.
Troubleshooting Common Installation Issues
Even with careful installation, you might encounter a few hiccups. Here’s how to overcome some common challenges:
- Sprayer Hose Kinks or Doesn’t Extend Smoothly: Make sure the hose is fed straight through the sink hole without twists or sharp bends.
- Leaking Connections: Double-check all threaded fittings: apply fresh plumber’s tape and hand-tighten before careful wrench tightening.
- Sprayer Does Not Divert Water: The diverter valve on your faucet may be clogged or damaged. Cleaning or replacing the valve often solves this.
- Water Pressure Is Too Low: Check if the sprayer head has a clog or if the hose has any restrictions. Cleaning or replacing parts may be necessary.
If you run into something unexpected, consulting the sprayer manufacturer’s instructions is always a smart move.
Maintenance Tips For Your Kitchen Sink Sprayer
To keep your kitchen sink sprayer functioning perfectly, consider these simple maintenance tips:
- Regular Cleaning: Remove mineral deposits by soaking the sprayer head in vinegar every few months.
- Inspect Hose and Connections: Periodically check for signs of wear, leaks, or corrosion.
- Use Gently: Avoid yanking the hose too hard or forcing the sprayer handle, as this can damage valves.
- Flush the Hose: Occasionally run water through the sprayer on full pressure to clear out debris.
With steady care, your sprayer can last many years, making kitchen chores easier and more efficient.
Conclusion
Installing a kitchen sink sprayer doesn’t have to be intimidating. By gathering your tools, carefully following each step, and testing thoroughly, you can add this handy feature to your kitchen with confidence. Plus, with regular maintenance, your sprayer will continue to work smoothly for years.
Remember, taking your time and prepping properly makes all the difference. Now that you’re equipped with this clear, step-by-step guide, your kitchen upgrade is just a few actions away. Happy sprayer installing.

