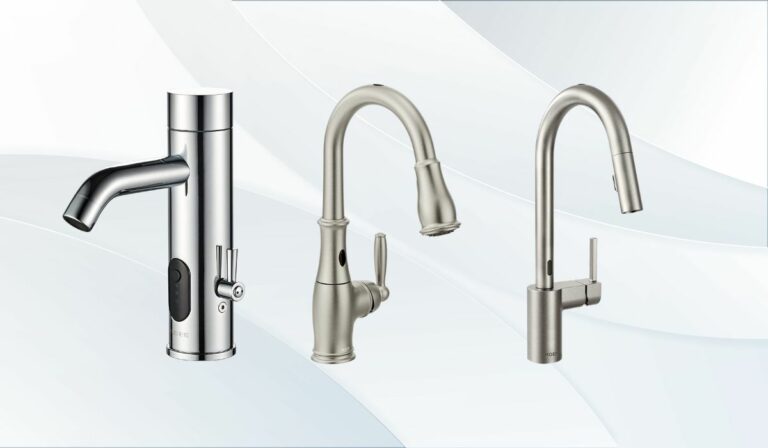
How To Install A Kitchen Faucet
Replacing your kitchen faucet might sound like a challenging job, but with the right guidance, you can tackle it yourself and save both time and money. Whether you’re upgrading to a sleek modern design or fixing a leaky one, this step-by-step guide will walk you through everything you need to know. From gathering tools to final testing, you’ll gain confidence to complete your kitchen faucet installation efficiently and effectively.
Gathering Necessary Tools And Materials
Before you jump into installing your new kitchen faucet, it’s crucial to have everything ready at your fingertips. You’ll need a few essential tools and materials to make the job smooth:
- Adjustable wrench or basin wrench
- Phillips and flathead screwdrivers
- Plumber’s tape (Teflon tape)
- Bucket or towel (to catch any water drips)
- Flashlight (to see under the sink)
- Silicone or plumber’s putty (depending on faucet model)
- New faucet assembly with all included parts
Having these ready means you won’t interrupt your workflow hunting down tools. Pro tip: a basin wrench is especially handy for tight spaces under the sink where regular wrenches can’t reach easily.
Preparing The Sink And Water Supply
Before you touch the faucet, safety first. Turn off the water supply valves under your sink to avoid any unwanted spraying or flooding. Don’t just rely on the faucet handle, double check by opening the faucet to release any remaining water in the lines.
Next, clear out the area beneath your sink so you have ample room to work. Grab a bucket or towel to catch any residual water when disconnecting lines.
Take a moment to clean the sink area around the faucet mounting holes. Removing grime and old plumber’s putty provides a good seal for your new faucet.
Finally, inspect supply lines and shutoff valves. If they look corroded or worn, consider replacing them now while the faucet installation is underway.
Removing The Old Kitchen Faucet
To remove your old faucet, start by disconnecting the water supply lines using an adjustable wrench, turn counterclockwise to loosen. Place your bucket underneath to catch drips.
Next, use your basin wrench to reach the mounting nuts holding the faucet in place from beneath. These can be stubborn after years of use, so patience and a little elbow grease help.
Once all nuts are removed, wiggle the old faucet free from the sink. Sometimes mineral buildup can cause it to stick: a gentle twist or tap with a rubber mallet can assist.
Clean the sink surface thoroughly after removal to prepare for your new faucet installation. Removing all traces of old putty or sealants ensures a watertight and neat fit for your new fixture.
Installing The New Kitchen Faucet
Installing your new kitchen faucet breaks down into two key steps:
Connecting Water Supply Lines
Attach the faucet’s water supply lines by first applying plumber’s tape to the threaded ends. This tape prevents leaks by creating a tighter seal.
Secure the supply lines to the shutoff valves by tightening with your wrench. Be careful not to overtighten, which can damage fittings. Leave the faucet handle closed during this step.
Securing The Faucet And Checking For Stability
Drop the faucet into the sink holes, aligning any mounting hardware as instructed by the manufacturer.
From beneath, thread and tighten the mounting nuts or brackets, ensuring the faucet sits flush and steady on the sink surface. Wobbliness here can lead to leaks or damage over time, so tighten snugly but avoid forcing anything.
At this stage, wipe away any excess plumber’s putty or silicone around the base for a clean finish.
Testing For Leaks And Proper Functionality
Once everything is connected and secured, slowly turn on the water supply valves. Gradually open the faucet handles and watch carefully for leaks.
Check both hot and cold water flow to confirm proper installation. If you spot water pooling beneath the sink or dripping from connections, immediately turn off the water and tighten fittings as needed.
Troubleshooting Common Installation Issues
- Leaking at connections: Ensure plumber’s tape was applied correctly: try re-wrapping threaded joints.
- Low water pressure: Check for obstructions or debris caught in the aerator or supply lines.
- Wobbly faucet: Re-tighten mounting hardware, but avoid overtightening that could crack sink surface.
Addressing these minor hiccups early saves you from bigger problems down the line.
Maintaining Your Kitchen Faucet For Longevity
To keep your newly installed faucet working smoothly for years, regular maintenance helps:
- Clean the aerator periodically by unscrewing and soaking in vinegar to remove mineral deposits.
- Wipe down the faucet after use to avoid water spots or buildup.
- Check under the sink every few months for any signs of leaks or corrosion.
- Operate handles gently to prevent wear and tear on internal parts.
Investing a little care into your kitchen faucet encourages durability and keeps your sink area fresh and functional.
Conclusion
Installing a kitchen faucet yourself is more approachable than it may seem. By preparing adequately, following precise steps, and checking your work carefully, you’re well-equipped to upgrade your kitchen with confidence. Plus, you’ll enjoy the satisfaction of your handiwork and the knowledge that you saved on professional installation fees. Next time your faucet needs a refresh, you won’t hesitate to roll up your sleeves and get it done.