How To Fix Bathtub Drain Lever
A misbehaving bathtub drain lever can quickly turn your relaxing bath time into a frustrating experience. Whether it’s stuck, loose, or simply not sealing properly, fixing it yourself can save you time and money. In this guide, you’ll find clear, step-by-step instructions on diagnosing and repairing your bathtub drain lever, along with useful tips to keep it working smoothly for years to come. Read on to reclaim control over your drain and avoid costly plumbing calls.
Common Issues With Bathtub Drain Levers
Bathtub drain levers can encounter several common problems that affect their functionality. You might notice your drain lever is stuck in one position, making it impossible to open or close the drain. Alternatively, it could be loose, wobbly, or failing to engage the stopper completely, leading to water drainage when you want it retained. Some levers also experience corrosion or buildup that impedes smooth operation. Understanding these typical issues will help you diagnose what’s wrong and prepare for repair.
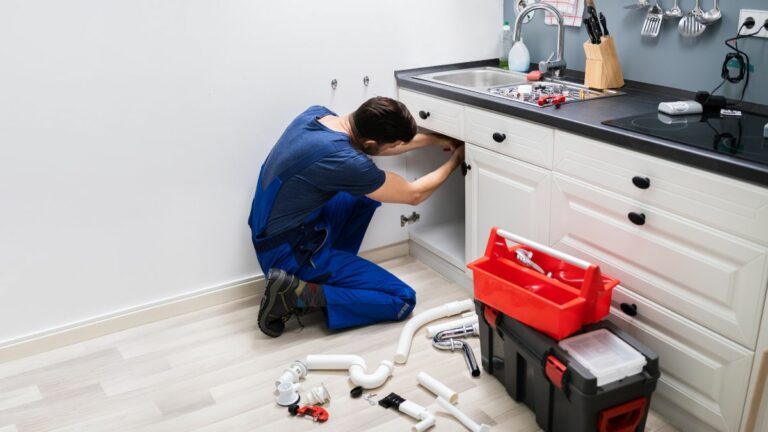
Tools And Materials Needed For Repairs
Before starting your repair, gather the necessary tools and materials for a smooth process. You’ll typically need:
- A flathead and Phillips screwdriver
- Adjustable wrench or pliers
- Replacement drain lever assembly (available at hardware stores)
- Plumber’s putty or silicone sealant
- Cleaning brush or old toothbrush
- Towels and bucket for any water spills
Having these on hand reduces interruptions and ensures you can complete the fix without a hitch.
Step-By-Step Guide To Fixing The Drain Lever
Preparing The Bathtub For Repair
Start by clearing the area around your bathtub to avoid damage to surrounding surfaces. Place towels on the floor to catch any drips. Then, ensure the water is turned off and the tub is empty.
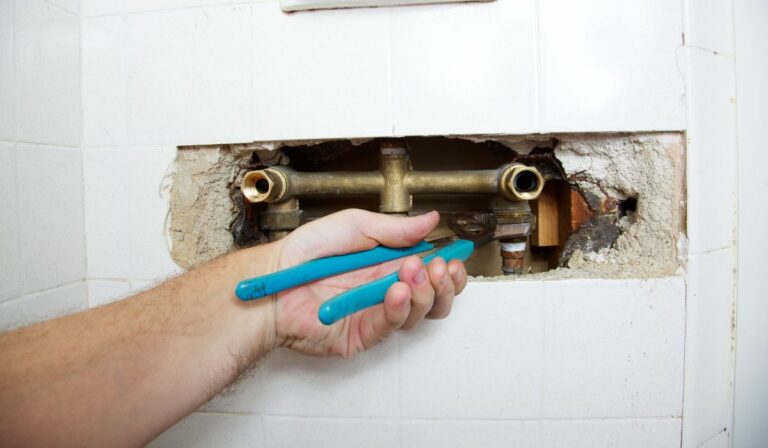
Removing The Old Drain Lever Assembly
Locate the drain lever arm, usually positioned on the overflow plate of the tub. Using a screwdriver or wrench, loosen the screws and carefully remove the overflow plate to access the lever mechanism behind it. Gently detach the old lever assembly, noting its orientation to assist with reassembly.
Inspecting And Cleaning Components
With the lever assembly removed, inspect it for signs of wear or damage like rust, broken parts, or buildup. Clean the components using a brush and mild detergent, removing mineral deposits and grime. If parts appear damaged or worn beyond repair, prepare to replace them.
Installing The New Or Repaired Drain Lever
Fit the cleaned or new lever assembly back onto the overflow opening. Make sure it aligns correctly with the stopper in the drain. Secure the overflow plate with screws, ensuring everything fits snugly but without over-tightening. Apply plumber’s putty or silicone around the plate edges to maintain a watertight seal.
Testing The Drain Lever Functionality
Once reassembled, it’s time to test your work. Fill the tub with water and operate the drain lever several times to verify it opens and closes the stopper smoothly and seals tightly to hold water. Pay close attention to any leaks around the overflow plate or the drain. If you notice issues, revisit the previous steps to tighten or adjust components accordingly.
Tips For Preventing Future Drain Lever Problems
Keep your bathtub drain lever in top shape by following these simple preventive tips:
- Regularly clean the lever and stopper to prevent buildup.
- Avoid using harsh chemical drain cleaners that can corrode metal parts.
- Occasionally lubricate the lever mechanism with a silicone-based lubricant.
- Address any drainage or lever issues promptly to avoid worsening damage.
Routine maintenance extends the life of your drain lever and ensures hassle-free baths.
When To Call A Professional Plumber
While many drain lever issues can be fixed with DIY know-how, certain situations call for a professional. If you encounter persistent leaks after repair attempts, parts that don’t fit or function correctly even after replacement, or you’re uncomfortable dismantling plumbing components, it’s wise to contact a licensed plumber. Professionals have the tools and expertise to tackle complex or hidden plumbing problems, ensuring lasting solutions without risking damage.
Conclusion
Fixing your bathtub drain lever yourself is entirely achievable with a bit of patience and the right approach. By understanding the common problems, preparing your tools, following careful repair steps, and maintaining your hardware, you’ll keep your bathtub draining perfectly and prolong the life of your fixtures. Remember, timely action and proper care are your best bets against costly repairs down the road, so go ahead, take charge and enjoy frustration-free baths once again.