How to Fix a Leaky Old-Fashioned Faucet: Reasons and Repair!
Facing water leakage on an old-style faucet can be expensive unless you fix it. But, repairing it via an expert can cost $150 – $400 or more. This guide is here to help you in such a situation!
The leakage usually happens when the parts inside are not fitted properly or they turn old or worn out. To stop the faucet from leaking, just tighten out the packing nut, put in a new rubber washer along with O-rings, and change the faucet valve.
No need to get stressed over this, as you can fix it ASAP! For that, I’ll explain the root causes and give step-by-step instructions in detail. Stay Tuned!
Why Old Fashioned Faucet Leaks?
As the faucet ages over time, its inner parts can cause issues like leakage when it needs attention. Here are some of the reasons why the old-fashioned feature leaks:
Loosen Up Packing Nut
Sometimes, the part called the packing nut in an old-style water tap can make water drip from the top. If this happens, you can fix it by putting a special tape called PPFT tape around the packing nut.
After that, you can use a tool like an adjustable wrench or a pipe wrench to make the packing nut tighter and stop the dripping water.
Worn out Washer and O-ring
The washer in the cartridge or stem ensures a completely watertight surface so that no leakage occurs when using the faucet.
However, it can lose its surface after non-stop use and cause water to sip from the gap. To resolve this, just change the washer and it’ll be okay.
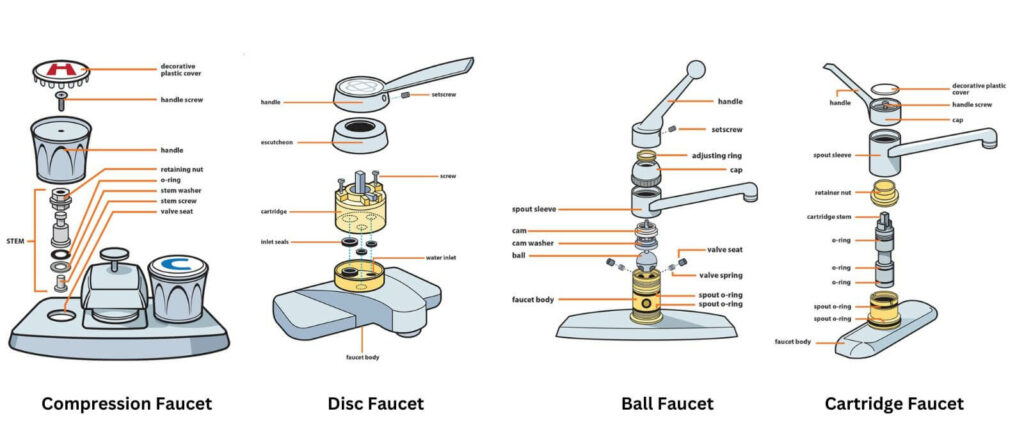
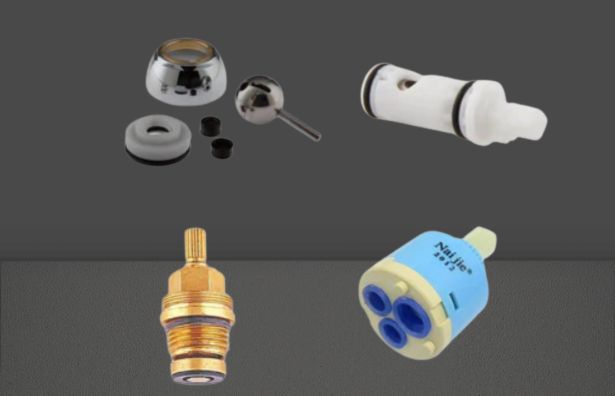
| Note: If you have a disc or ball-type faucet, it may contain valve seats and springs. Sometimes, these can also cause leak problems in the old-style faucet. So, ensure to replace them. |
Damaged Faucet Valve
A common reason why water leaks from a faucet is because of a problem with the valve. This valve is like the boss of the water flow.
When it’s not working properly, the old-style tap starts to leak water. To make things right again, you’ll have to replace this valve part.
What are some common reasons for a leaky old-fashioned faucet and how can it be repaired?
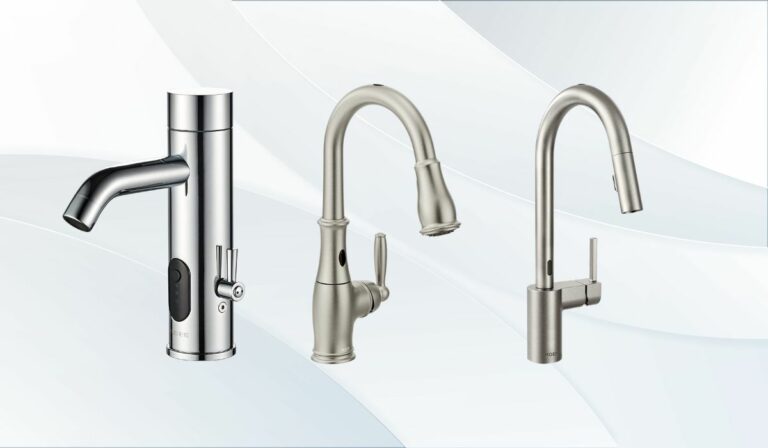
Old-fashioned faucets can become leaky due to worn-out O-rings, corroded valves, or damaged washers. To repair them, start by removing the handles and replacing the faulty parts. Consider upgrading to a pull out vs pull down faucet as a replacement, which offers greater convenience and versatility in terms of water direction and reach.
Step By Step Process to Fix a Leaky Old-fashioned Faucet!
Now that you understand why the faucet is leaking, it’s time to take action and fix the problem. Let me explain the steps for fixing a leaky old-style faucet based on the type:
Step 1: Identify the Problem
To begin with, you’ll need to check where the water is leaking to know the real issue. Here’s how to identify it:
- If the water comes from the base of the handle, it indicates either the washer and O-rings or the faucet valve is damaged.
- If the water comes at the top or bottom of the handle, it means the packing nut is loosened up.
Step 2: Tools and Materials Needed
Before you get into the actual repair procedure, it’s best to gather all the required tools and materials. These include:
| Tools | Materials |
| Adjustable or pipe wrench | New washer and O-ring set |
| Flat and Phillips screwdriver | New faucet valve |
| PPFT tape and hex key | New valve seat and spring |
| Faucet valve remover tool | Plumber’s grease |
| Needle-nose pliers | WD40 lubricant |
Step 3: Disconnect Water Supply
Next, get down and locate the water supply lines for the old-fashioned faucet. And then, simply turn them off to avoid getting interrupted by water.
Ensure to close both hot and cold water lines. Plus, you’ll need to drain the water by opening the faucet’s handles.
Step 4: Tighten out Packing Nut
You’ll find a cap or cover that hides the set screw inside or the side. If your old-fashioned faucet contains it, be sure to remove it with a flat screwdriver. Then, take out the set screw using a hex key or Philips screwdriver.
After that, find the retaining nut, bonnet nut, or adjustable ring based on your faucet type, and then loosen it up with the adjustable/pipe wrench. Next, apply the PPFT tape around the thread and reinsert the packing nut. If this doesn’t resolve the issue, then go to the next step.
| Pro Tip: If the metal parts don’t come out easily, be sure to use WD40 lubricant and leave it like this for 15 – 30 minutes before removing them. |
Step 5: Replace the Valve
In case the cartridge seems bad in condition to reuse or seems to crack, you can’t use it anymore. If this is the situation, you’ll need to remove the faucet valve and insert a new one. However, if the faucet valve has no crack, then just go to the next step.
To do that, just use the removal tool for the faucet valve and simply twist it. Then, pull it with the help of needle-nose pliers and insert a new one in its place. After that, put everything back in their spot.
Step 6: Change the Washer and O-rings
Now, take out the packing nut, sleeve, and escalator (if contained). As the washer and O-rings are attached to the valve area, you’ll need to remove them, as I’ve mentioned above.
Then, take out the valve from the surface. You’ll now need to inspect to find the washer and O-ring parts.
The thicker part at the end of the faucet valve is the washer and the thinner part located in the middle area is the -ring. In some faucet’s valves, you’ll find 2 or 3 O-rings.
Then, remove the screw or bolt (if attached) and then simply detach the washer along with the O-rings. Next, insert new ones back into the spot after applying some plumber’s grease.
Also, check the bottom area of the valve to find seats and springs if your old-style faucet is a disc or ball type. After that, just change all of these components if they seem worn out or damaged. Then, reinstall all the parts to finish the process.
Step 7: Turn on the Water Supply Lines
Lastly, open up the hot and cold water lines, which are located under the sink or inside the vanity area. After that, test it out.
| Note: Be sure to read the owner’s manual before trying any of the steps given above to repair or replace a leaky faucet. |
In Conclusion
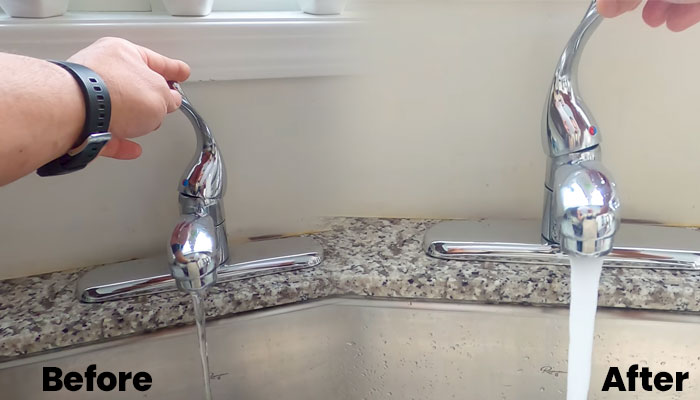
That’s how to fix a leaky old-fashioned faucet! It simply takes no more than 30 – 40 minutes to do it yourself. However, if the issue isn’t resolved after trying the above procedure, you may need to change the faucet and its plumbing parts.
I hope you find this content informative to follow the instructions and get rid of the issue. Now, if you want to know what happens when a faucet leak occurs, be sure to check this guide that explains it all!
![Touchless Faucet Turns On By Itself! [Solved]](https://faucetfam.com/wp-content/uploads/2023/02/Touchless-faucet-turns-on-by-itself-768x432.jpg)
![Should I Let My Faucets Drip Tonight? [Causes and Methods]](https://faucetfam.com/wp-content/uploads/2023/01/Should-I-Let-My-Faucets-Drip-Tonight-768x432.jpg)