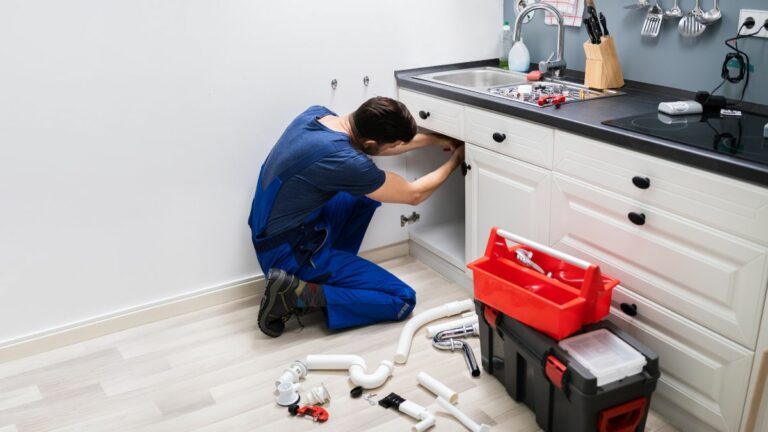
How to Fix a Dripping Shower Spout
To fix a dripping shower spout, first turn off the water supply to avoid mess. Then, remove the spout—usually by loosening a set screw or twisting it off—to check for worn washers, O-rings, or mineral buildup inside. Clean any debris and replace damaged parts with new ones, applying plumber’s grease to seals for a tight fit. Reattach the spout, turn the water back on, and test for leaks. Keep going to uncover more detailed steps for a lasting fix.
Identifying the Cause of the Drip
Before you can fix a dripping shower spout, you need to figure out what’s causing it. Start by turning off the water supply to avoid any unexpected sprays.
Then, observe the spout closely—sometimes mineral buildup or debris inside the valve can cause leaks. Check if the drip continues when the shower is off; if it does, the problem likely lies in the internal cartridge or washer.
You might notice a worn-out or damaged rubber washer, a common culprit behind drips. Another possibility is a corroded valve seat that prevents a tight seal.
Gathering the Necessary Tools and Materials
Once you’ve identified the cause of the drip, you’ll need to gather the right tools and materials to fix it efficiently. Start with a wrench or adjustable pliers to remove the shower spout or any retaining screws. Have a screwdriver set handy, as you might need different types depending on your fixture.
Grab some plumber’s tape to seal threaded connections and prevent future leaks. You’ll also want replacement parts like washers, O-rings, or cartridges specific to your shower model. Keep a clean cloth nearby to wipe off excess water or debris.
Finally, have a bucket ready to catch any dripping water when you disassemble the spout. Having these tools and materials ready will make the repair smoother and quicker.
Turning Off the Water Supply Safely
How do you ensure a safe and effective water shut-off when fixing a dripping shower spout? First, locate your home’s main water shut-off valve, usually near the water meter or where the main line enters your house. Turn the valve clockwise to close it completely, stopping water flow.
If your shower has a local shut-off valve, use that instead for convenience.
After closing the valve, open the shower spout to release any trapped water and relieve pressure. This step prevents unexpected leaks while you work.
Always double-check by turning the shower handle; no water should flow. If water still trickles out, recheck the valve or consider shutting off the main supply.
Taking these precautions ensures a safe, dry workspace for your repair.
Removing and Inspecting the Shower Spout
Since you’ve shut off the water supply, you can now focus on removing the shower spout carefully.
First, check if your spout has a set screw underneath or on the side; if it does, use a screwdriver or Allen wrench to loosen it.
If there’s no visible screw, try twisting the spout counterclockwise by hand—it may unscrew from the pipe. Be gentle to avoid damaging the plumbing.
Once removed, inspect the spout for mineral buildup, cracks, or worn-out washers inside. Clean any debris with a cloth or vinegar solution to remove mineral deposits.
Make sure the pipe threads are intact and free from corrosion. This inspection helps you identify issues before moving on to repairs or replacements.
Replacing or Repairing Components to Stop the Leak
Before reattaching the shower spout, you’ll want to replace any damaged washers or seals that are causing the drip. Remove the old washer carefully, noting its size and shape so you can find an exact replacement at the hardware store.
Inspect the rubber O-rings or seals inside the spout; if they’re cracked or worn, swap them out too. Apply plumber’s grease to new washers and O-rings before installing to ensure a tight, leak-free fit.
If your shower spout has a diverter valve, check it for mineral buildup or damage and clean or replace it as needed.
Once all components are replaced or repaired, reattach the spout securely. Turn the water back on and test for leaks to confirm the drip has stopped.
Frequently Asked Questions
Can a Dripping Shower Spout Cause Water Damage Over Time?
Yes, a dripping shower spout can cause water damage over time. You’ll risk mold, mildew, and structural issues if you don’t fix it promptly. Don’t let small drips turn into costly repairs later.
How Often Should Shower Spout Washers Be Replaced?
You should replace shower spout washers every 6 to 12 months, or sooner if you notice dripping. Regular checks help prevent leaks and water damage, keeping your shower efficient and saving you money on repairs.
Is It Possible to Fix a Dripping Spout Without Turning off the Main Water?
You usually can’t fix a dripping spout without turning off the main water. Doing so prevents water damage and makes repairs safer. It’s best to shut off the water before replacing washers or seals to stop the drip effectively.
What Materials Are Best for Durable Shower Spout Repairs?
You’ll want to use brass or stainless steel parts for durable shower spout repairs since they resist corrosion. Also, high-quality silicone plumber’s tape and waterproof plumber’s putty will help seal connections effectively, preventing future leaks.
Can Hard Water Cause a Shower Spout to Drip?
Yes, hard water can cause your shower spout to drip by leaving mineral deposits that wear down seals and valves. You’ll need to clean or replace parts regularly to prevent leaks and keep your shower working smoothly.
Conclusion
Now that you know how to identify the cause of your dripping shower spout and have gathered the right tools, you’re ready to fix the problem. Remember to turn off the water supply before removing the spout to avoid any mess. Inspect the components carefully, and replace or repair any worn parts to stop the leak. With a little effort, you’ll save water and enjoy a drip-free shower in no time!

