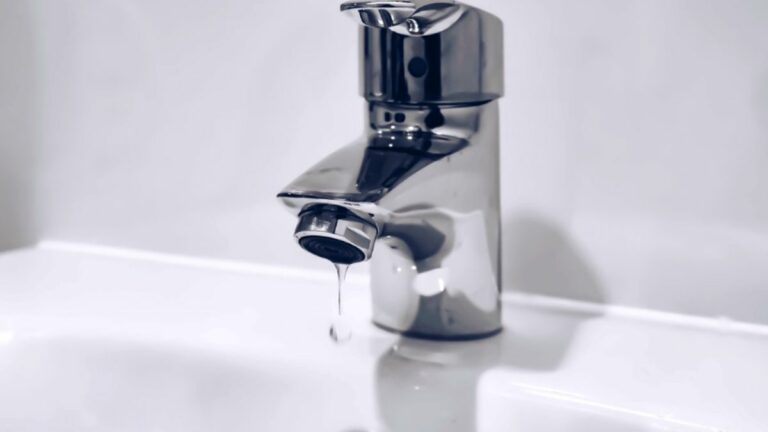
DIY Faucet Installation: A Beginner’s Guide
Whether upgrading or replacing a faucet, you can finish the entire project yourself. Not to mention, you can even save a good amount of money by carrying out the installation yourself. Want to know what steps you need to go through?
The DIY faucet installation process involves you turning off the water supply, removing the old faucet, cleaning the area, installing the mounting plate and gasket, and inserting the new faucet into the mounting holes.
But that’s just the summarized version of the entire process. You will need more details if you want to finish the project smoothly. Well, this guide will provide all of that to you! So, keep on reading.
Can I Install a Faucet without a Plumber?
You can indeed install the faucet without taking the help of a plumber. All you have to make sure is that you have the right tools for the work. Yes, the process can get tricky at one point or another.
But almost all the faucets come with a user manual that will give a proper idea of each part. So, taking a quick glance at the manual can get you right back into place when you are facing any trouble with the installation process.
How Long Does a Faucet Installation Take?
The time required to finish the faucet installation depends on the project’s complexity and the installer’s experience. But in general, you can be done with a simple installation in just an hour.
Of course, you will need to follow the correct steps to finish that quickly. If you are not handling the parts correctly, it can take more than an hour. In fact, you can even waste an entire day on it.
What Is the Average Cost of a DIY Faucet Installation?
You do not need to spend much to install the faucet yourself. To be exact, you may just need to spend $50 on getting some extra parts that did not come with the package.
In comparison, professional or bathroom faucet installation costs anywhere from $162 to $363. Most homeowners pay $180 for just the labor. So, no matter what, you will save a good chunk of money by following the DIY approach.
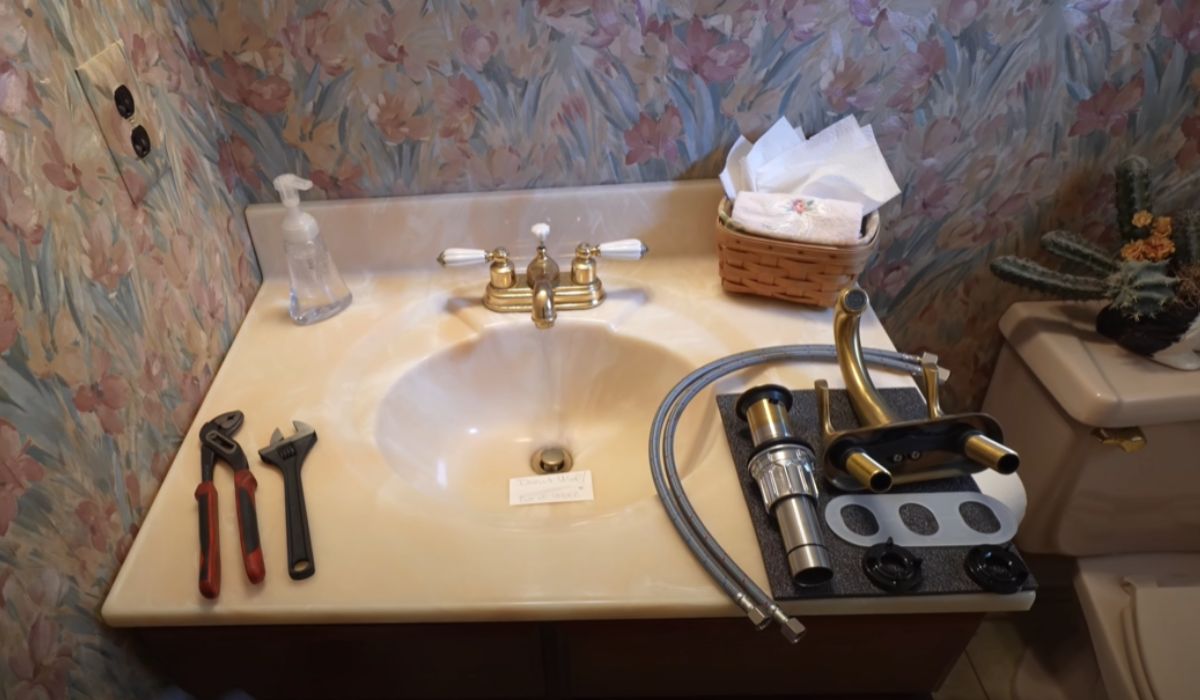
What Tools Do I Need for a DIY Faucet Installation?
There’s no need to work with complex tools to install the faucet yourself. Instead, you will need a few basic tools, which are –
That’s pretty much it. And chances are that you already have experience with the tools mentioned above. If that is indeed the case, things will be a piece of cake for you!
How to Remove the Old Faucet
You likely have a faucet already installed, right? In that case, you need to remove it before working with the new one. Here are the steps –
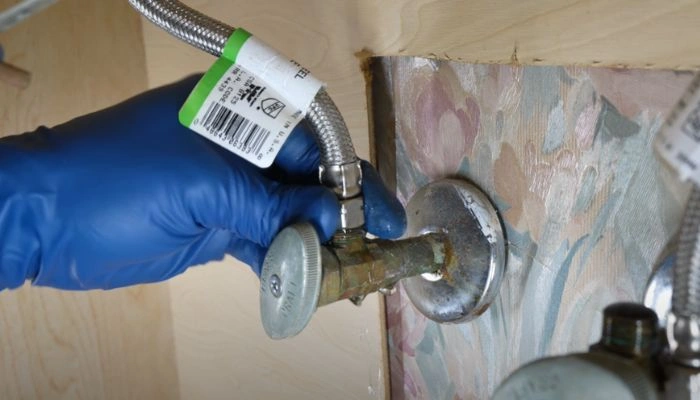
Close the shut-off valve
Before anything else, you should get the water turned off. For this, you will need to locate the shut-off valve. It will be right underneath the sink. Grab it and then rotate it counterclockwise to get it closed.
Don’t see a shut-off valve underneath the sink? Then, you will have to get the main supply line turned off. It should be in the garage or the basement. Once located, turn it counterclockwise.
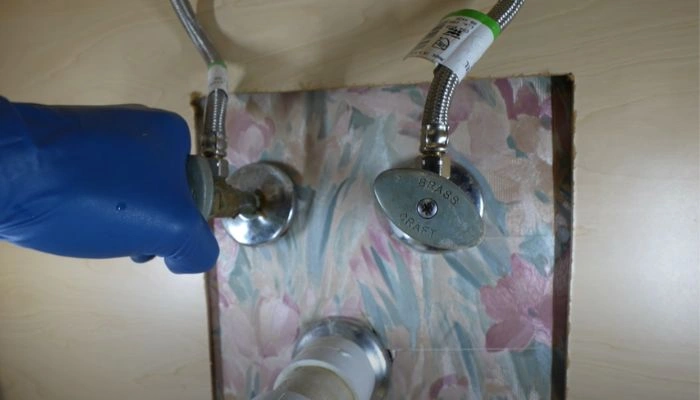
Remove the supply lines
No, you do not jump straight into the faucet after getting the shut-off valve closed. Instead, you should disconnect the supply lines beforehand. Again, these lines will be right beneath the sink.
Place a bucket below the lines and use an adjustable wrench to disconnect the supply lines.
Remove the mounting screws or nuts
Depending on your setup, there will be mounting nuts or screws on the sink. These keep the faucet secure to the sink and ensure it does not move when you use it. Here, you will have to use a basin wrench or a screwdriver.
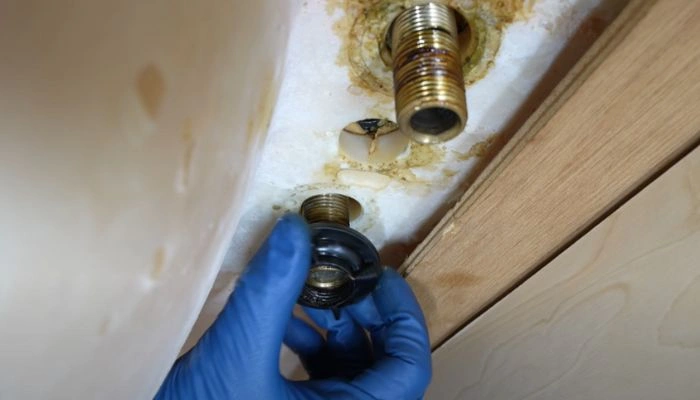
These nuts or screws can be a little tight at the beginning. But if they appear stuck, you should spray some penetrating oil. Wait for around 15 minutes and try to loosen them up again.
Take the old faucet off
With the nuts or screws out, the faucet should come right off. However, you must remove it cautiously to prevent chipping or cracking the countertop.
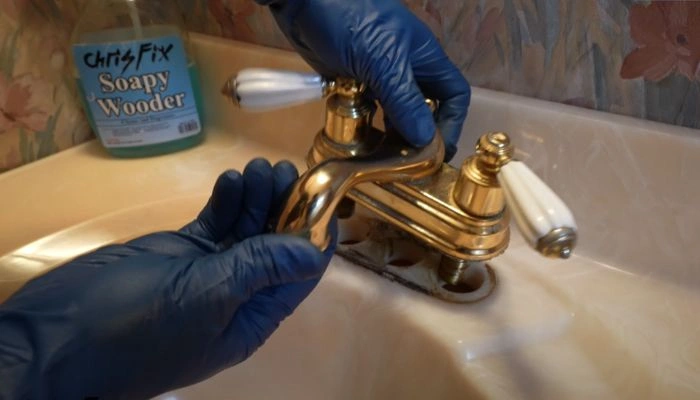
So, gently lift the faucet up instead of pulling with extreme force. If it appears to be stuck, use a putty knife to work it loose.
On that note, removing the faucet by parts can make things a little easier. For example, you can start by taking the handle off by taking its screw off. Then, get the main valve out and pull the faucet up.
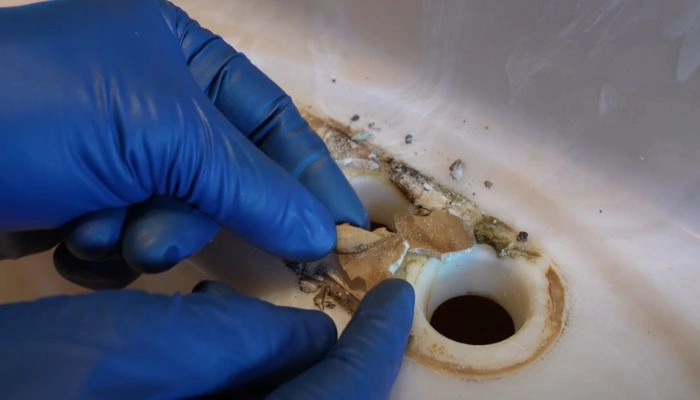
Remove the old caulk or putty
Once the faucet is out, you should see the old caulk or putty on the mounting hole. To get it off, you will have to use the putty knife. But be very cautious and make sure you do not scratch the sink.
How to Install the New Faucet
With the old faucet out of the sink, it would be time for you to start working with the new one. Go through these steps –
Put the gasket in place
Your new faucet should come with a plastic or rubber gasket. The primary role of this is to secure the joint between the tap and sink. As a result, it prevents any leaks in that particular spot. It needs to be on the base of the faucet.
But if your faucet did not come with one, you should make a thin roll of plumber’s putty and put it on the base.
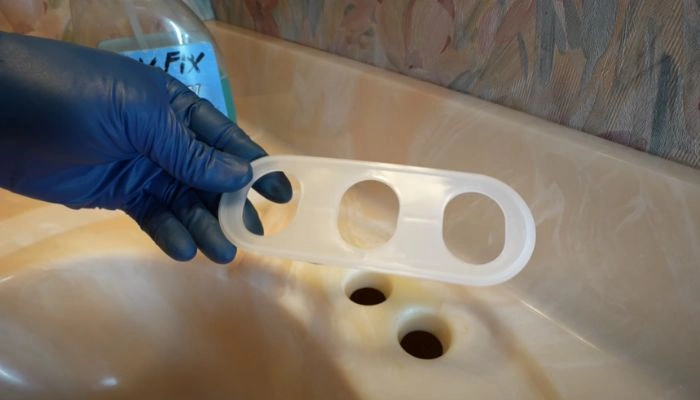
On that note, if you are dealing with a one-hole faucet and have a three or four-hole sink, you must put the gasket or putty under the escutcheon plate. That basically covers the open holes of the sink.
Place the faucet in the hole
Feed the PEX piping or flexible supply lines through the sink’s hole. If you have used a plumber’s putty, use the putty knife to clear out any excess that might be in the hole.
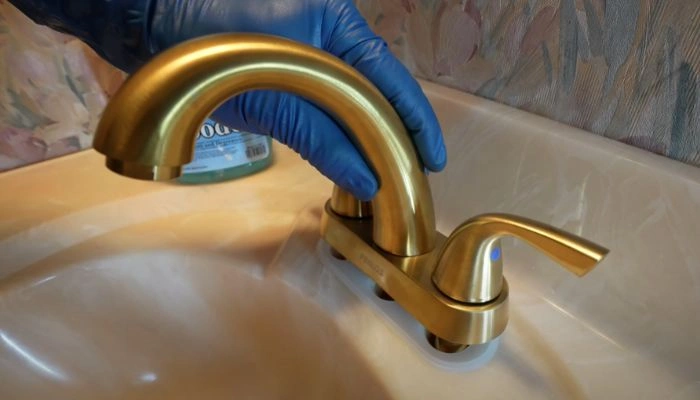
Get under the sink and tighten the plastic nut to secure the faucet. Then, work with the mounting screws and make them tight enough to hold the tap in place.
Before fully tightening them, you should check whether the faucet is aligned. If it is not, make the necessary adjustments.
Connect the water lines
With the faucet in place, you should connect the supply line to the corresponding valve. That is, the hot water line will go to the hot water valve, while the cold water line will connect with the cold water valve.
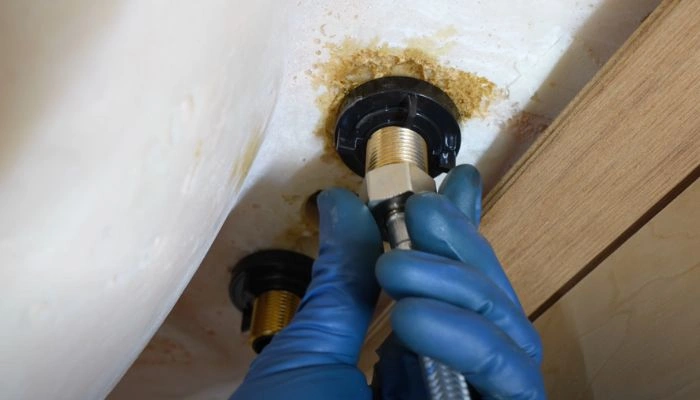
But before you connect the lines, put some Teflon tape on the threads. This tape will help to prevent leaks from the valves. Once wrapped up, screw the pipes into place and tighten them down using an adjustable wrench.
Check for leaks
At this point, you should see if there are any leaks. Open the shut-off valve and check whether water is seeping out from any parts of the tap. Pay close attention to the gasket or putty.

If there are leaks, you might not have tightened the gasket and screws correctly. Adjust them and check again. But do make sure that you are not overtightening the screws, as that will strip them.
Frequently Asked Questions
1. What should I do if the new faucet doesn’t work after installation?
When the new faucet installation does not work, you should first check the aerator for clogs and clean it. Then, take the valve off and flush the lines. Finally, check for broken seals. If the tap still does not work, refer to the manual for help.
2. How do I fix leaks or drips after the faucet installation?
You should remove the handle if leaks or drips occur after the faucet installation. Check whether the washer has the correct placement. Also, see if the aerator is secure or not.
3. Can I use regular tools for faucet installation, or do I need specialized tools?
There’s no need to use complex tools to install a faucet. Regular tools are more than enough to set the tap in place. However, specialized tools such as a basin wrench will make the task easier.
4. How long does it take to install a new faucet?
If the installation is not that complex, you should be done setting the faucet within an hour. But if you need to take care of issues or work with complicated parts, it can take 2 to 4 hours.
5. Do I need to have any prior experience or skills to install a new faucet?
You do not necessarily need prior experience or skills to install a new faucet. However, knowing how to use the basic tools will make the process easier.
6. What are the common mistakes to avoid during faucet installation?
Some common mistakes you should avoid includes not checking the fit before tightening the nuts and screws, overtightening the mounting screws, not using a sealant, and forgetting to turn off the main shut-off valve.
Final Words
See? Getting the hang of the DIY faucet installation process is really not that hard. You just need to ensure you have the right tools and follow the correct steps. Also, do keep the manual handy.
It will have the parts’ names and tell you where each will go. So, if you get stuck at any point, you can quickly refer to it and get through the process swiftly. And if you face any issues afterward, check out our guide on fixing common faucet problems.

![Cold Water Tap Not Working But Hot Is! [SOLVED]](https://faucetfam.com/wp-content/uploads/2023/05/Cold-water-tap-not-working-but-hot-is-768x448.jpg)