How to Install a Shower Kit
To install a shower kit, you’ll first gather tools like a drill, level, and waterproof sealant. Start by prepping the area—remove old fixtures, fix any damage, and turn off the water. Next, set the shower base, ensuring it’s level and the drain fits perfectly. Connect plumbing fixtures carefully to avoid leaks. Then, mount the shower walls or enclosure, sealing all joints securely. Once everything’s tight and tested, you’re ready to explore more detailed steps for a flawless setup.
Gather Necessary Tools and Materials
Before you begin installing your shower kit, make sure you’ve gathered all the necessary tools and materials. You’ll need a tape measure, a level, a drill with appropriate bits, a screwdriver, plumber’s tape, and a caulking gun. Don’t forget safety gear like gloves and goggles.
Your shower kit should include the shower base, walls, faucet, showerhead, and any mounting brackets or seals.
Having everything ready helps you avoid interruptions and keeps the process smooth. Check that your plumbing supplies, such as pipes and connectors, are compatible with your kit.
Also, ensure you have waterproof sealant and silicone caulk to prevent leaks. Taking this step seriously sets a solid foundation for a successful installation without unexpected delays or missing parts.
Prepare the Shower Area
With all your tools and materials ready, you can focus on preparing the shower area for installation. Start by removing any existing fixtures, tiles, or debris to create a clean workspace.
Check the walls and floor for damage or uneven surfaces; repair or level them as needed to ensure proper installation.
Make sure the plumbing connections are accessible and in good condition, turning off the water supply before proceeding.
Use a stud finder to locate and mark wall studs, which will support the shower walls.
Finally, measure the area precisely to confirm the shower kit components will fit correctly.
Taking these preparatory steps carefully sets a solid foundation for a smooth installation process and a secure, watertight shower.
Install the Shower Base or Pan
Although installing the shower base or pan might seem straightforward, careful attention to detail ensures a stable and watertight foundation.
Start by dry-fitting the base to check the fit and alignment with the drain.
Apply a bed of mortar or a manufacturer-recommended adhesive on the subfloor to support the base evenly and prevent flexing.
Carefully lower the base into place, pressing firmly to secure it.
Check that the drain aligns perfectly with the base’s drain hole and connect the drain assembly securely, but don’t overtighten.
Use a level to confirm the base is perfectly flat and adjust if necessary.
Finally, seal the edges with waterproof silicone caulk to prevent leaks.
Let everything cure as specified before proceeding to the next step.
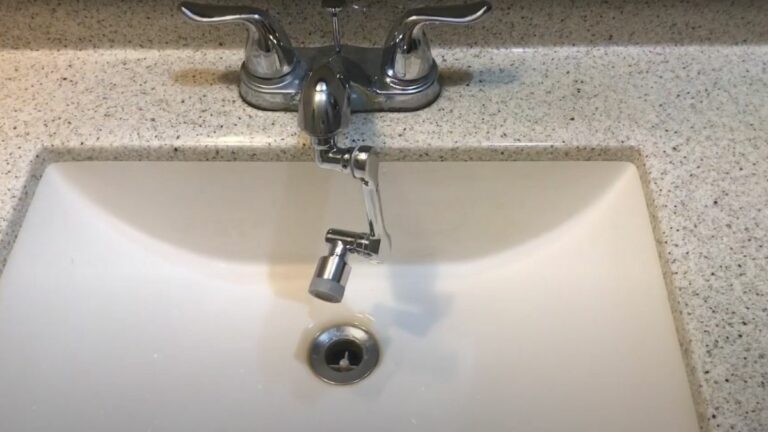
Connect the Plumbing Fixtures
Once you’ve secured the shower base, you can connect the plumbing fixtures to ensure proper water flow. Begin by attaching the shower valve to the water supply lines, making sure the hot and cold lines are correctly aligned. Use plumber’s tape on threaded connections to prevent leaks.
Next, connect the showerhead arm and showerhead to the valve outlet, tightening them securely without overdoing it to avoid damage. Check the diverter valve if your kit includes one, ensuring it moves freely.
Once all fixtures are connected, turn on the water supply and test for leaks. Tighten any loose connections as needed. Properly connecting these fixtures guarantees your shower functions smoothly and prevents water damage later on.
Mount the Shower Walls or Enclosure
Before securing the shower walls or enclosure, make sure the base is level and all plumbing connections are tested.
Begin by positioning each wall panel carefully, aligning edges with the base and adjoining walls. Use a level to ensure vertical accuracy before fastening.
Attach the panels using the provided screws or brackets, drilling pilot holes if necessary to avoid cracking.
If your kit includes a frame, assemble it around the panels, securing corners tightly.
Seal all joints with waterproof caulk to prevent leaks.
For enclosures, set door tracks and hang doors as instructed, checking for smooth operation.
Take your time to align everything properly—precise mounting ensures durability and a professional finish.
Once everything’s mounted securely, you’re ready to move on to the next steps.
Test the Shower and Finish Up
After mounting the shower walls and enclosure securely, you’ll want to test all plumbing connections to ensure there are no leaks or drips. Turn on the water supply and run both hot and cold water through the showerhead and faucet. Check every joint and connection carefully for any signs of water escaping.
If you spot leaks, tighten fittings or apply additional plumber’s tape as needed. Once you confirm everything’s watertight, install any remaining components like the shower door or curtain rod.
Finally, clean the surfaces and remove any debris or packaging. Your shower kit is now fully installed and ready to use. Taking these final steps ensures a reliable, professional finish and helps avoid costly repairs later on.
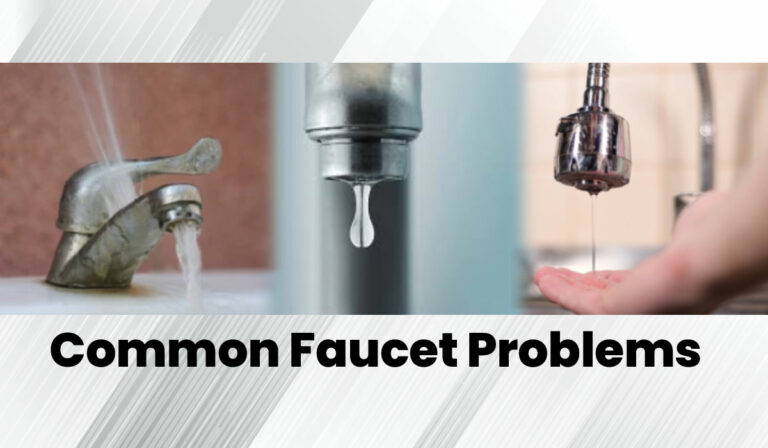
Frequently Asked Questions
Can I Install a Shower Kit Myself Without Professional Help?
Yes, you can install a shower kit yourself if you’re comfortable with basic plumbing and follow instructions carefully. Just make sure to turn off the water supply and double-check all connections to avoid leaks or damage.
What Types of Shower Kits Are Best for Small Bathrooms?
You’ll want compact, corner shower kits or sliding door enclosures for small bathrooms. These save space and keep things open, making your bathroom feel larger and more functional without cramping your style or movement.
How Do I Choose the Right Shower Kit for My Water Pressure?
You should check your home’s water pressure first; low pressure needs a shower kit designed for gentle flow, while high pressure suits powerful kits. Always match the showerhead’s pressure rating to avoid poor performance or damage.
Are There Eco-Friendly Shower Kits Available?
Yes, you can find eco-friendly shower kits that save water without sacrificing pressure. Look for models with low-flow technology or WaterSense certification—they help reduce water usage and energy bills while keeping your showers refreshing and efficient.
What Maintenance Is Required After Installing a Shower Kit?
You’ll need to regularly clean the showerhead and surfaces to prevent buildup, check seals and grout for leaks, and replace worn components like washers or cartridges to keep everything functioning smoothly and avoid water damage.
Conclusion
Now that you’ve gathered your tools and prepared the area, installing your shower kit will be straightforward. Start with the base, connect the plumbing carefully, and mount the walls or enclosure securely. Don’t forget to test everything for leaks and proper function before finishing up. With attention to detail and patience, you’ll have a fully installed shower ready to use in no time. Enjoy your new, refreshed bathroom space!