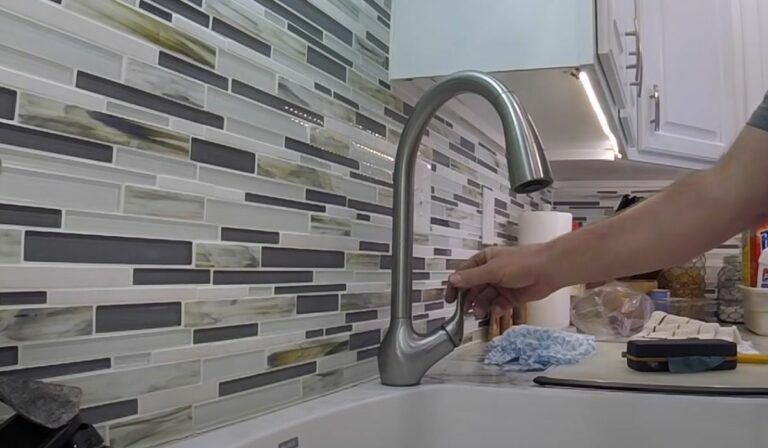
How To Remove Kitchen Faucet
Removing a kitchen faucet can seem like a daunting DIY task, but with the right approach, it’s something you can confidently tackle yourself. Whether you’re replacing an old fixture or upgrading the style of your kitchen, knowing how to properly remove your faucet is essential. This guide walks you through each step, ensuring you avoid common pitfalls and protect your sink area from damage during the process.
Preparing To Remove The Kitchen Faucet
Gathering Necessary Tools And Materials
Before you start, make sure you have all the tools ready. Typically, you’ll need an adjustable wrench, basin wrench, pliers, bucket or bowl to catch water, and possibly some penetrating oil for stubborn parts. Having a flashlight and towels handy can also be a big help.
Turning Off The Water Supply
Locate your home’s water shutoff valves under the sink and turn them off completely. If you can’t find localized valves, turn off the main water supply. After shutting off the water, open the faucet to drain any residual water and relieve pressure in the lines.
Clearing The Area And Protecting Surfaces
Clear out the cabinet under your sink so you can move freely. Place a towel or small basin underneath the work area to catch drips and protect surfaces from scratches or damage. Protect your countertop by taping around the faucet base if you anticipate applying force near delicate surfaces.
Disconnecting Water Supply Lines
Locating And Removing Mounting Nuts
Under the sink, follow the water supply lines up to where they’re connected to the faucet. You’ll find mounting nuts or retaining nuts that hold the faucet in place. Use your basin wrench or adjustable wrench to carefully loosen and remove these nuts.
Dealing With Tight Or Rusted Components
Sometimes nuts are corroded or overtightened. Apply a penetrating oil like WD-40 to the threads and let it soak for 10 to 15 minutes. Gently tap the nut with a wrench to break its seal, taking care not to damage surrounding pipes or fixtures. If necessary, use a pipe wrench for additional leverage, but avoid excessive force to prevent damage.
Removing The Old Faucet From The Sink
Cleaning The Sink Surface After Removal
Once the mounting nuts are off, you can lift the old faucet away from the sink. It’s common to see grime or old plumbers putty residue around the base, clean this off thoroughly with a scrub brush and mild cleaner to prepare your sink for the new faucet installation.
Inspecting For Damage Or Corrosion
Before installing a new faucet, inspect the sink mounting area carefully. Look for rust, cracks, or water damage that could affect the longevity of your new setup. If you find any significant issues, address them before installation to avoid problems down the line.
Troubleshooting Common Removal Issues
When To Call A Professional Plumber
If you encounter severely corroded nuts that just won’t budge, leaking water even though shutoff, or complicated plumbing setups that don’t match standard fixtures, it might be time to call in a professional. Plumbing experts have specialized tools and experience that can save time and prevent costly damage. Don’t hesitate to ask for help if you’re unsure or run into unexpected complications.
Conclusion
Removing a kitchen faucet yourself is absolutely doable with some preparation, the right tools, and a bit of patience. By following these steps, you’re set to handle the job confidently and efficiently. Remember, protecting your workspace and knowing when to call a professional are key to a smooth faucet removal process. With the old faucet out, you’ll be ready to install your new one and refresh your kitchen in no time.